How to make (and test) DIY craft stick catapults! Fun catapult STEM project for kids, that combines physics, engineering and math with play.

Making catapults is one of those classic STEM activities that are so much fun.
Y’all know what a STEM activity is, right? STEM stands for Science, Technology, Engineering and Math, and a great STEM activity is one that incorporates two or more of these pillar subjects, in an open-ended, lets-find-out, hands-on kinda way.
Making catapults involves three of the four pillar STEM subjects – there’s the whole projectile, forces, physics thing (Science = tick!), creating a machine and evaluating different designs (Engineering = tick!) and measuring the height and distance of your projectiles (Maths = tick!).
So I’m pleased to present this as the C is for Catapult submission in this year’s A-Z of STEM Activities for Kids series that Little Bins for Little Hands is running. (We also submitted a Why STEM for Girls is So Important post to that series too – because that’s something that we tend to be a bit passionate about around here!)
Anyway, I digress.
We’ve made easy upcycled catapults before (which were so much fun!). But this time, I thought we’d try making classic craft stick catapults – mostly because I’ve been wanting to make some for ages and ages and ages.

Suitable for
This is a fun activity that can span multiple age groups, from preschoolers, to kindergarteners, to primary (elementary) school aged kids. My daughters were 4 & 6.5 years old when we did this.
With a little practice, preschoolers should be able to launch projectiles and compare distances. You could dot with chalk where each projectile reached so you talk about longest and shortest distances afterwards. You can talk about how using the same size projectile each time, and firing the catapults from the same point (or starting line), creates a “fair test”.
5-6 year olds might be interested in taking measurements themselves and recording results in a table or graph. Can they come up with a way to measure the height reached as well as length?
7-9 year olds might be interested in coming up with their own catapult designs. What happens if you make the arm of the catapult really, really long? Why? How do the different projectile designs impact the force? What can you knock over?
How to make a basic craft stick catapult
We used:
- craft sticks (aka popsicle sticks, ice lolly sticks, ice cream sticks, Paddle Pop sticks…)
- rubber bands
- plastic spoons
- bottle cap and hot glue gun (optional)
The Instructables have a handy set of instructions with clear images which I followed for the basic design.
Here’s a quick summary:
- Secure a stack of 5 craft sticks together, with a rubber band at each end.
- Take another two craft sticks and secure these at one end with another rubber band.
- Wedge the 5 craft stick stack between these two craft sticks.
- Secure the whole lot with another rubber band. You do this by looping the rubber band over one side of the stack, twisting it, and then looping over the other side of the stack, and repeating until tight enough. You should end up with a “x” on top.
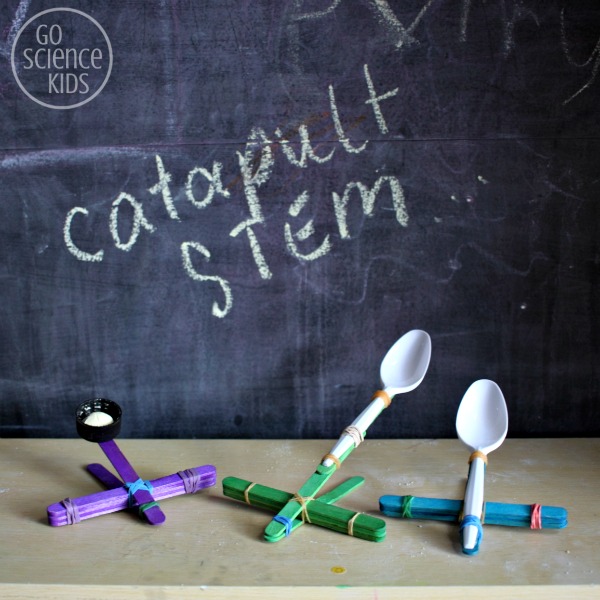
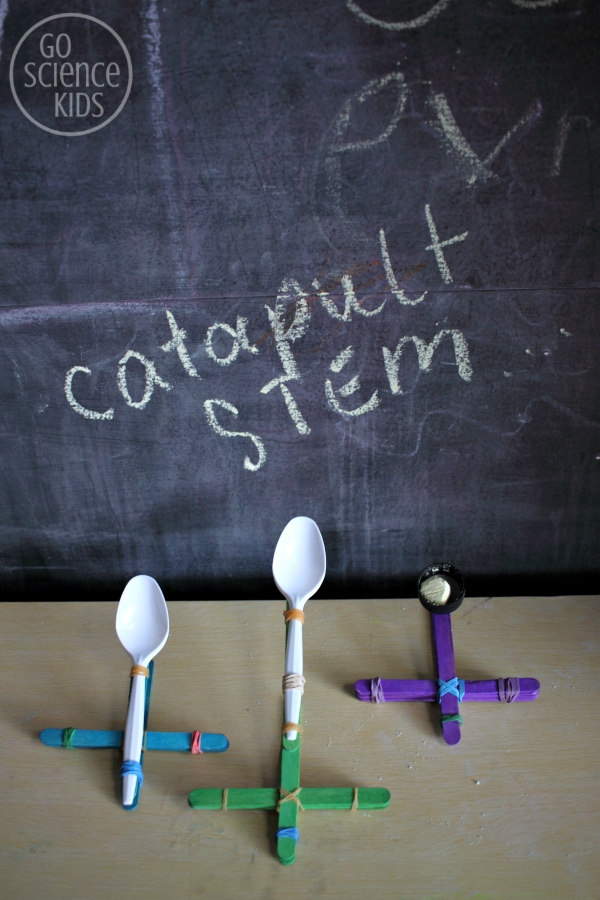
- Lastly, attach something for your projectile to sit in. (This is the step where we tried three different designs.)
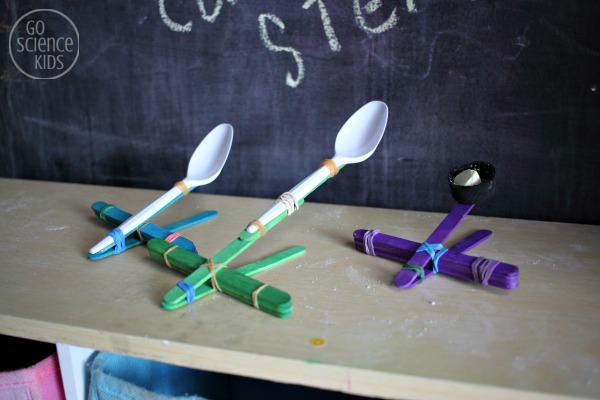
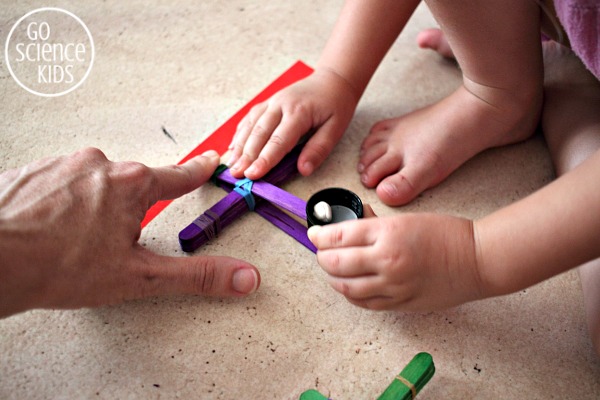
Purple catapult: We attached a bottle cap with a hot glue gun.
Blue catapult: We attached a plastic spoon using two rubber bands.
Green catapult: In addition to the plastic spoon, we lengthened the arm of the catapult by adding an extra craft stick, all attached with rubber bands.
These were really quick and easy to make, especially the blue one. Once you’ve got the hang of it, I reckon you could make one in less than a minute.
Then we decided to do a few tests to find out which catapult design was the best!
Test 1: Which catapult shoots the furthest?
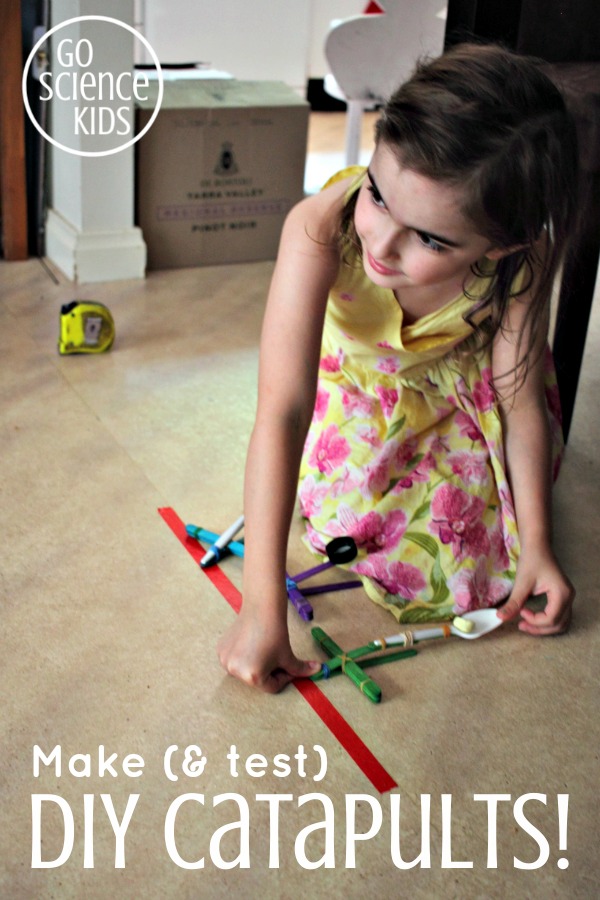
Bumble Bee (my 4 year old) loved this one! We taped a starting line on the floor, and used the same projectile (a broken piece of chalk) each time to create a “fair test”. She launched each projectile, measured the distance with a measuring tape, and called out the numbers for me to write down.
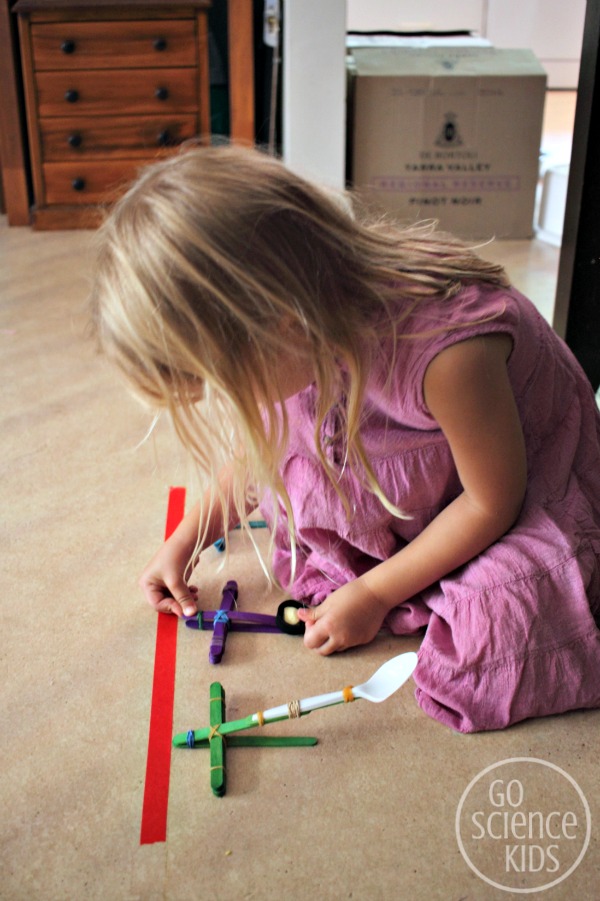


Jewel (my 6.5 year old) did this test too, and she was able to write down the measurements herself in a table. We repeated each test 3 times, to see how much variation there was in the results.

Test 2: Which catapult shoots the highest?
Once we’d finished measuring the distance that our projectile reached, Jewel and I discussed how we could measure the height. That, of course, made us start thinking about how our different designs might affect the trajectory.
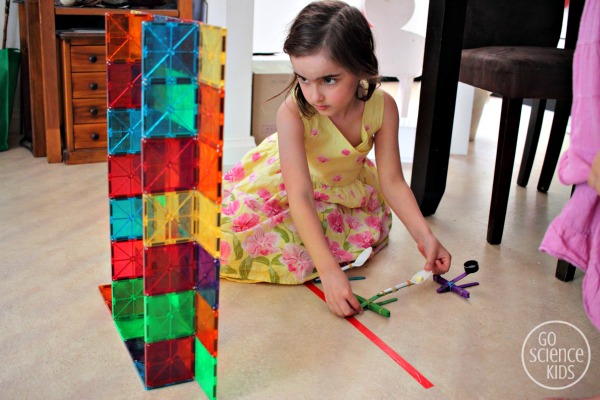
We decided to create a Magna-Tile tower, and see which square the projectile hit as a way of measuring the height.

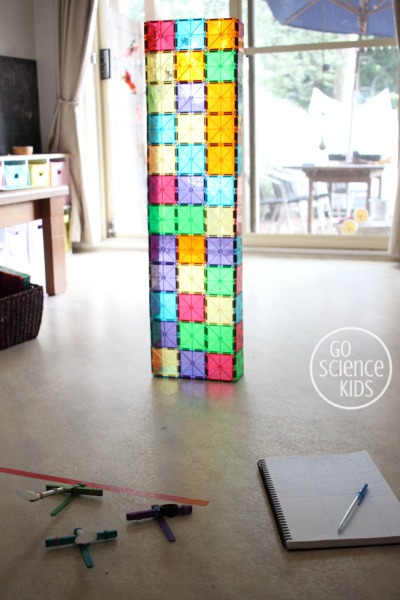
We started with a six square high Magna-Tile tower, and our projectiles shot straight over the top! So we had to modify our experiment by adding extra height to our tower, and adjusting the position of the starting line.
It took us a few tries before we found a test that worked for all three catapults. In the end, we discovered we needed a very high tower indeed!

Fun Science Facts
A catapult is a device used to launch a projectile, without the aid of explosives.
Catapults have been used for thousands of years, and come in all shapes and sizes. They can be as simple as a slingshot, or as complicated as a large trebuchet used to launch huge boulders to knock down a castle wall.
The trajectory is the path that the projectile takes as it flies through the air. It’s influenced by the push force of the catapult, the angle of the release, the weight of the projectile, air resistance and gravity.
So, I guess you might be wondering which catapult launched the furthest projectile? Which one had the highest trajectory? Which one had the most consistent results? Sorry, that would be spoiling the fun. You’ll just have to do this activity for yourself to find out!!
This post is part of the A-Z of STEM Activities for Kids series.


For more physics fun, you might also like to check out the ideas on our Fun Physics Activities page, including:
- easy upcycled catapult that kids can make using things from around the home,
- fun refraction of light activity, that only needs a pen, paper and a glass of water,
- how to make a simple balance scale for comparing weight,
- and how we’ve found playing with Magna-Tiles has been great for exploring geometry in a hands-on way.
You might also like to follow our Go Science Kids and Fun Science for Kids boards on Pinterest.
And, of course, you can always subscribe to our newsletter, to receive all our latest activities via email. We’d love to have you join us!
* This post contains affiliate link(s) to similar products used. An affiliate link means I may earn a referral fee or commission if you make a purchase through my link, without any extra cost to you. It helps to keep this little project afloat. Thank you for your support.