How to make an easy, upcycled catapult! Fun physics for kids. Choose your own projectile….

Have you heard of the 28 Days of Hands-On STEM Activities for Kids blog hop that’s running all this month? We’re tickled pink to be joining in. There’s 4 weeks of fun science, with each week revolving around a different theme. This week’s theme is STEM Goes Green, and we’re sharing a fun environmentally-friendly science project that kids can make, using upcycled materials that you can find at home. Bonus that it takes only a few minutes to make, so the kids can start having fun straight away.

Suitable for
This is a fun physics experiment that can be easily tailored to suit different ages:
– Toddlers will simply enjoy the cause and effect. (Choose a soft projectile).
– Preschoolers might like to experiment with different projectiles to see what will shoot the furthest or highest.
– Kindergarteners and early primary school kids should be able to make this themselves, perhaps trying out different materials from around the house. Experiment with moving the fulcrum and/or using a longer beam to see how this affects the results. Set up a target and see if they can hit it. Keep score.

To make this easy DIY catapult, you will need:
- a sturdy cardboard tube
- a large hair elastic
- a wooden spoon
- a projectile of your choice
- safety glasses (optional)
Keep a look out in your recycling bin for a sturdy cardboard tube. (The one we used is made from much thicker cardboard than your standard toilet paper roll.) If you can’t find a sturdy cardboard tube, you could also use another cylindrical object, like a rolling pin.
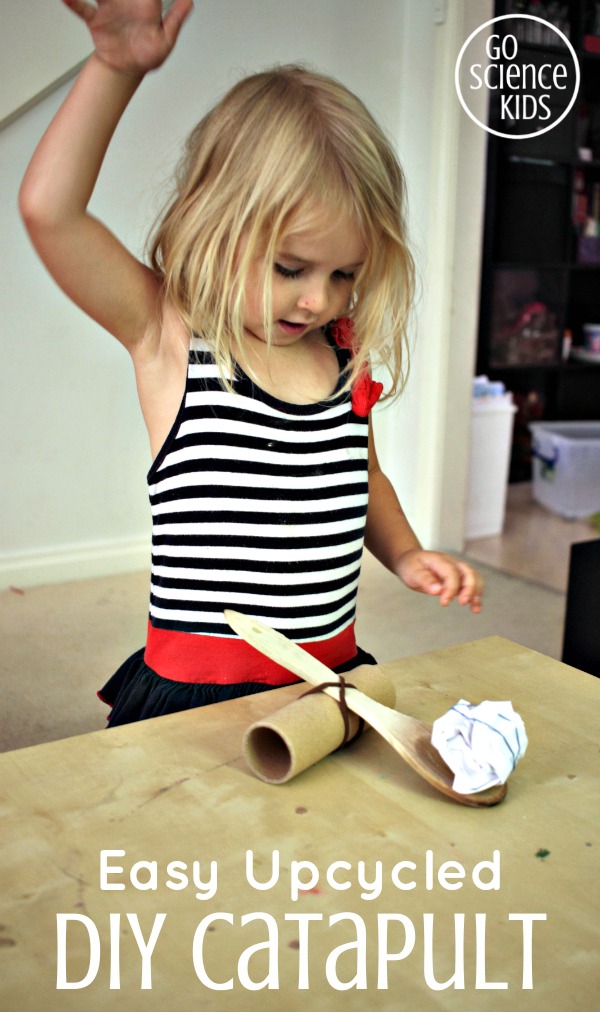
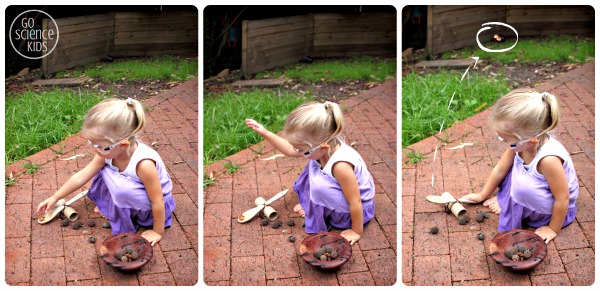
Loop the hair elastic over the cardboard tube twice. Find the spot where the hair elastic crossed over and makes a X. With the wooden spoon perpendicular to the cardboard tube, insert the handle of the wooden spoon under the X, and slide through until approximately half way.
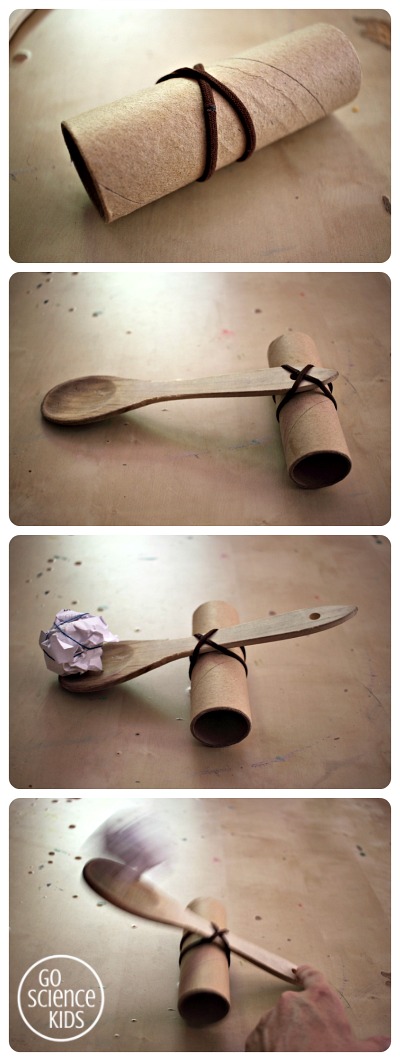

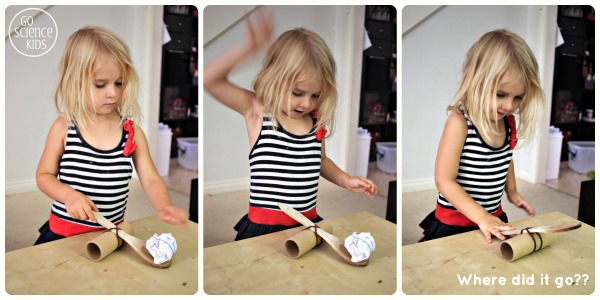
And now you have a basic lever catapult! The next step is to find a projectile. A scrunched up piece of recycled paper, held together with an old elastic band, makes a great soft projectile for indoors.

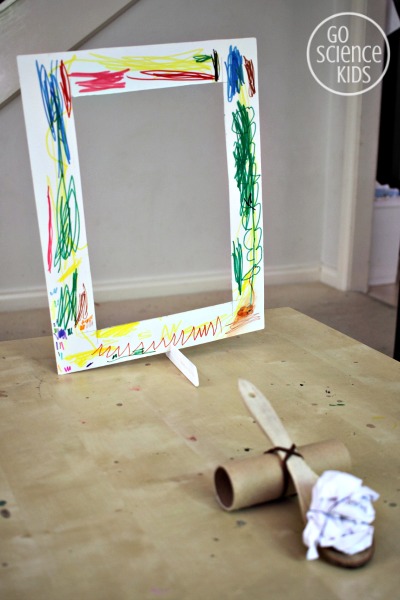
A cardboard frame, with a comb “stand” makes a great target. (Save this idea for when you’re next stuck inside on a rainy day!)

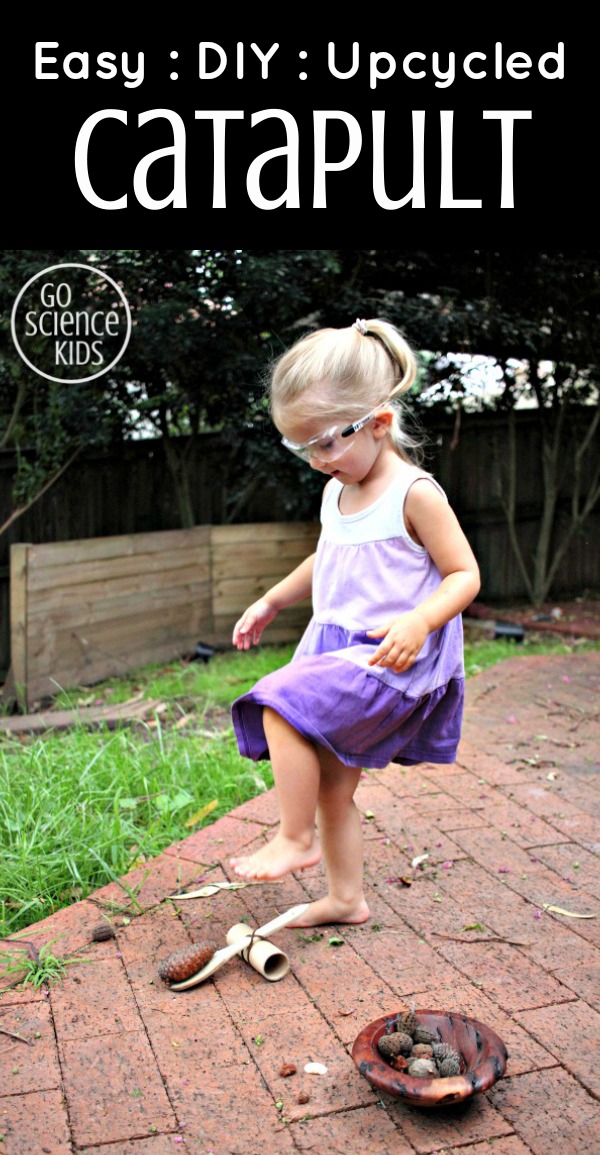
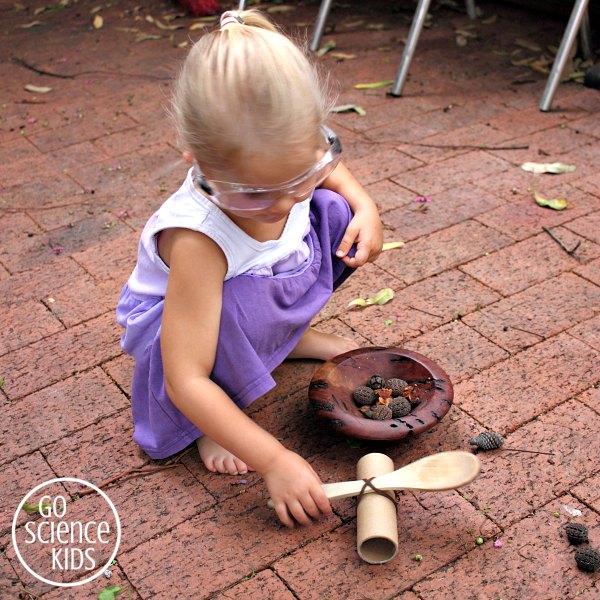
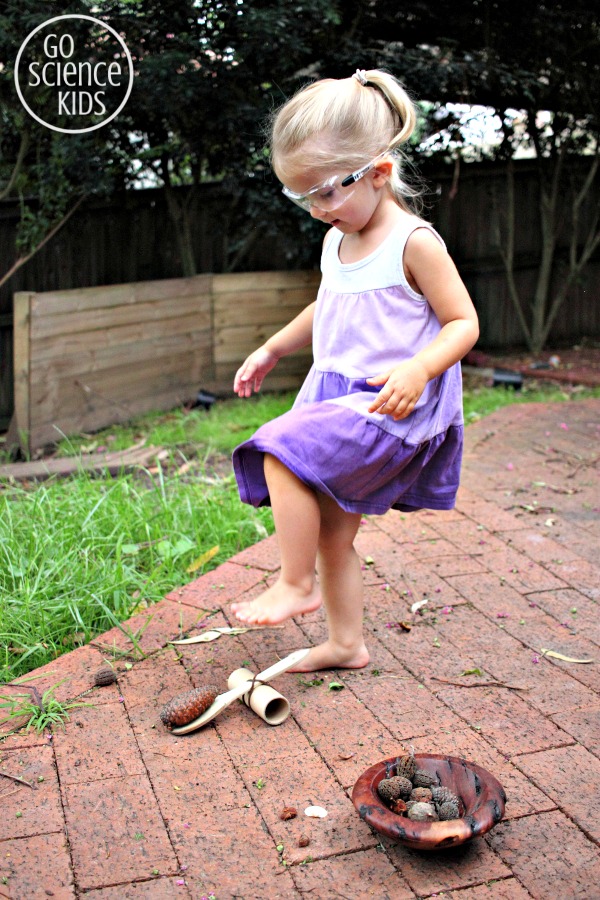
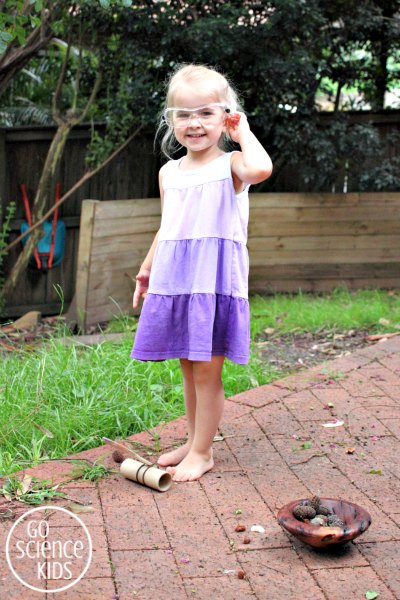
If the weather’s nice and you’d prefer to head outside, then nature items like pine cones and other seed pods make fabulous projectiles because:
a) nature is awesome, and
b) you don’t need to worry too much if you fling one over the neighbour’s fence.

Safety glasses are a good idea too. They protect precious eyes (and my kids think they are doing “real science” when they wear them). We have these ones.
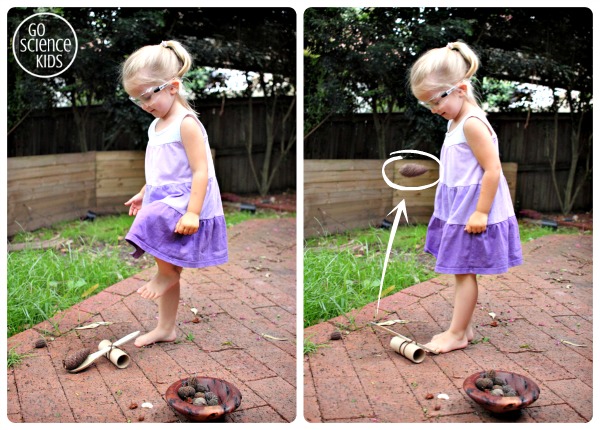
I’ll happily warn you though – if your kids are like mine, they’ll want to do this activity over and over and over again….
Vary it up by experimenting with different sized projectiles. Which ones fly further? Or you could try sliding the wooden spoon out a little, so that the cardboard tube fulcrum is no longer in the centre, so that you have a longer lever arm. How does this affect things?

Fun Science
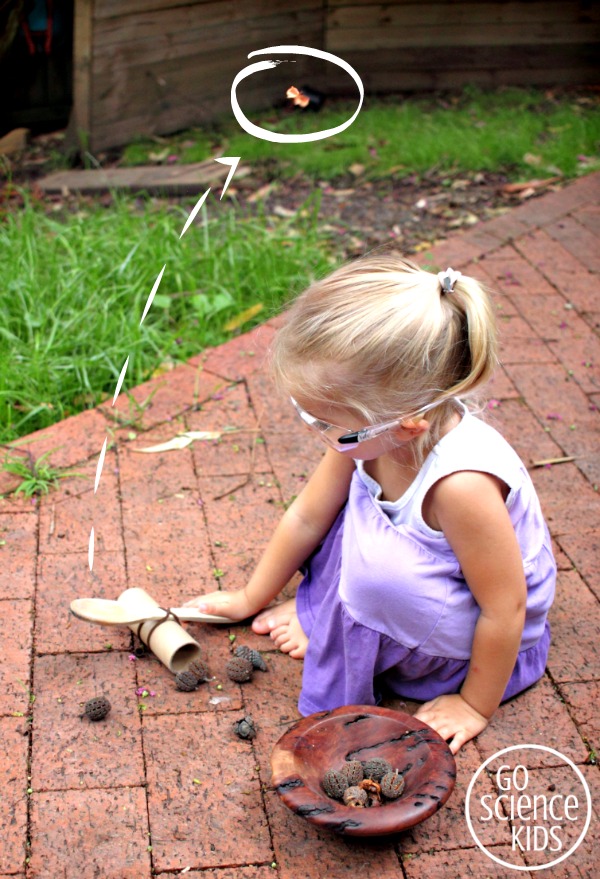
Our catapult is actually a lever. A lever is a simple machine, consisting of a beam (which, in this case, is the handle of the wooden spoon) connected at a fixed point (created by the elastic band) to a pivot or fulcrum (the cardboard tube). A seesaw is a classic example of a lever, with the fulcrum in the middle point.
Levers affect the force, or effort, needed to lift something. By varying the distances between the force, the fulcrum and the load (which, in our case, is the projectile), the amount of effort to lift the load can be decreased, making the job easier (and the projectile fly higher).

Many thanks to Playschool for the inspiration behind this activity!