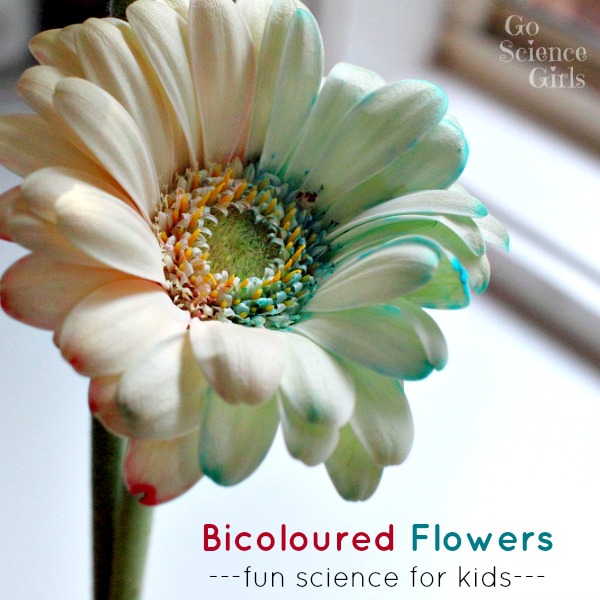
How to create beautiful bicoloured flowers – a fun nature science project for kids for spring (or any time of year)!

Wouldn’t it be cool if you could change the colour of cut flowers? Actually, you can! If you haven’t yet, make sure to check out Jewel’s colour changing flowers experiment that we posted about a few weeks ago…
But, what if you wanted to dye your flowers more than one colour?? My three year old daughter Bumble Bee and I decided give it a try…
Suitable for
Bumble Bee was 3 years and 1 month old when we did this activity. I’d say it’s best for 3+ year olds, as younger kids may not be gentle enough handling the delicate cut stems.
This is a fun nature-based science activity just in itself, but kindergarteners and older kids might also like to predict where on the flower the colours will appear, which colours will appear first, and which colours will be the most vibrant. They could also experiment by varying the amount of food colouring or where you cut on the stem, and see how this affects the results.
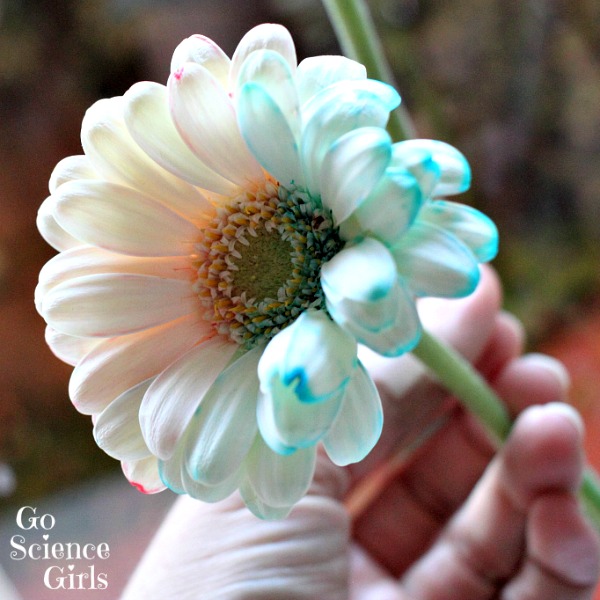
Before we did this experiment, I asked my 5.5 year old daughter Jewel what she thought would happen. She’s been learning about colour mixing theory in kindergarten recently, and quite confidently hypothesized that putting half a flower’s stem in red water and the other half in blue water would create a beautiful purple flower.
Of course, in science, hypothesizing and then proving your hypothesis wrong, is all part of the scientific process. 🙂

Ain’t no purple here….
How to dye bicoloured flowers
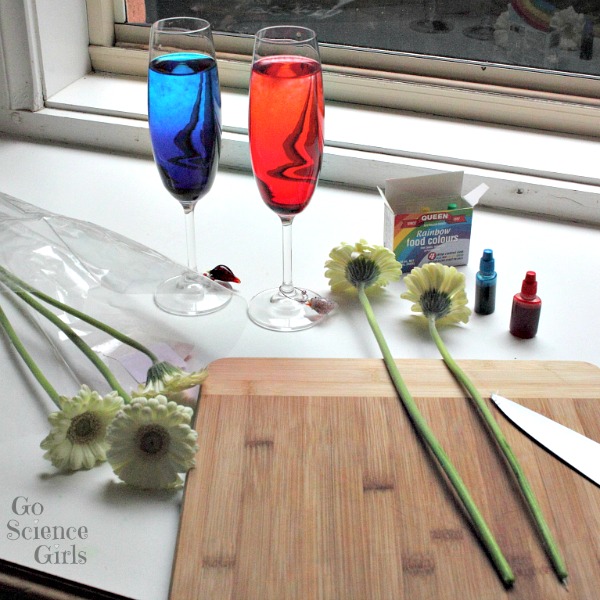
We used:
- white gerbera daisies
- 4 champagne flutes
- liquid food colouring (blue, red, green and yellow)
- water
We used white gerbera daisies, as we found a bunch on sale for just $1.66! They have a nice thick stem which makes it easy to cut. I’ve heard that regular white daisies or white carnations also work well, but we haven’t tried these ourselves yet.
Instead of champagne flutes, you could also use high-ball plastic ‘glasses’, recycled glass jars or other similar containers. The most important thing is that the containers are deep enough to hold enough of the cut stem to support the flower, and also that the rims of each glass are as close as possible so that the cut stems aren’t forced too far apart. (Ours weren’t perfect for this, but they were the best option we had at home at the time.)
What to do
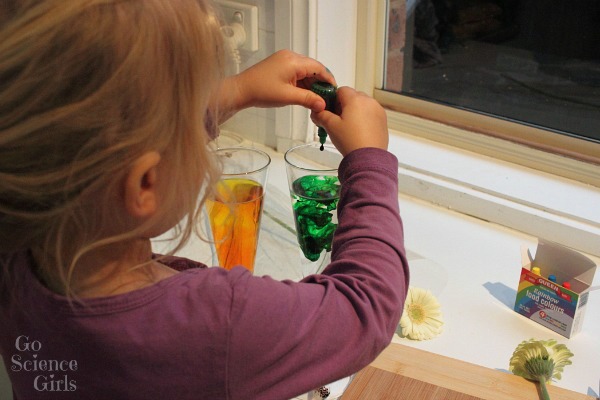
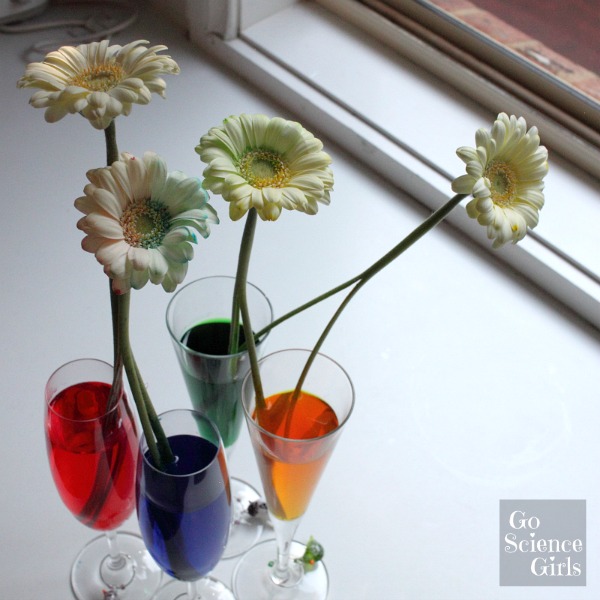
1. Add water and food colouring to each champagne flute.
We added a different colour to each glass.
2. (Optional) Trim an inch off the bottom off the flowers.
I just always do this with cut flowers. I feel like it freshens the stems.
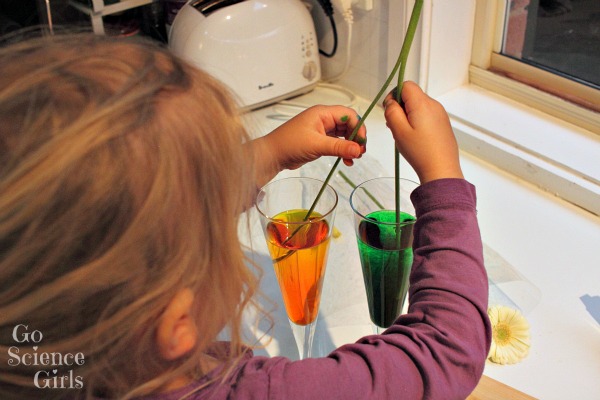
3. Carefully slice the flower stems.
This step is best for adults to do. Slice the flowers straight down the middle, so that the flower looks like it has two ‘legs’.
4. Put each flower ‘leg’ into a different coloured glass.
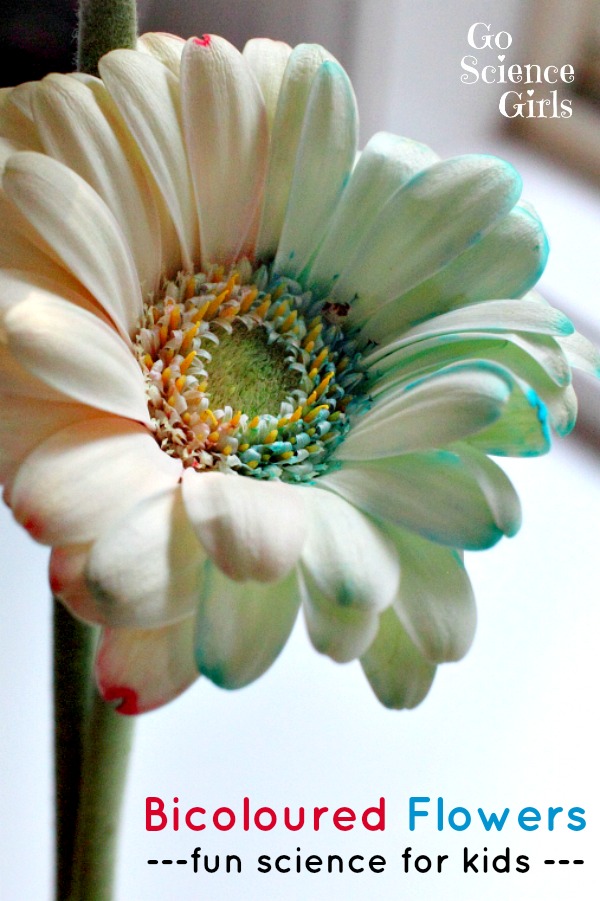
We did yellow / green and blue / red.
5. Wait a few days for the colours to appear.
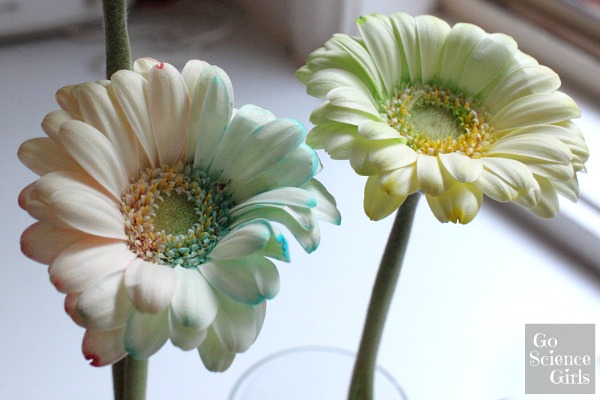
Ours started to show colour the very next day, with the colour deepening over the next few days.
6. (Optional) Trim an inch off the bottom of the stems every other day.
I do this to keep the flower stems fresh. I noticed that more colour appeared to be absorbed each time I did this too.
Interestingly, we only had two of the original four flowers ‘succeed’. One of the yellow / green flowers’ stem collapsed after just a few hours (perhaps I hadn’t cut it correctly?) and one of the red / blue flowers failed to absorb any colour at all, even after a few days. But this just made the two flowers that ‘worked’ feel extra special. 🙂

Fun Science
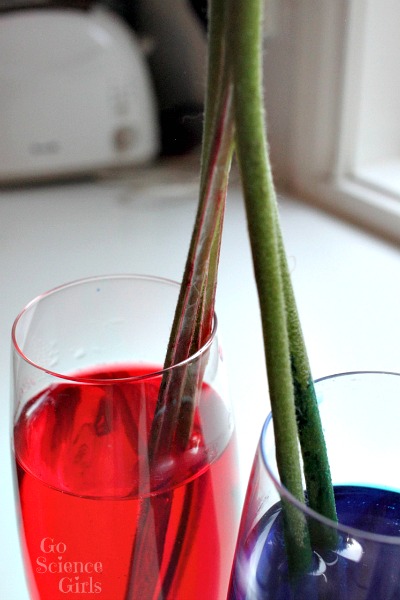
Flowers absorb water through the xylem, which is a tissue of thin tubes found inside the stem. Various factors help water to move up the xylem, in a process called capillary action, which is similar to the movement of water up through a straw when someone is taking a sip.
In this experiment, you can see the coloured water being sucked up the stem, and that different parts of the xylem transport water to different parts of the flower. The colours don’t mix!


Have you tried making bicolour (or multicolour) flowers? How did yours turn out?
You can find more of our nature-based science projects here, including:
- our original colour changing flowers experiment
- which flowers absorb the most vibrant colours experiment
- how to dye multicoloured flowers
You might also like to follow our Go Science Kids and Nature Study Activities for Kids boards on Pinterest.
And, of course, you can always subscribe to our newsletter, to receive all our latest activities straight in your Inbox. We’d love to have you join us!
* This post contains affiliate link(s) to similar products used. An affiliate link means I may earn a referral fee or commission if you make a purchase through my link, without any extra cost to you. It helps to keep this little project afloat. Thank you so much for your support.