How to make butter and buttermilk from cream: an easy food science project for kids.

I find food science fascinating. I love that a basic ingredient can change depending on how you treat it, or what other ingredients you combine it with. It’s like a chemistry class, except using basic household supplies, and you usually get to enjoy tasting what you made afterwards!

Luckily my kids are mini-foodies and are as fascinated with where food their food comes from as I am.
But when I asked my kids where butter came from, they were a bit stumped.
“From cows?” my 6 year old daughter Jewel guessed.
“Well, yes, butter is a dairy product, and it’s made from cows’ milk, or actually, from the cream that settles on top of the milk. But how do you actually turn cream into butter?”
Jewel wasn’t sure, so we decided to try this “making butter activity” to find out.
Suitable for
I’d recommend this food science project for preschoolers (3-4 year olds), and kindergarten / early primary school kids (5-6 year olds). It’s a great way to learn where our food comes from. My kids were 6 and almost 4 years old when we first tried this at our home.
I’ve also included some extension ideas for older kids to try below.

How to make butter and buttermilk from cream
Ingredients
- fresh cream (we used 250ml / 1 cup / 8 fl. oz.)
- sea salt (optional)
- electric beater (or hand beater)
- bowls, sieve, baking paper
Method
- Pour the cream into the large bowl. Taste it. Observe it. What colour is it? Is it a liquid or a solid?
- Beat the cream for a few minutes until it thickens into whipped cream. Taste it. Observe it. Does it behave like a liquid or a solid now? Guess why?
- Continue to beat the cream until it separates into butter and buttermilk. This should only take an extra minute and is fascinating! Taste it. Observe it. What colour is the butter? What colour is the buttermilk? Which is a liquid and which is a solid? Why did it separate like that? (If you’re not sure yourself, see our explanation below).
- Strain off the buttermilk into the smaller bowl and keep in the fridge. You can use this to make delicious fluffy pancakes tomorrow morning!
- Combine the butter into a ball. Knead and rinse under cold water to remove any extra buttermilk (to prevent your butter becoming rancid).
- Mix through a pinch of salt if you wish (it improves the flavour, and acts as a preservative).
- Enjoy your homemade butter on fresh bread!
- Wrap remaining butter in baking paper, and store in fridge. It should keep for a few days.
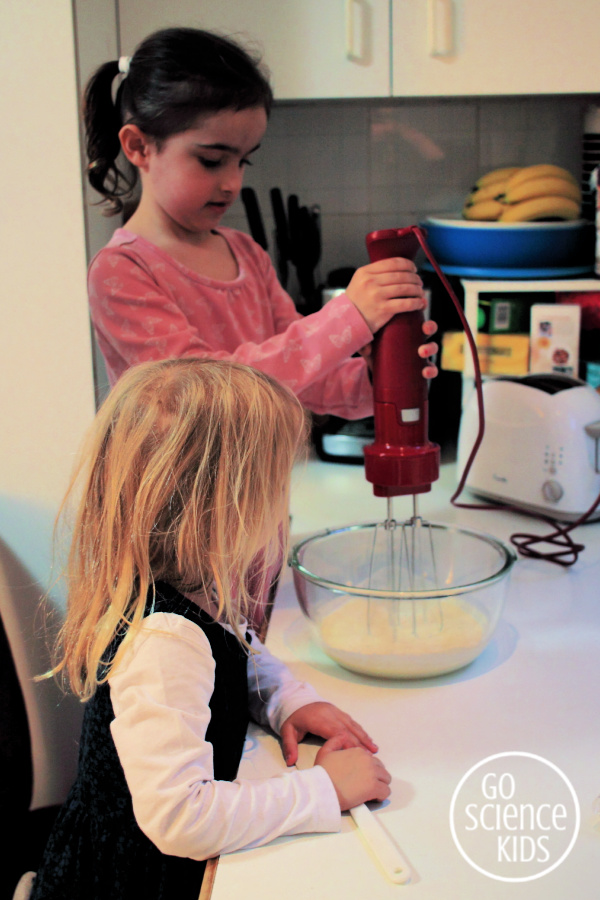
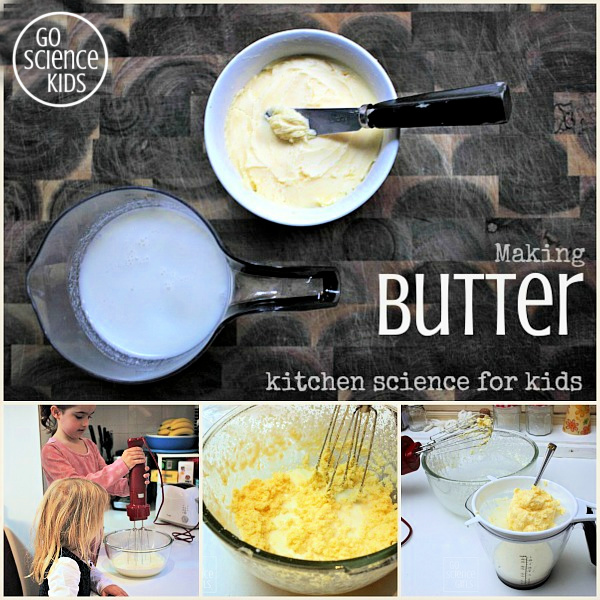
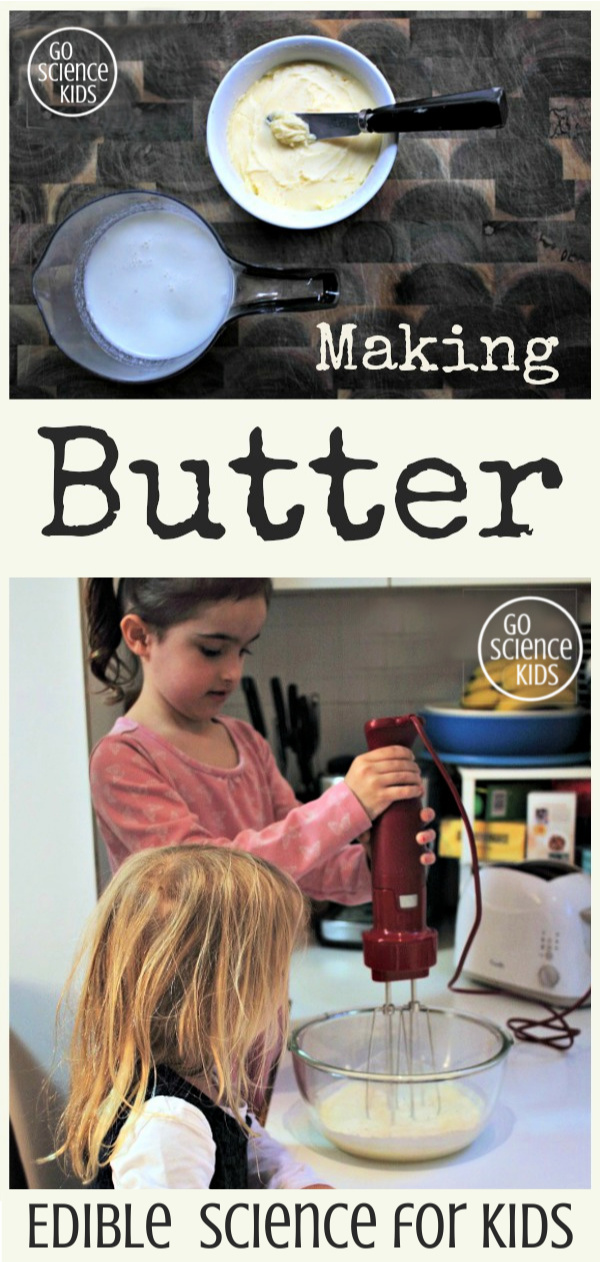
Here are my daughters Jewel (6 years old) and Bumble Bee (almost 4 years old) whipping the fresh cream.

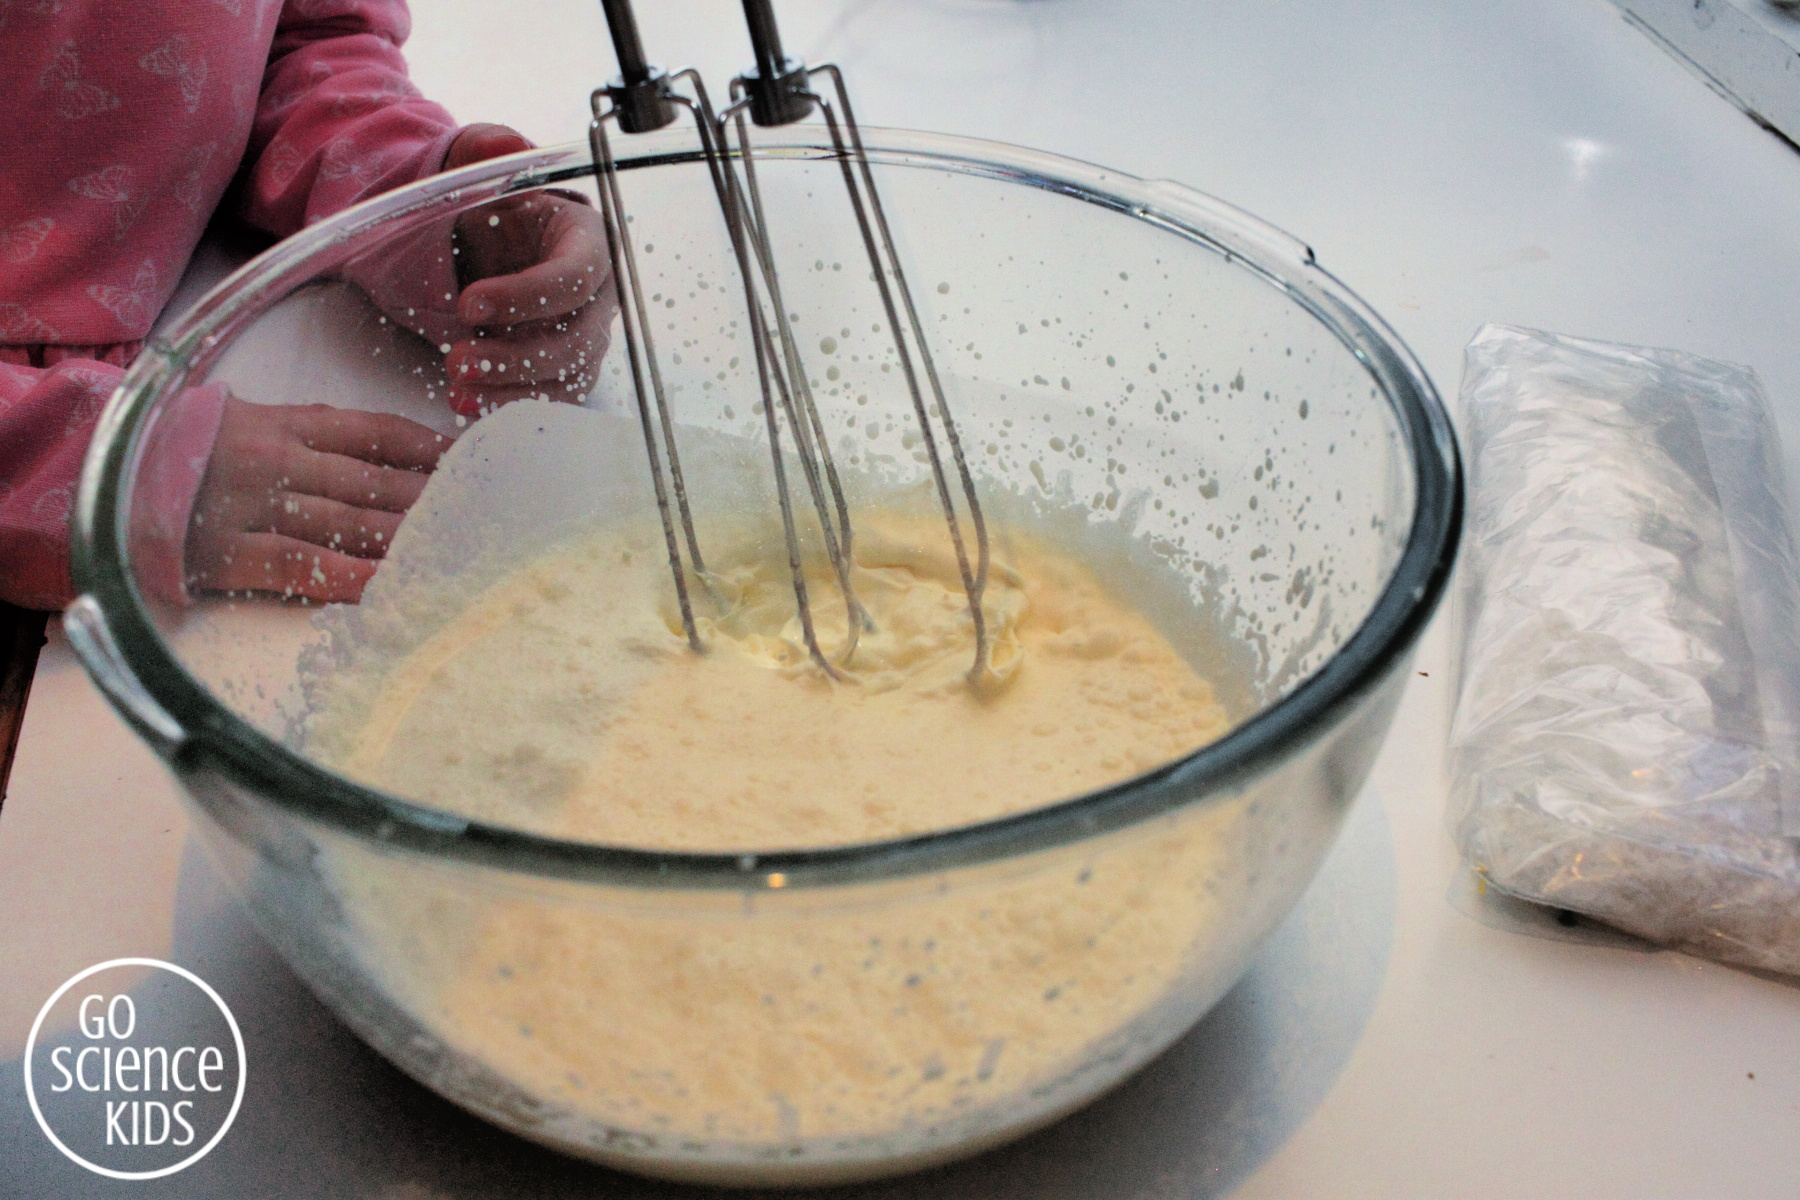
The cream is just starting to thicken…

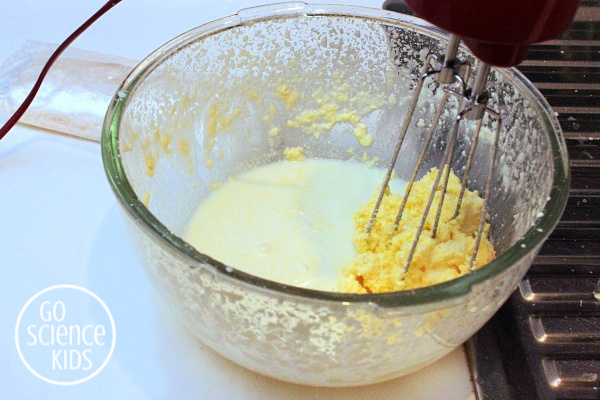
And then, once it’s gone past the ‘whipped cream stage’, begins to turn into butter. You can clearly see a colour and texture change, with the yellow butter separating from the white buttermilk. (The colour change is especially amazing – how can yellow butter appear from cream?)

A few more seconds of whipping, and the butter starts to clump together.
Strain off the buttermilk (and save for later). Then rinse the butter under cold water. Add salt if you wish.

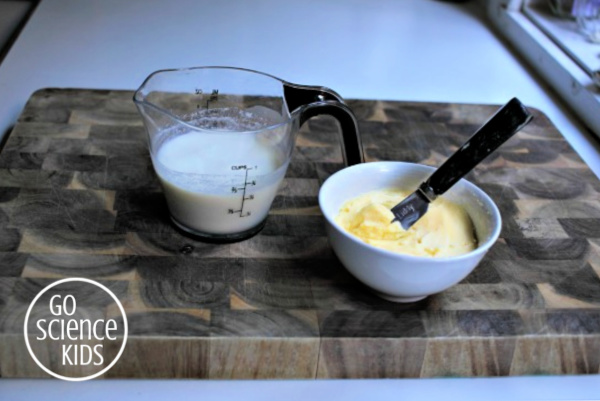
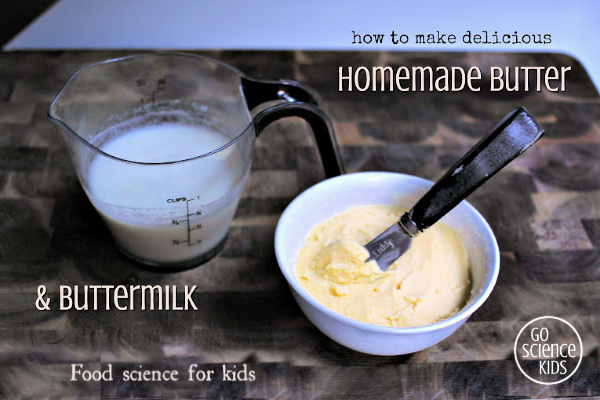
Ta da! Butter for your bread, and buttermilk for your pancakes the next morning…

Food Science
When a cow is first milked, it’s milk is very creamy. This creamy milk is a “colloid,” a substance in which small, insoluble particles are suspended throughout another substance. In this case, those insoluble particles are actually little globules of fat, distributed in a water-based solution.
In the olden days, farmers would let this creamy milk sit for a few hours until it separated, with the (less dense) cream rising to the top, and the (more dense) milk below. The cream could then be skimmed off. Nowadays this separation process is sped up, using a very cool-sounding centrifugal separator machine. The end result of separated milk and cream is still the same.
Cream contains lots of tiny fat molecules within a water-based solution. When you whip cream, a number of things happen. Firstly, you force air into the cream. Secondly, you break the fragile shell around the fat molecules, which causes some of the fat molecules to clump together, forming larger and larger molecular clumps. At this point, not all of the fat molecules are stuck together – some of the fat molecules have instead clumped to tiny pockets of air. This is what creates the foam effect of fluffy whipped cream, which is delicious with fresh strawberries.
If you continue to whip the whipped cream, more and more of the fat molecules clump together, releasing the air pockets. This causes the internal structure, which until now had been able to hold the fat and water components together, to collapse, dramatically releasing the watery component as buttermilk.
Somewhat confusingly, buttermilk is actually lower in fat than ‘regular’ milk. It’s also more acidic, which is why it reacts with the baking soda in pancake batter, creating carbon dioxide bubbles and the fluffiest pancakes ever. I’m totally going to have to do a pancake science experiment next!!
Extension Ideas: Older kids (and adults!) might like to experiment a little. Try some of these variations:
- How much time does it take to turn cream into butter? Does temperature affect this?
- Measure out the ratios of cream to butter and buttermilk produced. Is this ratio the same each time? If you wanted a set amount of butter or buttermilk, how much cream would you need?
- Look for other types of cream such as whipping cream, heavy cream, double cream, clotted cream. Pay attention to the fat content percentage. How does the fat content affect the amount of time it takes to make butter, or the ratios of butter to buttermilk produced? How about the taste?
- See if you can source cream from other mammals, like goat, sheep, water buffalo, or even yak, camel or horse! Do these creams differ in taste, texture or colour? Can you notice similar differences in the butters these creams make?

Note: I should mention that I’m an amateur but keen home scientist, and I gleaned most of the above information from researching several articles on the net. Apologies if I’ve gotten any details incorrect, and please let me know if I have! If you’re interested in more molecular detail about how cream turns into butter, then I recommend referring to this awesome Serious Eats article for some very interesting (and delicious) further reading.
For more “science you can eat” project ideas, check out our edible science page, including:
- how to make “Little Miss Muffit” curds and whey
- how to make yummy homemade sherbet that fizzes on your tongue
- witness a fizzy frothy chemical reaction while making yummy homemade Anzac biscuits or even yummier homemade Violet Crumble
- or have a go at making edible glass…
I also have an edible science Pinterest board, where I pin more ideas I love from all around the web.