Have you ever sung along to Little Miss Muffet, and wondered what ‘curds and whey’ are? Well, good news! Here’s an easy curds and whey recipe you can make at home with the kids, and it doubles as a fun edible science experiment – yay!

I presume that everyone knows the nursery rhyme, but just to be sure, here’s how it goes…
Little Miss Muffet
sat on a tuffet,
eating her curds and whey.
Along came a spider,
who sat down beside her,
and frightened Miss Muffet away.
Little Miss Muffet is one of my 3.5 year old daughter Bumble Bee’s favourites. She sings her heart out! So when I heard that you could actually make your own DIY curds and whey at home, I knew she’d be keen to try it out.
Suitable for
This is a great science activity for 3-4 year olds, especially as this age often love singing along to nursery rhymes. My daughter Bumble Bee was 3.5 years old when we did this, and she was able to help with many of the steps involved. 5-6 year olds may be able to do more of the steps independently. Older kids may like to turn this into a true science experiment, by experimenting with different types of milk (raw milk, half and half, skim milk, UHT milk, or goats milk perhaps), or with different types of edible acid (lemon juice or buttermilk can be used instead of vinegar), or with different lengths of draining time, and see how each of these variables affects the results. (And they can earn bonus points if they use the curds to make homemade ricotta-filled cannelloni for dinner!)

How to make Curds and Whey
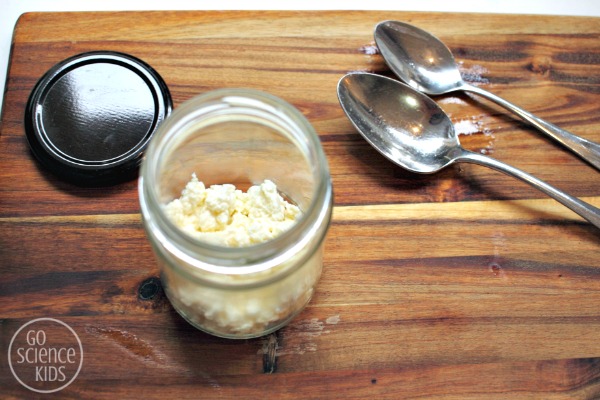
Curds and whey is the generic name given to curdled milk, which separates into lumps of cheese called curds and a liquid called whey. You can curdle milk in a few different ways, to create different types of cheese. The way that we tried today makes a ricotta-like cheese. (Technically ricotta cheese is made using a combination of regular milk and leftover whey from making another cheese, but since we weren’t making another cheese, we’ve used straight regular milk for our recipe instead.) This is a similar method used to make paneer or queso-blanco cheese as well.
Ingredients
- 2 cups of regular pasteurised whole milk (not UHT)
- 1/4 teaspoon table salt
- 2 tablespoons white vinegar
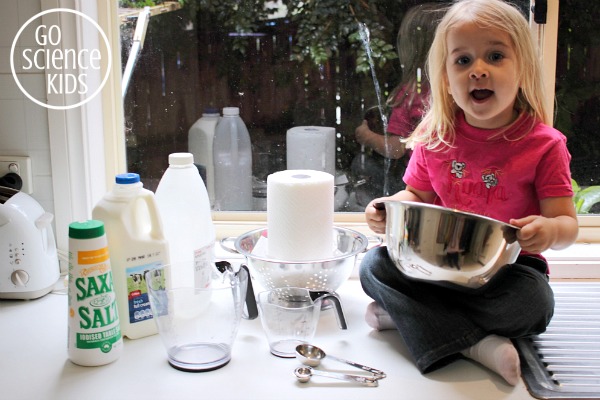
- paper towel
- regular kitchen materials, such as saucepan, bowls, measuring jug, measuring spoons, wooden spoon, slotted spoon, colander, fine sieve, cooking thermometer (optional)
- and a cheeky child to help!
Method
- Line colander with 2 layers of paper towel, and set over a medium sized bowl. (You want a bowl deep enough to contain the liquid, but narrow enough that the colander sits high on top.)
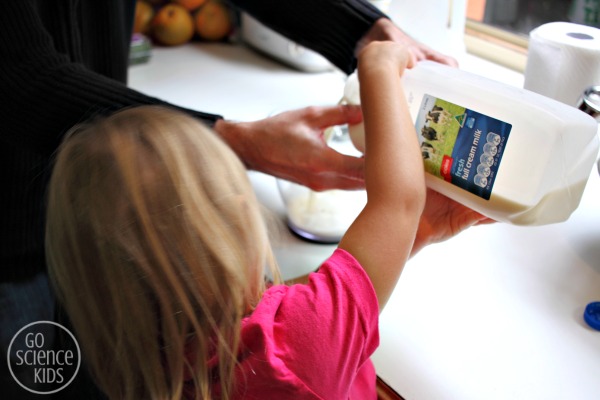
- Add milk to saucepan.
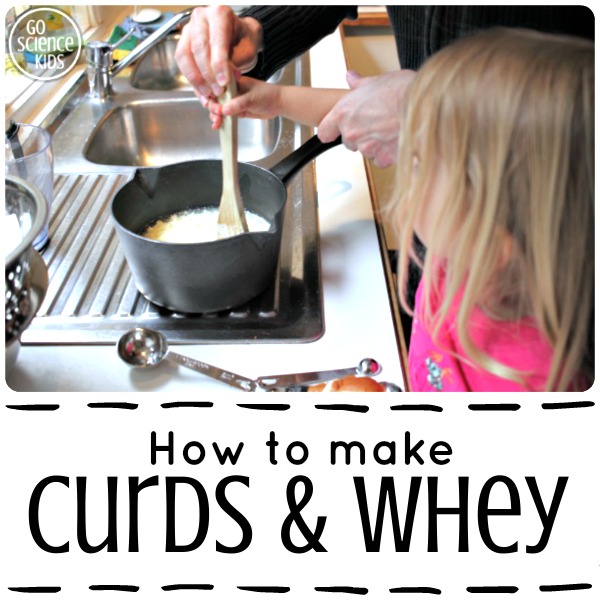
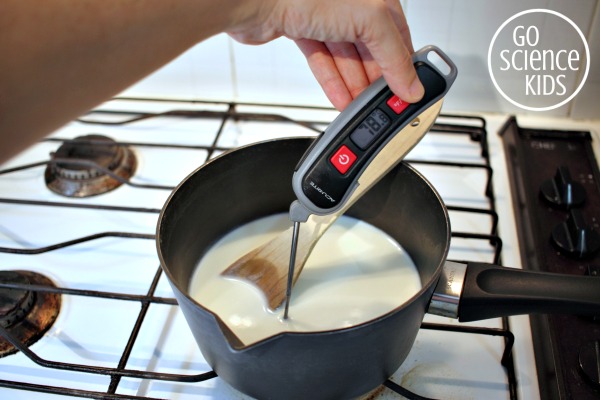
- Stir continuously as you heat the milk over low heat, stopping just before it reaches 80oC (175oF) on your thermometer (or until the milk looks like it’s about to start simmering). Remove from heat.
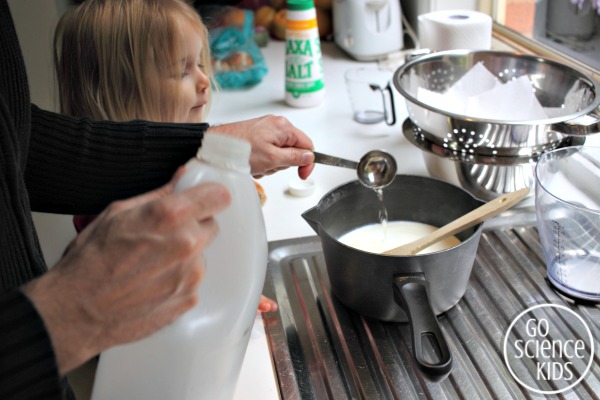
- Add salt.
- Add vinegar. Stir gently for 5 seconds. The milk should separate into lumps of white curds and translucent, slightly yellow-ish liquid whey.
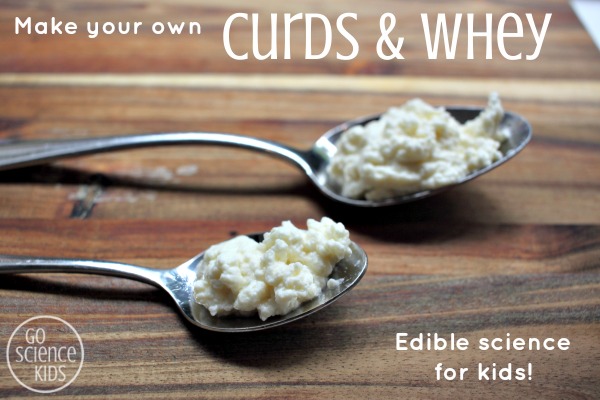
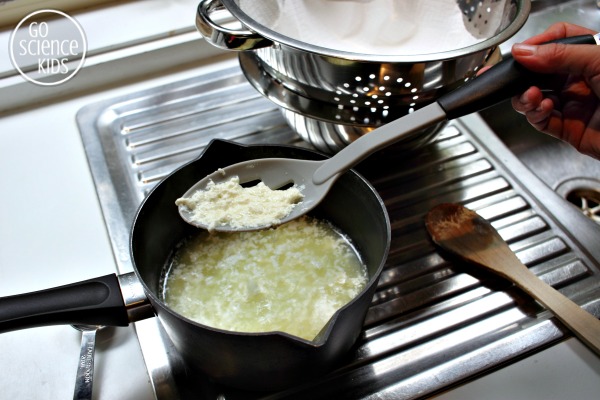
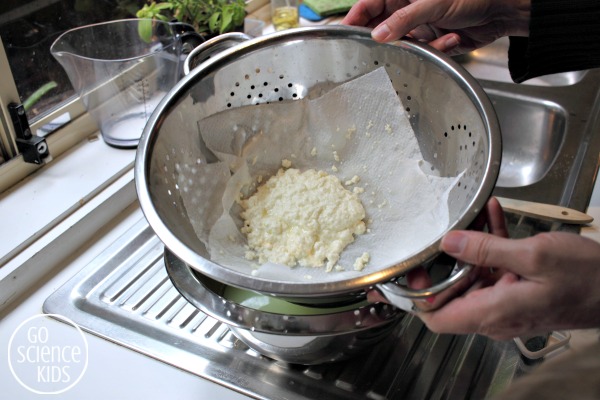
- Using a slotted spoon or fine sieve, gently transfer curds to the paper-lined colander. Allow to drain until desired texture is reached.
Bumble Bee helped gather the ingredients. She helped prepare the paper-towel lined colander. She helped pour and measure the milk.
I chose to heat and stir the milk myself. Older kids might be able to do this step, but Bumble Bee jiggles around a bit too much to be safe near a stove-top just yet. She happily went off and played, knowing that I would call her back for the next bit.
I took the milk off the heat and added salt, and then Bumble Bee bounced back up onto her stool to help measure out the vinegar.
Bumble Bee helped gently stir in the vinegar, and witnessed an awesome chemical reaction as the curds separate from the whey.
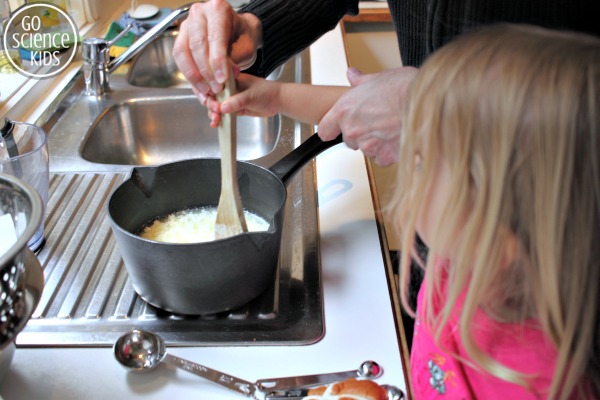
You’ll notice that Mr GSK is holding Bumble Bee’s arm up with his right hand – that’s to prevent her accidentally lowering her wrist onto the hot saucepan as she stirs. He’s also using his left hand to direct the spoon, as the curds need to be stirred very gently. Bumble Bee’s only 3.5 years old. She doesn’t have the proprioception skills to be able to stir gently and keep her arm up at the same time by herself just yet. But the important thing is that Bumble Bee thinks she’s in charge of the stirring.
We may have sung Little Miss Muffet quite a few times too.
This is what it looks like when the milk has curdled, or separated into curds and whey.
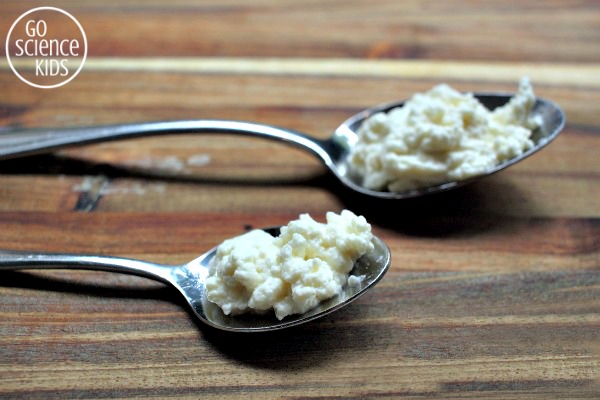
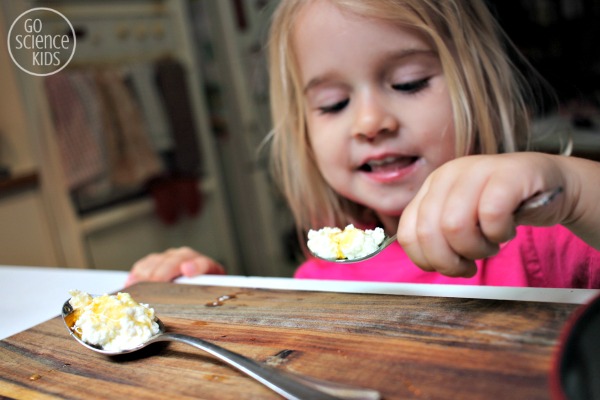
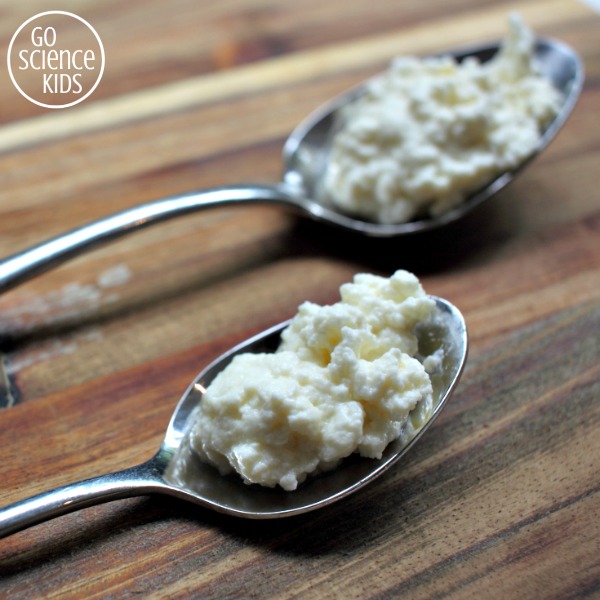
We only let ours sit for a few minutes, as Bumble Bee was a tad impatient to try it. And it was… quite nice! It’s not going to win any gold awards for best cheese, but it was pleasant and creamy (albeit with an ever-so-slight vinegar after-taste). A drizzle of honey helped win Bumble Bee over.
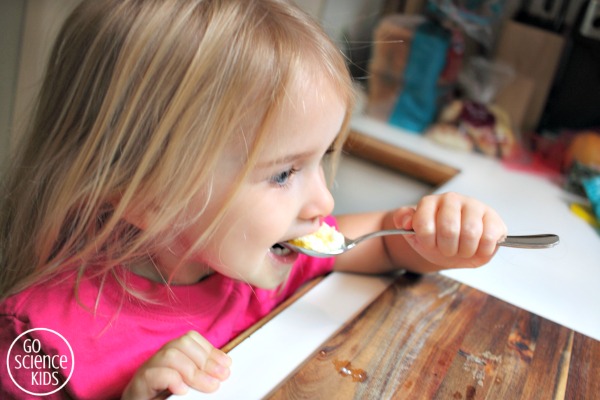
And by the time each of us had a taste (or two, or three), this is all we had left! I popped it in the fridge for Jewel to try when she got home from school that afternoon.
Honestly, I couldn’t believe how easy this cheese was to make. It took less than half an hour from start to taste, and used just everyday ingredients that we already had at home. I’m thinking this could be a great up-my-sleeve indoor activity for the next rainy day.
The eco-friendly side of me is also loving that we can make this in small batches when we need it, so there’s one less plastic container to buy from the store. It’s also a great way to use up milk that’s approaching it’s expiry date, as ‘old’ milk will actually curdle more easily. (If I want to be super environmentally-friendly, I really should figure out how to make use of the leftover whey – here’s a bunch of suggestions, but I haven’t been game to try any yet!)
Why do curds separate from whey?
Milk is made up of water, sugar, proteins (casein and whey proteins), fats and minerals, all held together in a type of mixture called a colloid. A colloid is a mixture which won’t settle out over time (like water and sand would) and can’t be separated by normal filtering.
Normally the protein molecules repel each other, but if the pH of their solution drops, the casein proteins suddenly attract each other, which causes them to clump together and form a new substance called curds, in a process called curdling. The liquid that’s left over is called whey.
The pH of milk can drop in a number of ways. In our recipe, we’ve dropped the pH by adding an acid (vinegar) which kick-starts the curdling process. Heat also speeds up the reaction.
If you’d like to read about recipe variations, I liked this post from The Food Lab where he tries out a bunch of different methods to make ricotta and documents the results. (I’m intrigued about trying this in the microwave next!) And in case you’re confused about where the recipe actually is at the end of the post (like I was), here it is here.
You can find more food science projects for kids here, including:
- This sherbet recipe, which is really easy for even the littlest kids to make, and they can feel the acid base fizzy chemical reaction happening on their tongue.
- Anzac biscuits are both fun to make and delicious, and there’s an awesome frothy reaction in the process.
- You could make edible glass that shatters just like the real thing, and learn about how glass is made, and why it’s transparent.
- Honeycomb is always a winner, with or without chocolate drizzled on top. (My vote is for with!)

I pin all our projects on our Go Science Kids pinterest board, and I have another pinterest board dedicated to all the awesome edible science projects I’ve found around the web.
* This post contains affiliate link(s). An affiliate link means I may earn a commission, referral fees or advertising fees if you make a purchase through my link, without any extra cost to you. It helps to keep this little project afloat. Thank you for your support.