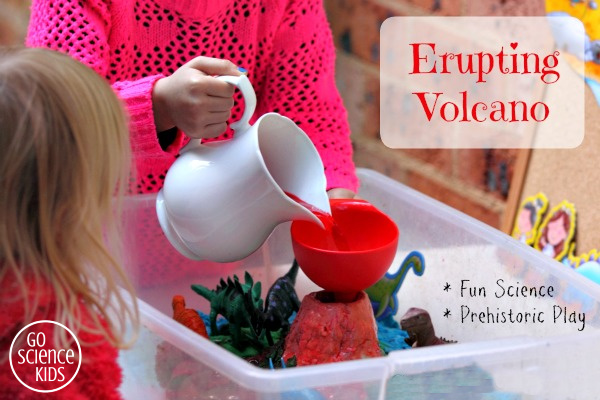
Have you tried combining baking soda and vinegar yet? It’s a classic fizzy science project that kids love, because it creates such a fun and instantaneous chemical reaction, and it’s easy to do at home. This time we added some extras to turn an ordinary plastic tub into a fun volcanic prehistoric small world for imaginative play.

To make a prehistoric volcanic scene, you will need:
(Our supplies were purchased from local grocery or discount stores. Affiliate links* provided to similar products below. Thanks for your support.)
- a small jar
- tan, green and blue play dough
- dinosaur figurines
- baking soda(sodium bicarbonate)
- white vinegar
- red food colouring
- clear plastic tub
- funnel
- jug
You should find sodium bicarbonate in the baking section of your local grocery store. Depending on where you live, it may be called baking soda, bicarbonate of soda, bicarb, bread soda or cooking soda.
NOTE: Baking soda is not the same thing as baking powder. (Baking powder is a mixture of sodium bicarbonate and cream of tartar, and can’t be used as a substitute.)
The best plastic tubs have shallow sides, so young kids can easily reach inside. Ours was labelled an “under bed storage box”.
What to do
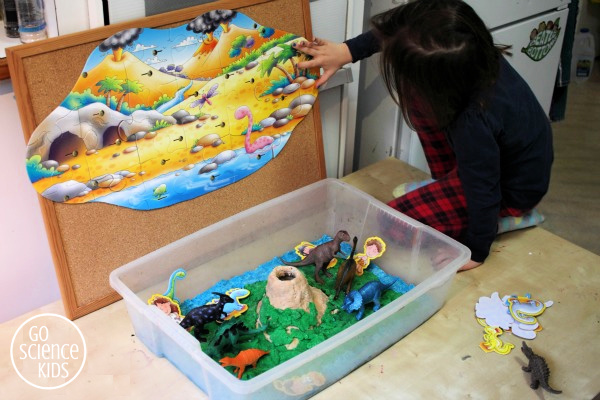
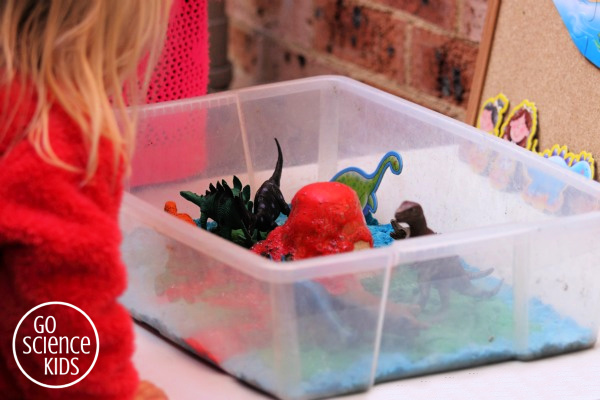
1. Place the jar in the centre of the tub. Create a volcanic island shape around it with tan playdough, and then create a surrounding island with the green and blue play dough.
We made a quick home-made playdough with flour, salt, boiling water and food colouring.
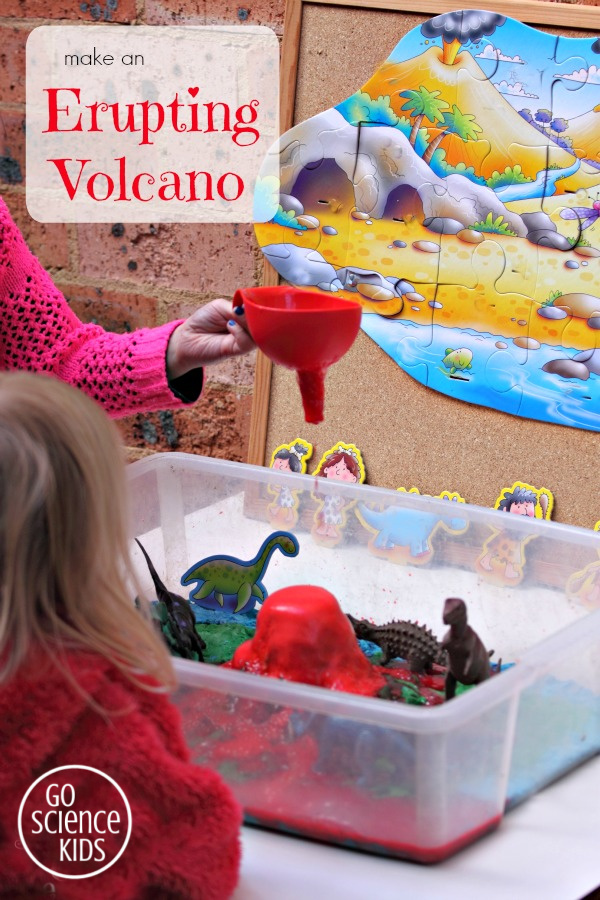
We also happened to have a handy (if inaccurate) dinosaur giant jigsaw puzzle that made a great backdrop. Jewel spent at least an hour helping me create the entire volcanic scene, and then engaged in imaginative play with the volcano and her figurines, before we even had a chance to take the volcano scene outside to erupt.
2. Add 3 tablespoons (or so) of sodium bicarbonate (baking soda) to the jar inside the volcano. Prepare a jug with 2 cups of white vinegar and a few drops of red food colouring.
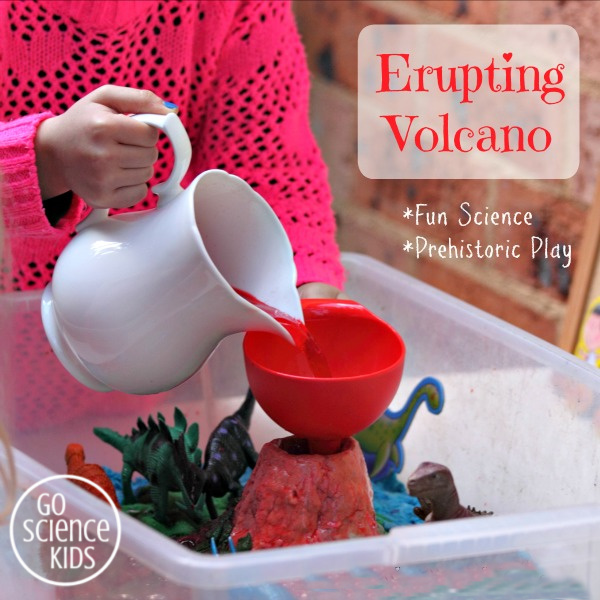

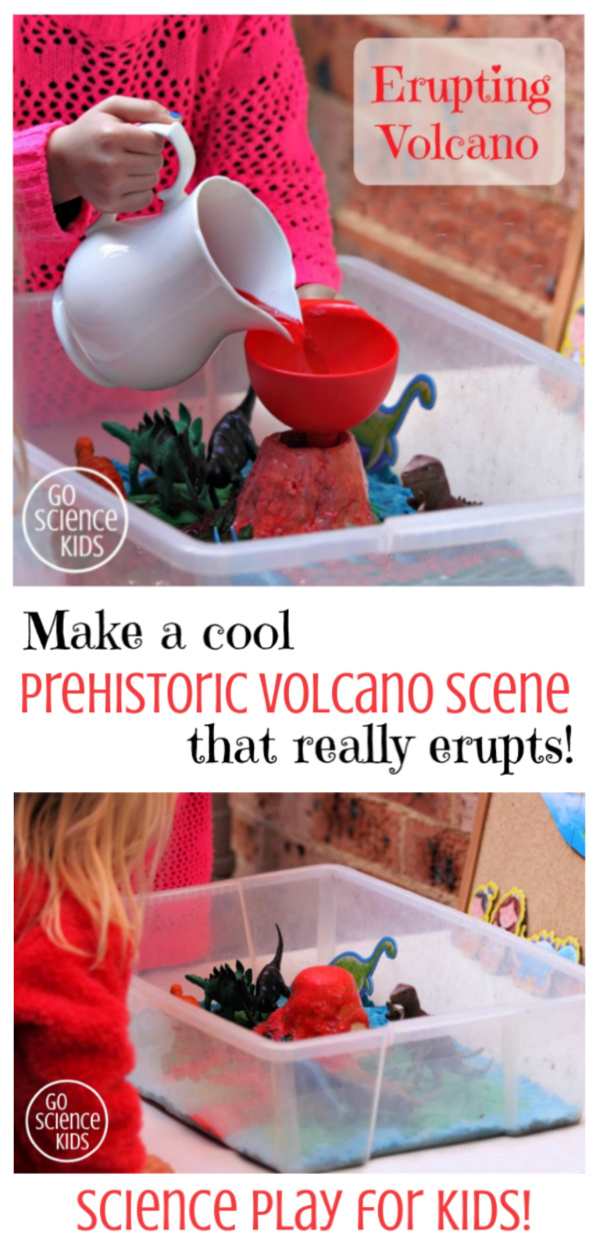
3. Pour the vinegar mixture into the volcano. When it comes in contact with the baking soda, it will start to bubble and ‘erupt’.
Jewel (5 years, 2 months old) could easily hold a funnel in her left (non-dominant) hand, and the jug in her right. She poured in a little of the vinegar & red food colouring mixture, and then lifted up the jug and funnel to watch the bubbling ‘lava’ erupt and flow down the side of the volcano. Cool.
When the bubbles subsided, Jewel made the volcano erupt all over again! She was able to create about a dozen eruptions in a row, by pouring in just a little vinegar mixture each time.
Jewel’s little sister Bumble Bee (2 years and 10 months old) watched from the side, absolutely fascinated.

Fun Science Fact
The ‘lava’ is formed by a chemical reaction between baking soda and vinegar. Baking soda is made up of tiny sodium, hydrogen, carbon and oxygen atoms, all joined together in a special way to form a molecule called sodium bicarbonate (NAHCO3). Vinegar is made up of hydrogen, carbon and oxygen atoms too, but they are joined together in a different way, forming a molecule called acetic acid (HCH3COO). When the baking soda and vinegar mix together, they get so excited that they swap some of their atoms, and create entirely different molecules! One of these molecules is called carbon dioxide (CO2). Carbon dioxide is a gas – the same gas that makes fizzy drinks all fizzy. And that’s what causes our ‘lava’ to fizz and bubble up!
You can decide how much of the science theory you want to go into, depending on the age and interest level of your child. Remember, for very young kids, it’s more about instilling a sense of curiosity in science, and gradually building up a scientific vocabulary, than extensive explanations about why something is happening. Just by doing the activity, and using words like fun science, chemical reaction and carbon dioxide bubbles, can be enough to encourage a budding science girl!
Suitable for
Try this science activity with 3-4 year olds, 5-6 year olds and up! Jewel was 5 years, 2 months old when we first gave this a go. 2 year, 10 month old Bumble Bee acted as an attentive audience.
I should point out that our particular prehistoric scene isn’t at all accurate. There’s no chance that you’d ever get a cave girl, a woolly mammoth, a stegosaurus and a T-Rex on the same island, at the same time. Jewel, who decided on our prehistoric scene design, is very aware of these inconsistencies. She explained that on this occasion, it was OK to pretend that a T-Rex was chatting to a Stegosaurus because she was “playing make believe”. But if you wanted to make a more accurate version at your place, perhaps choose dinosaurs from just a particular geologic period, and definitely no cave girls.

Do you have a dino-loving kid at your place too? Would she like to try making a volcanic island too?
Please note…
Mixing together pantry ingredients is a safe and fun way to explore chemical reactions with kids. The ingredients used here are non-toxic and taste-safe, however this science activity is not meant to be viewed as edible – it wouldn’t taste very good! All kids’ activities on this blog assume attentive adult supervision. Parents and carers will need to judge whether a particular activity is appropriate their child’s age and skill level. Click here for more information.
* Some of the products we have in Australia are not available internationally or online, so I’ve added in these (affiliate) Amazon link(s) to clarify. An affiliate link means I may earn a commission if you make a purchase through my link, without any extra cost to you. It helps to keep this little project afloat. Thank you so much for your support, I really appreciate it.