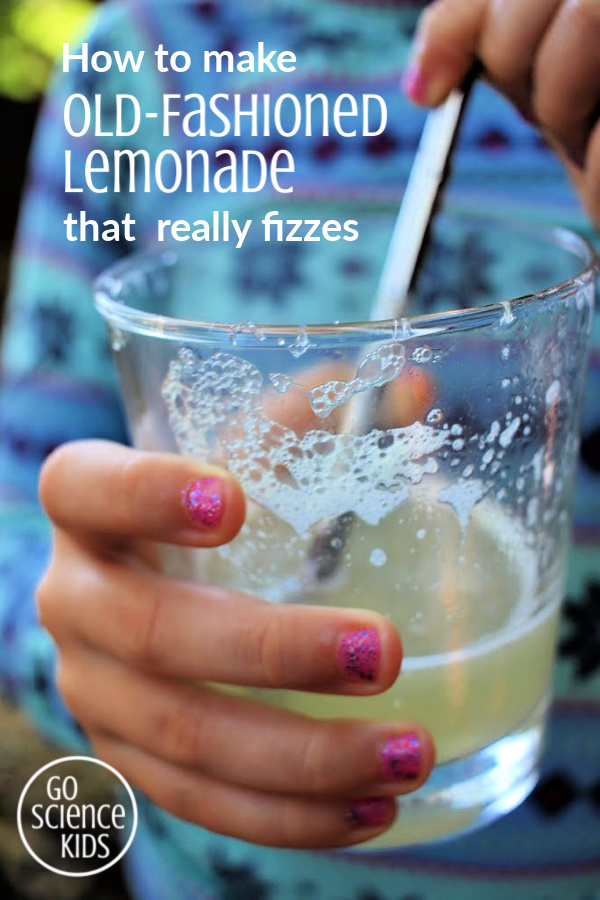
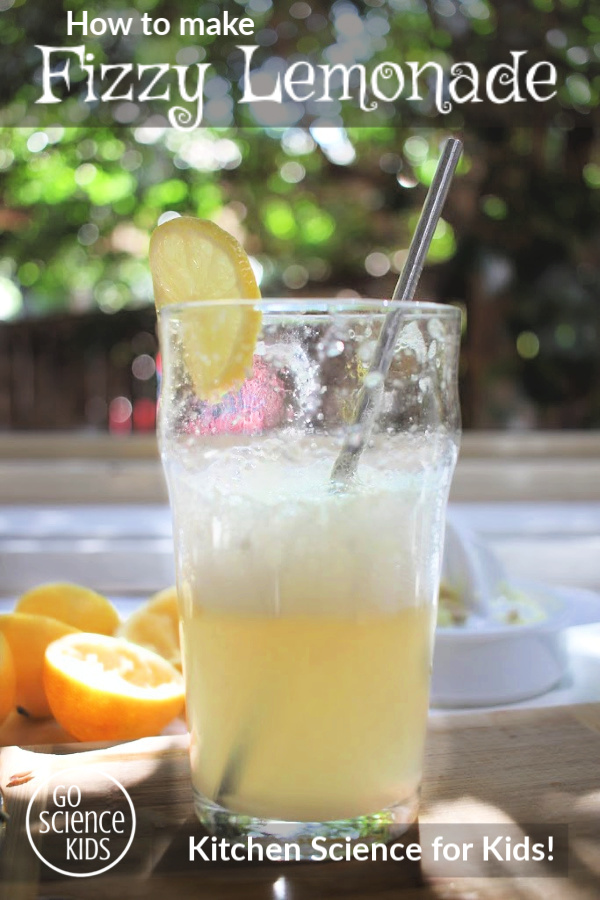
How to make real old-fashioned lemonade from scratch, that really bubbles! Fun edible (or drinkable) science project for kids.

I’ve been wanting to make homemade lemonade with the kids for AGES! It’s one of those classic “must-do” childhood activities, and if you make yours with an acid-base reaction like we did, it also doubles as an impressive & tasty science demonstration.
There are different ways you can add bubbles to (or carbonate) drinks. One way is to use something like a soda stream which forces carbon dioxide gas (Co2) from a pressurised cylinder into drinks, making them fizzy. Another way is to produce an acid-base chemical reaction, which creates the carbon dioxide from within the drink. That’s what we’ve done with our homemade lemonade recipe here. And the best bit is that our recipe doesn’t require a fancy soda stream machine – it uses common pantry items that you probably already have at home.
We’ve played around with acid-base chemical reactions in the kitchen before, like when we made Anzac biscuits, or our Violet Crumble honeycomb bars, and let’s not forget our homemade sherbet! There’s something so impressive about watching things froth up and bubble, especially when you get to taste them afterwards.
Our lemonade recipe will taste a little different to the store-bought lemonades that you might be more used to. Fair-warning that the baking soda does have a slightly soapy after-taste. But if you add enough sugar (!), and if your kids enjoy the process, then the results are certainly impressive and memorable . We made two glasses of lemonade, (reducing the quantity of baking soda in our second glass, until we found our ‘sweet spot), and my kids are asking to make more today, so I think that means it was a winner.

Suitable for
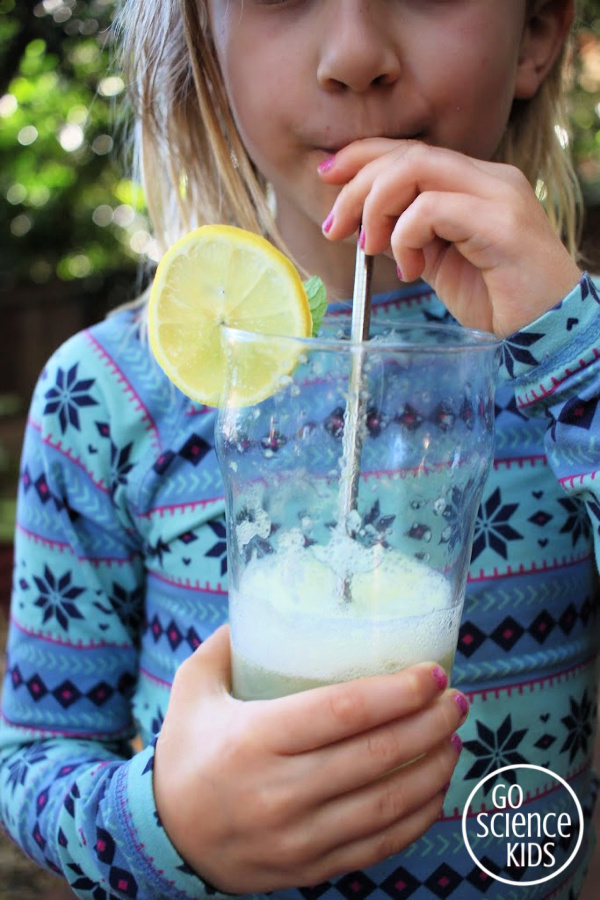
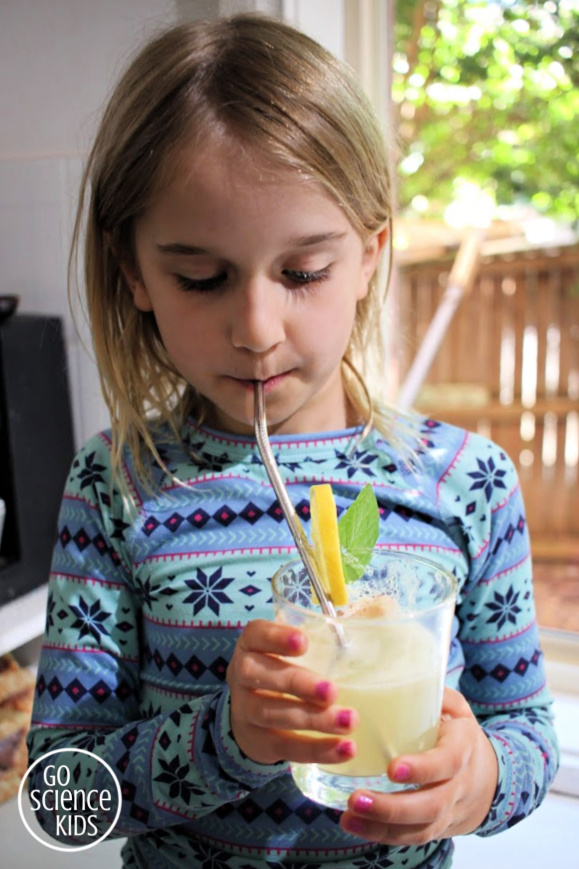
Tasty science is fun for any age! You could try this from preschoolers through to primary school aged kids – Bumble Bee was 7.5 years old when we did this at home.
Younger kids will be fascinated by all the bubbles in this demonstration, and it can start to develop their understanding of acid base reactions, and that ‘chemicals’ can occur naturally and be useful in cooking!
Older kids might like to turn this into an experiment (perhaps by studying the effect of varying the baking soda quantities) using the scientific method: form a hypothesis, create a fair test, by changing just one variable, and record results. They can share their findings in the comments below!

Please note…
Mixing together pantry ingredients is a safe and fun way to explore chemical reactions with kids. The ingredients used here are all generally taste-safe, however, please don’t let kids eat baking soda in its concentrated form (ie, don’t let kids eat plain baking soda by the spoonful please). Baking soda is OK to taste once it’s with the other ingredients in the lemonade.
Kids knife skills vary – use your own discretion as to whether you would like your child to try using a sharp knife, or if you would like to pre-cut the lemons for them.
All kids’ activities on this blog require attentive adult supervision. Parents and carers will need to judge whether a particular activity is appropriate their child’s age and skill level. Click here for more information.
How to make Old-Fashioned Lemonade
*Note: affiliate links to similar products included below
Ingredients
We used (per serve):
- juice of 2 lemons
- 1/4 teaspoon baking soda (also called sodium bicarbonate)
- several teaspoons sugar (to taste)
- iced water
- lemon slice and fresh mint to garnish (optional)
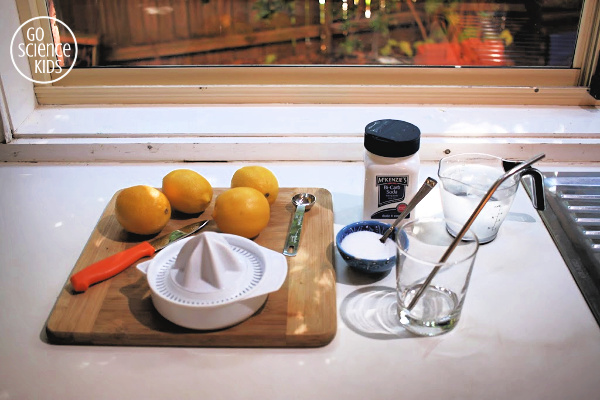
You can find sodium bicarbonate in the baking section of your grocery store. Depending on where you live, it may also be called baking soda, bicarbonate of soda, bicarb, bread soda or cooking soda.
Note: Baking soda is not the same thing as baking powder. Baking powder contains cream of tartar, and should not be used as a substitute in this recipe.
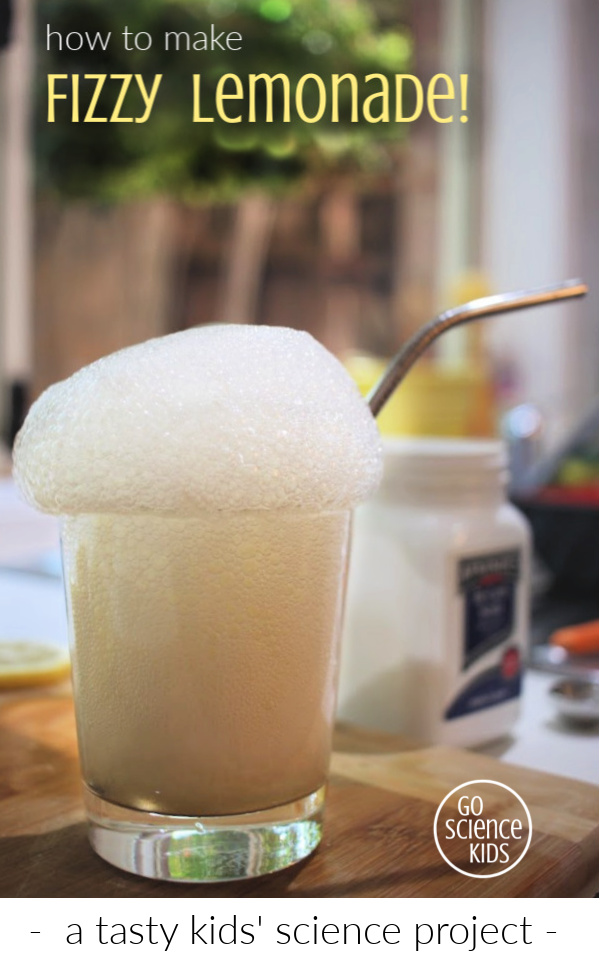
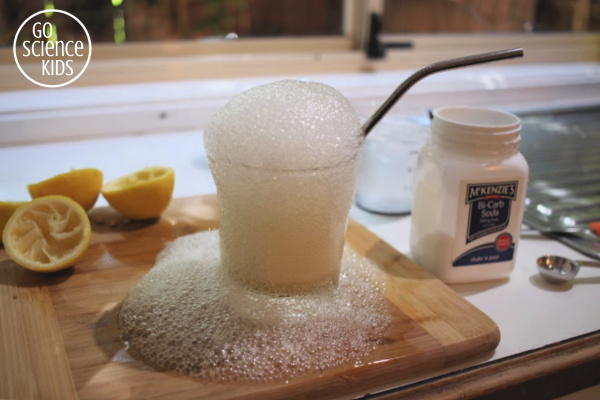
You’ll also need some common kitchen supplies: chopping board, knife, citrus juicer, measuring spoons, jug, tall glass, reusable straw. The second time we made this, we used a much taller glass, to prevent everything fizzing over onto the bench-top!
We experimented a little with ratios. At first we tried 1/2 teaspoon of baking soda, but we found that taste overpowering, so for our second batch we halved the baking soda quantities, and found that more palatable.
Here’s a video of our second batch, and you can hear my daughter and I talking a little about the science behind our lemonade recipe. As you can see, she’s starting to get the hang of the whole acid-base reaction thing, but she’s not quite got it all down pat just yet! (As a side note, she did invent the cutest word ever – overplosion! Nawww…)

Instructions
- Cut two lemons in half. (Optional: Cut a slice of lemon and set aside to use as garnish.)
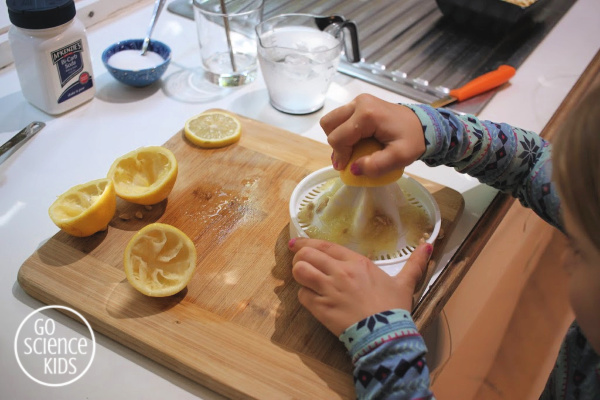
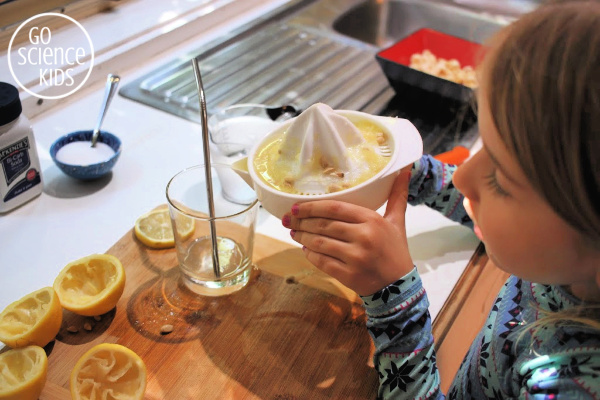
- Juice the lemons.
- Pour the lemon juice into a glass. Take a small sip to taste!
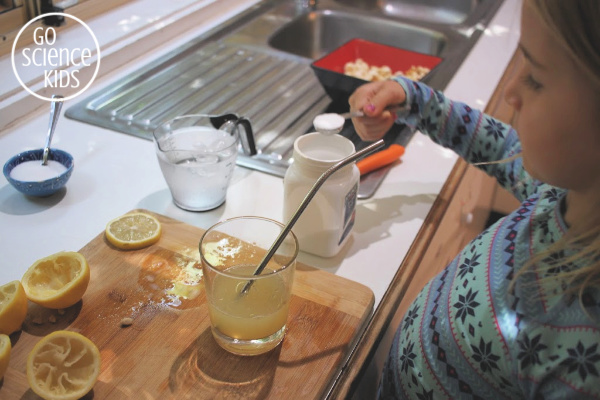
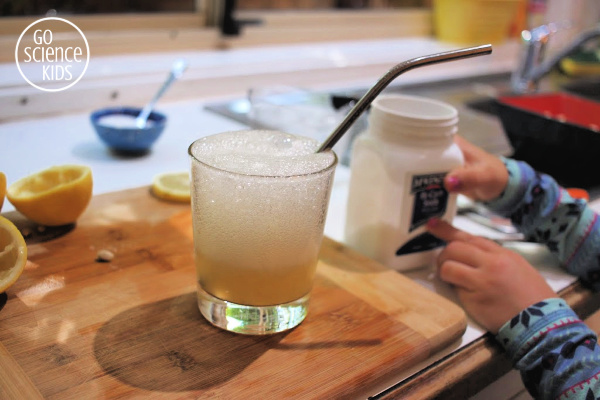
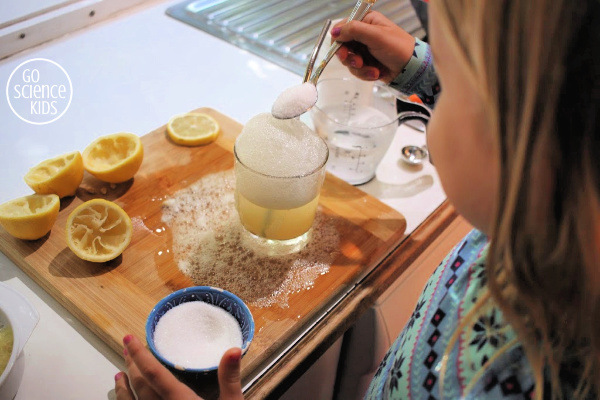
- Add 1/4 teaspoon baking soda, stir, and watch out for bubbles! Take another small sip – how has the taste changed?
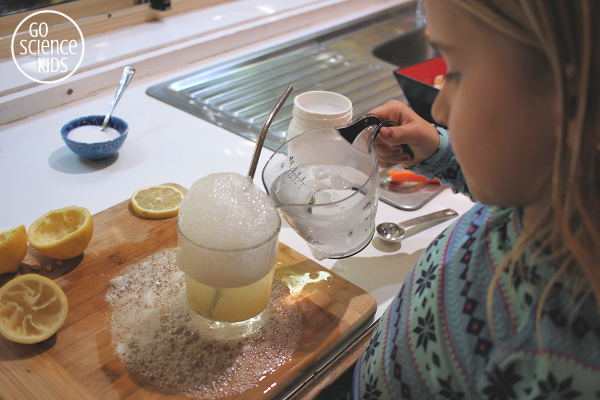
- Add iced water to taste. (We added about twice as much water as juice).
- Add sugar to taste and stir. (We added quite a few spoonfuls). Taste again. Does it taste better now? Do you like it? Can you ‘taste’ the bubbles?
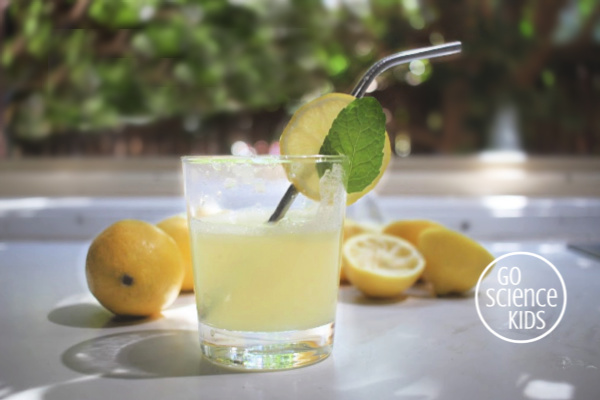
- Add a slice of lemon and a mint leaf to garnish. Serve!
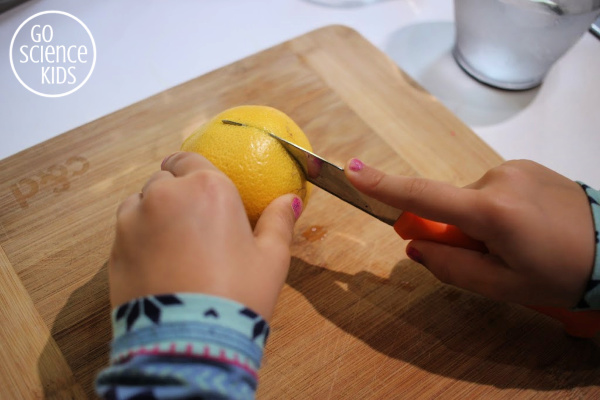
Step 1: Cut two lemons in half. Cut a slice of lemon and set aside, for the garnish.
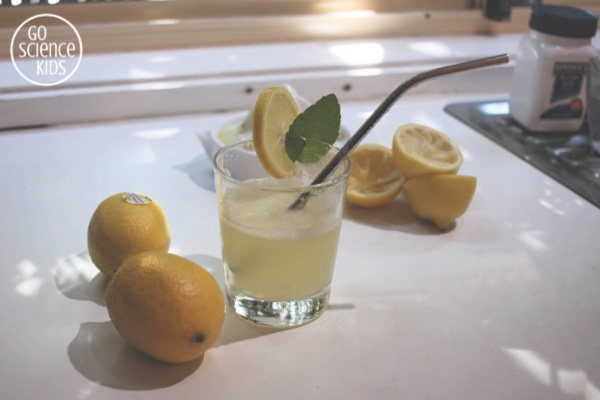
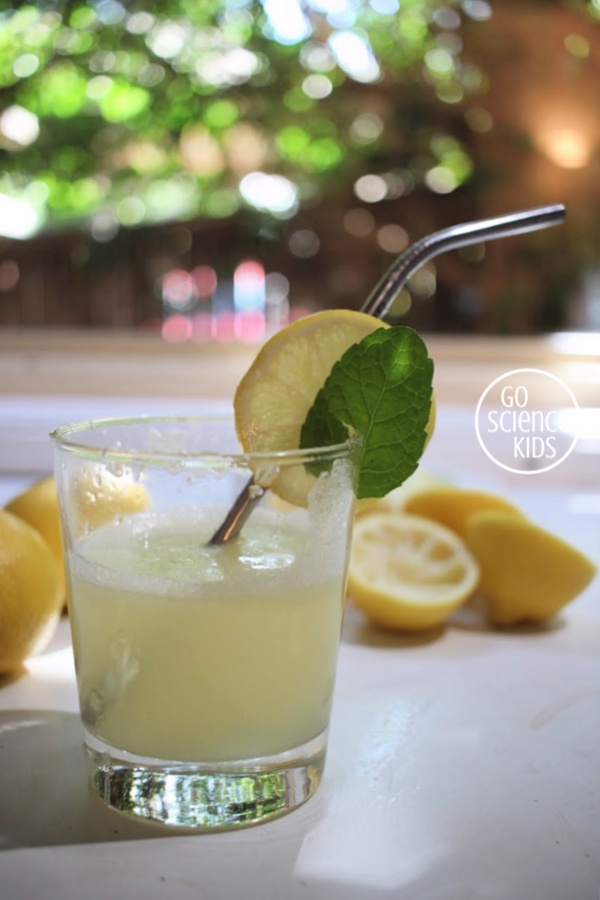

Delicious!
Fun facts
An acid is something that has a low pH. There are quite a few safe acids that we use in cooking. Vinegar, buttermilk, yoghurt, lemon juice, orange juice, chocolate and honey are all “acids”.
A base is something that is alkaline, or has a high pH. Baking soda (or sodium bicarbonate) is the most common base that we use in cooking.
When you combine an acid and a base (in the presence of liquid), a chemical reaction happens that creates a gas.
This chemical reaction is used by chefs to create all sorts of yummy foods and drinks! It’s used to make your cakes rise in the oven, it’s used to make honeycomb light and airy, it’s used to make sherbet fizz on your tongue, it’s used to tenderise meat and seafood, and it’s used to add bubbles to fizzy drinks!
For more info, Food Crumbles has an interesting article on acid base reactions in cooking.
- how to make fizzy sherbet
- how to make Anzac biscuits
- how to make curds and whey
- and more!
You might also like to follow our Go Science Kids, Fun Science for Kids and Yum! Edible Science Activities boards on Pinterest.
And, of course, you can always subscribe to our newsletter, to receive all our latest activities straight in your Inbox. We’d love to have you join us!
* This post contains affiliate link(s). An affiliate link means I may earn referral / advertising fees if you make a purchase through my link, without any extra cost to you. These fees help keep this blog afloat. Thank you for your support!