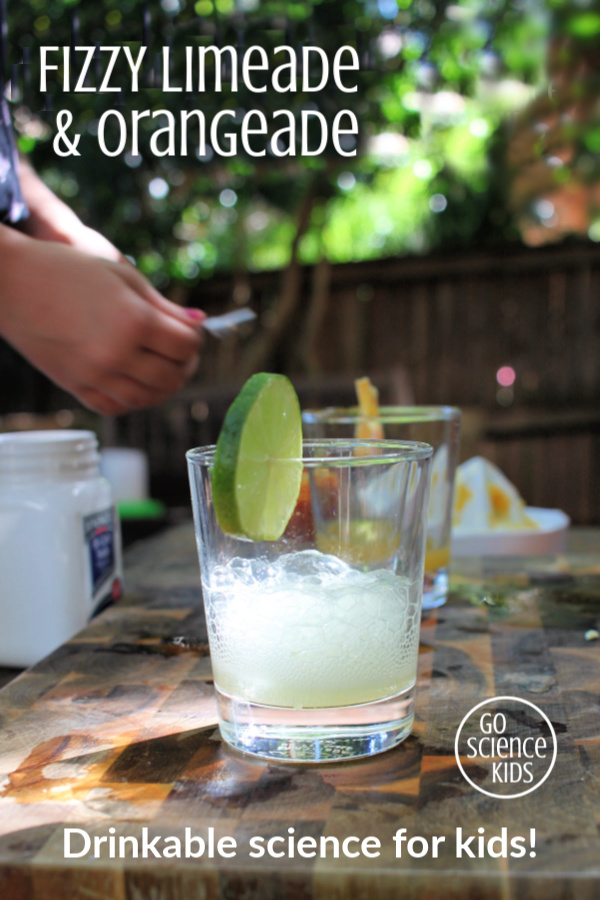
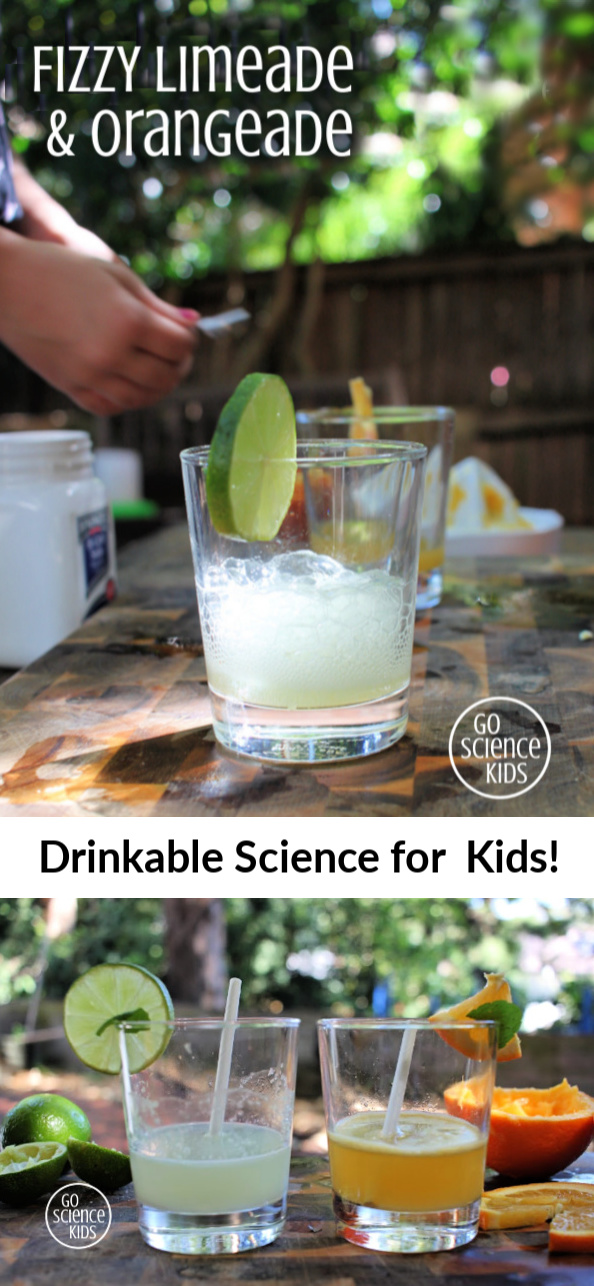
What’s fizzier: Limeade or Orangeade? Try this fun kitchen science experiment to find out. It’s chemistry you can sip!

We had so much fun making old-fashioned lemonade last week, that we ran out of lemons! But it got us thinking – can you use a similar acid-base reaction to make fizzy drinks with other citrus fruits? We had some limes and oranges in our fruit bowl, so we decided to find out!
We happened to do this in our backyard, as it was a warm autumn day and we’re trying to make the most of the sunshine. But you can totally do this in your kitchen too – actually, it would make a fun rainy day activity for those days when you’re stuck indoors…
Suitable for
Comparing the fizziness of homemade drinks is a fun kitchen science experiment that you could try with preschoolers, kindergarteners and primary school aged kids. My daughter Bumble Bee was 7.5 years old when we gave this a go.
How to make fizzy Limeade and Orangeade, and how to turn it into a science experiment
Ingredients
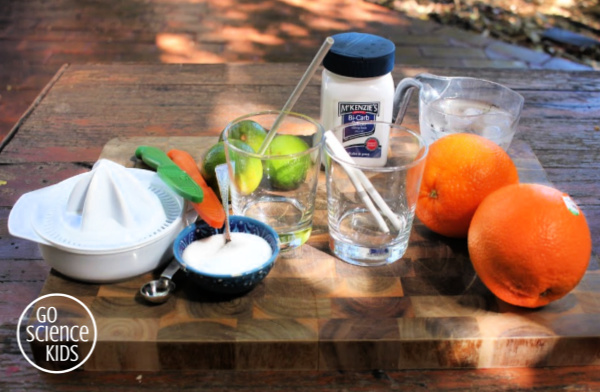

- Limes (or other citrus fruit)
- Oranges (or other citrus fruit)
- Baking Soda
- Sugar
- Iced water
- two matching glasses
- Basic kitchen supplies (knife, chopping board, juicer, teaspoon, paper straws)
Note: Baking soda is also called bicarb soda, bicarbonate of soda, sodium bicarbonate, and can be found in the baking aisle of your local grocery store. Baking powder is not the same as baking soda, and should not be used as a substitute in this recipe – unless you want to make a comparison of baking soda and baking powder part of the experiment of course!
What to do
We followed the same basic steps that we used when we made our fizzy lemonade earlier, except that this time, we used two different types of citrus juice, and we focused on creating a fair test to see the difference in the results between the two.
1. Cut a lime and an orange in half. (We used different knifes to prevent cross-contamination, or you could use the same knife if you washed it in between). Optional: Cut a slice of lime and orange, and set aside to use later as garnish.
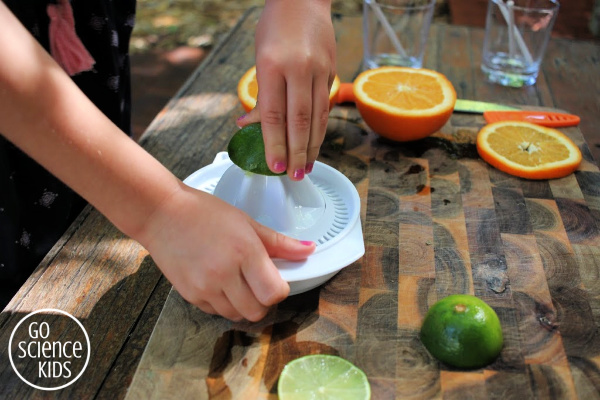
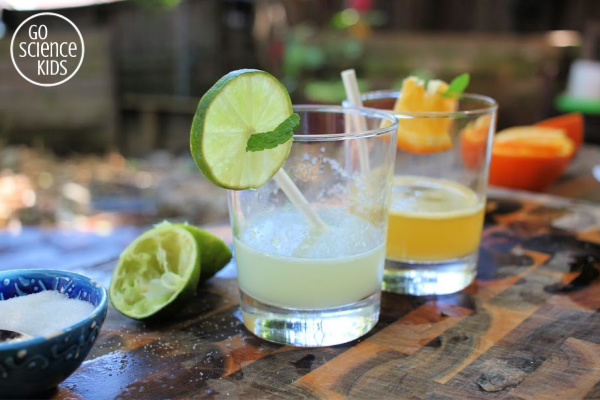
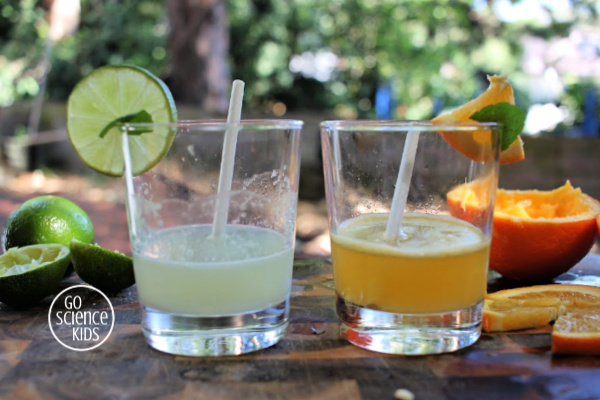
2. Juice the lime and pour into a glass. Take a small sip to taste. It’s sour!
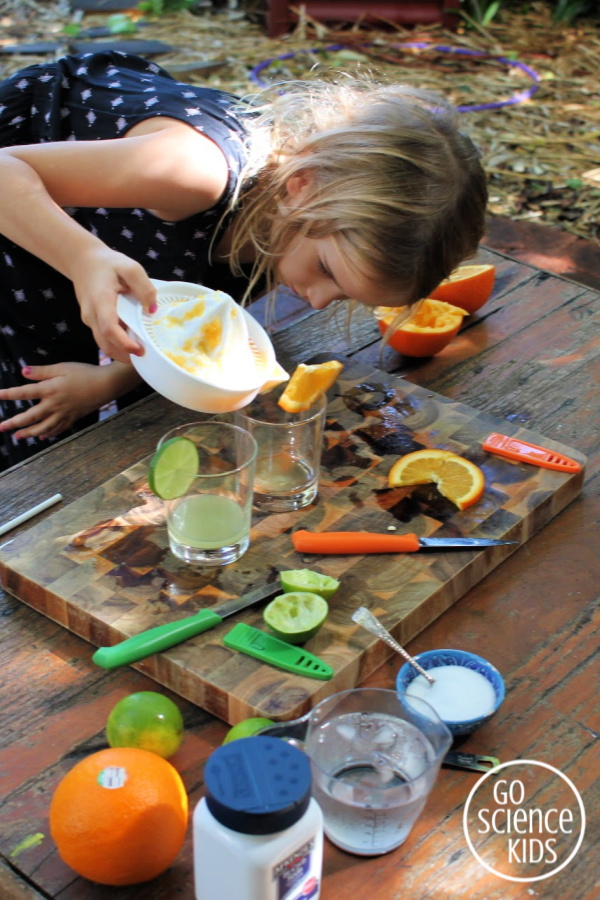

3. Wash the juicer (to prevent cross-contamination), and then juice the orange. Pour some of the orange juice into a second glass, stopping when you have the same quantity of juice as the juice in the lime glass. We want the volume of liquid in both glasses to be the same, as that isn’t the variable that we’re testing. Take a small sip of the left over juice – hopefully you’ll notice that it’s sweeter than the lime juice, but still ‘citrus-y’.
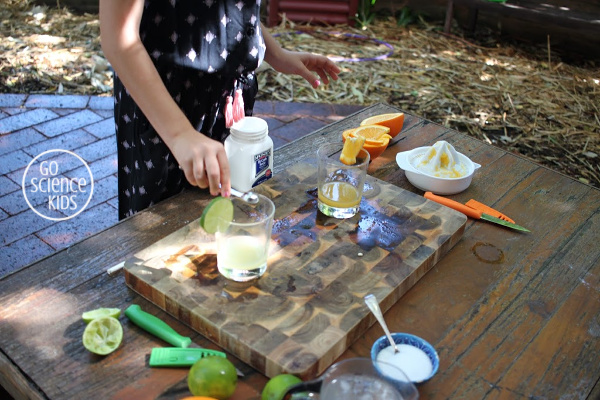
4. Add the same amount of baking soda to each glass. (We added 1/4 teaspoon as this is the smallest measuring spoon we have, but 1/8 teaspoon would probably have tasted better for this volume of liquid. But, for the sake of the experiment, it doesn’t really matter exactly how much you add, as long as you add the same amount to each glass).
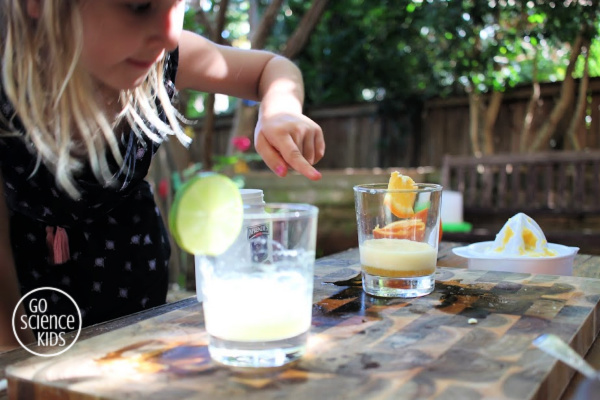
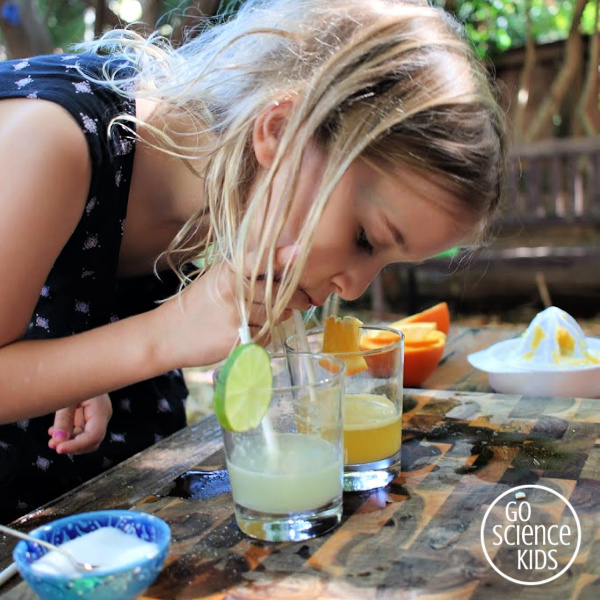
5. Watch the juice in each glass fizz, foam and bubble! Take note of the differences between the two glasses. Which one fizzes higher? Is there a difference in the time that they fizz for?
6. Have a sip from each glass. How has the taste changed?
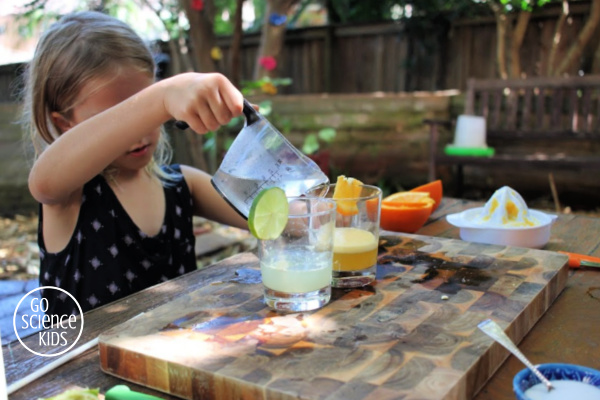

7. With the ‘experiment’ part of the project is now finished, but you can try adding some iced water and sugar to each glass to see if you can turn them into a tasty drink.
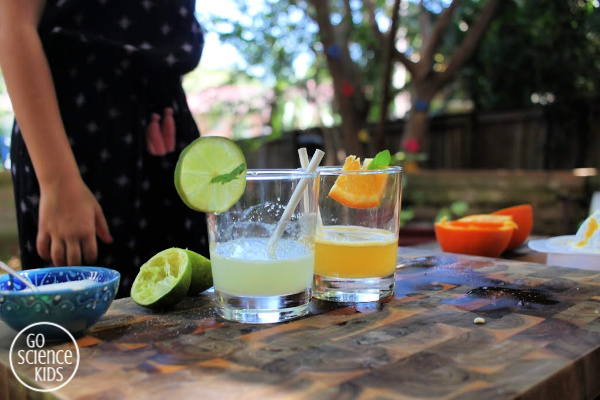
To be honest, Bumble Bee didn’t really love the taste of her limeade and orangeade drinks, but she did like doing the experiment! Interestingly she did like lemonade we made earlier – probably the reason why most people make lemonade instead of limeade or orangeade!

(Note: you might notice that Bumble Bee used the same straw to stir the two drinks – she should have used two straws to avoid cross-contamination. But she did it too quickly, before I could point it out! Next time I’ll make sure to remind her about this beforehand…)
Fun facts
Conducting a ‘fair test’ is one of the most important things in doing primary school science experiments. A fair test, is a test where you change only one variable at a time, and keep all other aspects of the experiment equal. In this experiment, the variable that we changed was the type of juice that we used. We kept the size of the glass, the quantity of the juice and the amount of baking soda the same. By changing just one variable at a time, you can be sure exactly what caused any difference in the results.
An acid is something that has a low pH. Vinegar, buttermilk, yoghurt, lemon juice, lime juice, orange juice, chocolate and honey are all ‘acids’. A base is something that is alkaline, or has a high pH. Baking soda (or sodium bicarbonate) is the most common base that we use in cooking. When you combine an acid and a base (in the presence of liquid), a chemical reaction occurs that creates carbon dioxide gas (CO2). This chemical reaction can be used to add bubbles to fizzy drinks.
Please note…
All kids’ activities on this blog assume attentive adult supervision. Parents and carers will need to judge whether a particular activity is appropriate their child’s age and skill level. Click here for more information.
Mixing together pantry ingredients is generally a safe way to explore chemical reactions with kids, however, please don’t let kids eat baking soda in its concentrated form (ie, don’t let kids eat plain baking soda by the spoonful) as it can cause toxicity if too much is swallowed. It is safe to consume when used appropriately and mixed with other ingredients.
Kids knife skills vary – use your own discretion as to whether you would like your child to try using a sharp knife, or if you would like to pre-cut the limes and oranges for them.

- how to make fizzy old-fashioned lemonade
- how ‘miracle berries’ confuse you taste buds and make lemons and limes sweet
- how to make fizzy sherbet and feel a chemical reaction on your tongue!
You can always subscribe to our newsletter, to receive all our latest activities straight in your Inbox. We’d love to have you join us!