How to make cute crystal holly ornaments – cute Christmas science craft project for kids.
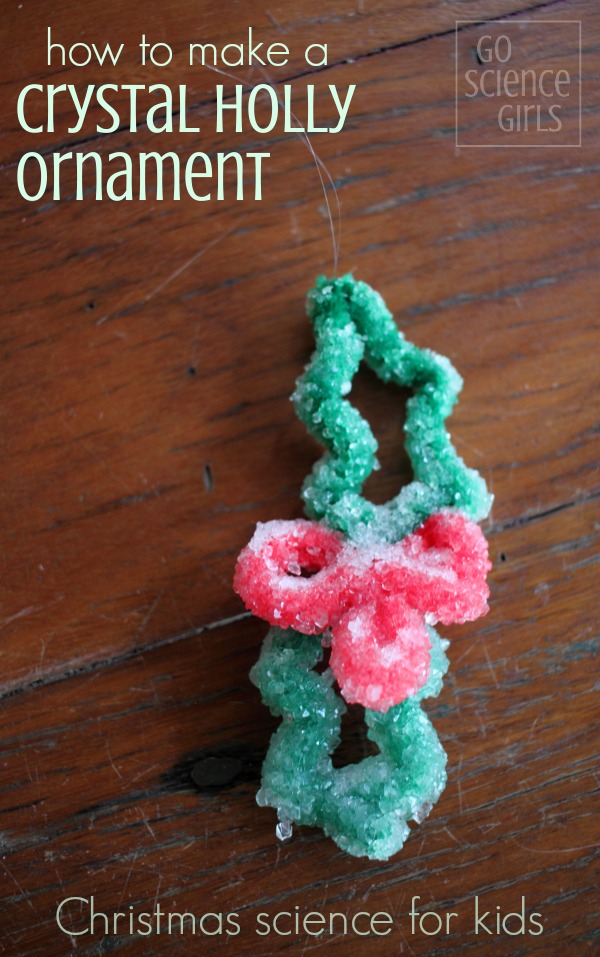

Remember how I mentioned we have a bunch of new DIY crystal decorations to share for Christmas? This next one was a special request from my 4 year old – crystal holly!
Suitable for
I’d recommend this activity for primary (elementary) school aged kids. Younger kids (5-6 year olds) could also give it a try, with assistance. This was too tricky for my 4 year old, but she watched with earnest, assisting where she could.
We made these in much the same way that we made our crystal Christmas trees earlier. I’ll repeat the main steps below.
How to make crystal Holly Christmas Ornaments
You’ll need:
- Borax
- Green and red 6mm furry pipe cleaners (aka chenille stems)
- recycled glass jar (tall enough that the holly can easily dangle inside)
- invisible nylon thread
- chopstick
- safety glasses (optional, but recommended. We have these ones.)
What to do:
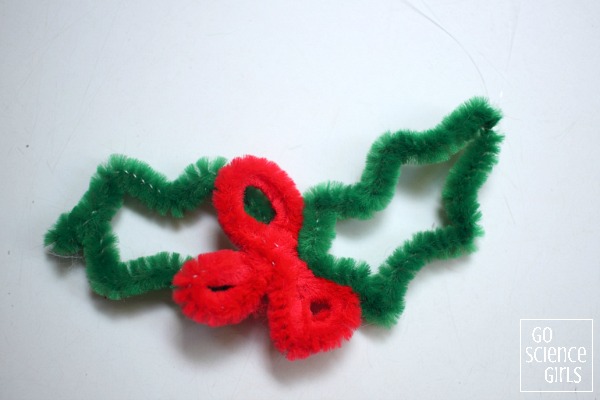
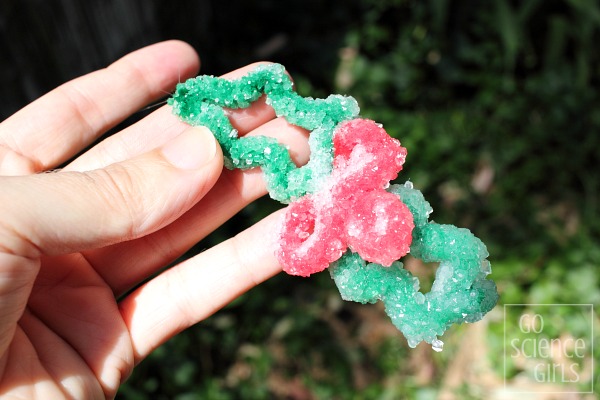
1. Fold the green pipe cleaner in half. This middle point will become the tip of one of the holly leaves. Bend into a holly leaf shape, twist the two sides together at about the midway point, and the bend the remaining section into a second holly leaf shape, twisting the ends together to finish.
2. Twist the red pipe cleaner around the middle of your two holly leaves, and bend into several holly berry shapes.

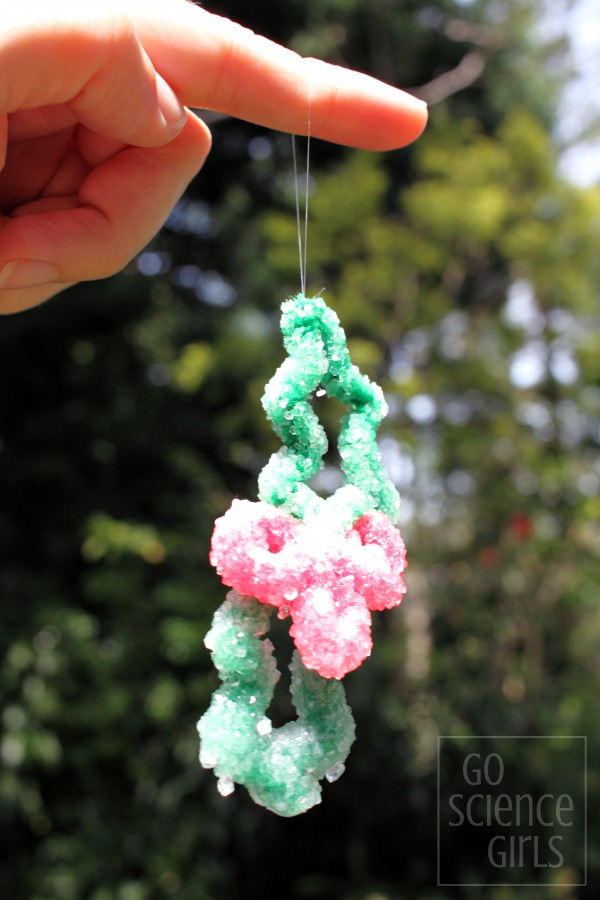
3. Tie a loop of invisible nylon thread to the end of one of your holly leaves. Thread this loop onto a chopstick (or pencil), and check that the holly can easily dangle inside the jar with the chopstick balancing on top.
4. These next steps require adult supervision. (See safety notes below). Put on safety glasses. Fill a glass jar with boiling water. (Careful – the glass jar will become very hot!) Add Borax powder to the water, and stir. (Note: Borax is not taste-safe.)
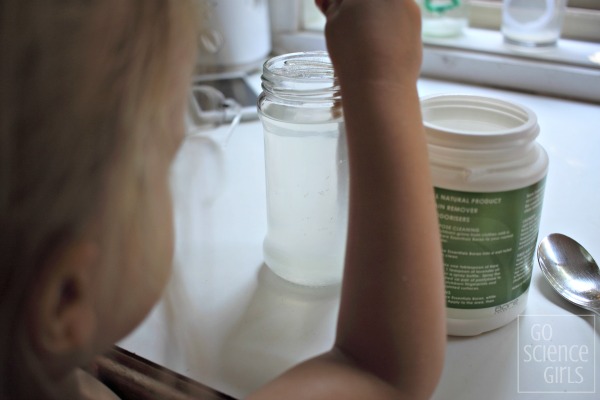
The Borax will become suspended (ie, it will won’t settle on the bottom of the jar.) The actual quantity of Borax required will depend on the volume of your jar – allow for about 3 tablespoons per 250ml of water. Or just keep adding and stirring until you’ve saturated the mixture and you start to see Borax collect on the bottom.
5. Lower the holly into the Borax suspension, balancing the chopstick on top. Double check that the holly isn’t touching the jar. Set aside in a safe place until the next day (or longer).


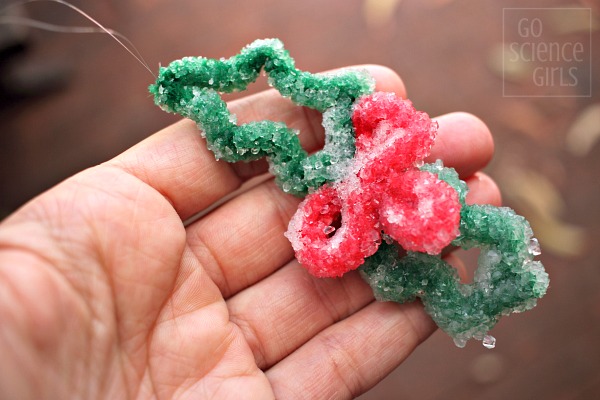
6. When the crystals have stopped growing, remove the holly from the jar, slide the nylon loop off the chopstick, rinse your holly and let dry.
Now you have a new crystal holly ornament to hang (up high) on your Christmas tree!
Safety notes…
Be very careful with boiling water around young kids. Glass jars with boiling water inside will almost instantly become too hot to hold.
Borax is a commonly used natural ingredient in grade school science experiments, and is safe for older kids to handle when used responsibly. It is not edible however, and will irritate if put into eyes. It is also a mild skin irritant for people with sensitive skin. I recommend using safety glasses and washing hands afterwards.
With Borax being inedible, please make sure that your crystal creations are stored out of reach of babies, toddlers or pets (or hung high up, well out of reach, on your Christmas tree.)
All kids’ activities on this blog require attentive adult supervision. Parents and carers will need to judge whether a particular activity is appropriate their child’s age and skill level. Click here for more information.
I just love studying the crystals afterwards. Every crystal formation is unique. And all are pretty!
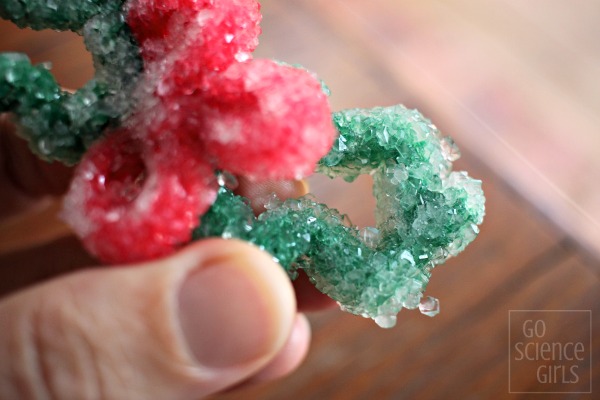
Plus, they sparkle in the sunshine or under lights! It’s hard to capture in the photos – but believe me, it was glinting like crazy!
Fun Science
Borax (also known as sodium borate, sodium tetraborate or disodium tetraborate) is a naturally occurring mineral and salt, that is mined from seasonal lakes. It is commonly used as a detergent alternative or laundry booster, and so you should be able to find it in the laundry aisle of your local grocery store (or you can also buy it online).
If you mix a small quantity of Borax with water, it will become suspended, which means that the water molecules can ‘hold’ onto it for a while, before eventually settling to the bottom of the jar.
If you heat up the water however, the water molecules move further apart, allowing more room for extra Borax to be suspended. As the water cools, the water molecules come closer together again, and can’t hold onto the same quantity of Borax as before. This is called supersaturation. The extra Borax separates from the water molecules and sticks to the pipe cleaners, forming beautiful crystals.
For more Christmas science ideas, check out our Christmas Science Projects & Experiments page, including:
- Borax crystal candy canes
- how to make a salt crystal tree decoration (a safer alternative for younger kids)
- how to make a Christmas tree bubble wand (and learn bubble physics with play)
- design your own Christmas tree magnet maze!
You might also be interested in our Go Science Kids and Crystal Science boards on Pinterest.
And, of course, you can always subscribe to our newsletter, to receive all our latest activities straight in your Inbox. We’d love to have you join us!
* This post contains affiliate link(s) to similar products used. An affiliate link means I may earn a referral fee or commission if you make a purchase through my link, without any extra cost to you. It helps to keep this little project afloat. Thank you so much for your support.