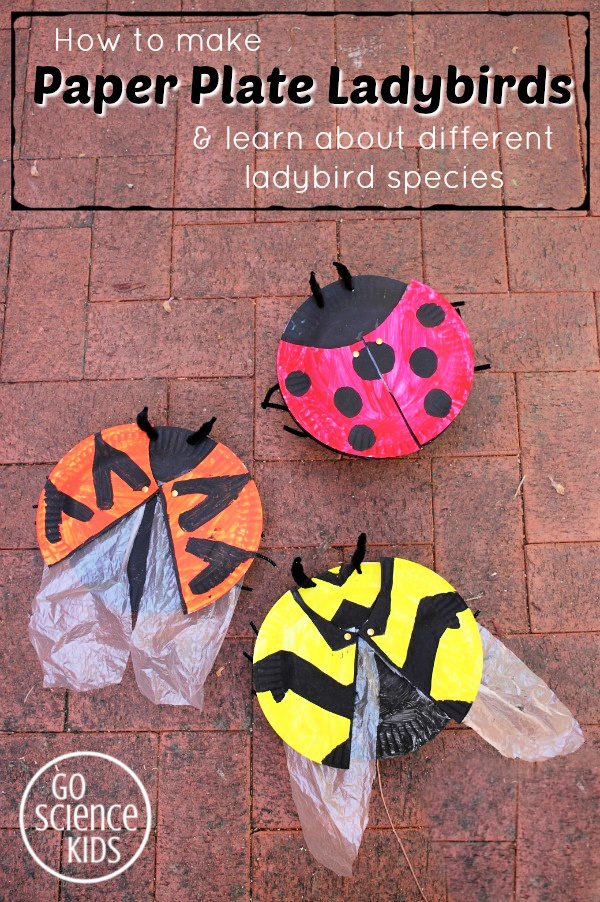
How to make a paper plate ladybird (or ladybug) craft, with rotating elytra and hidden wings underneath! Fun biology / nature science project for kids.

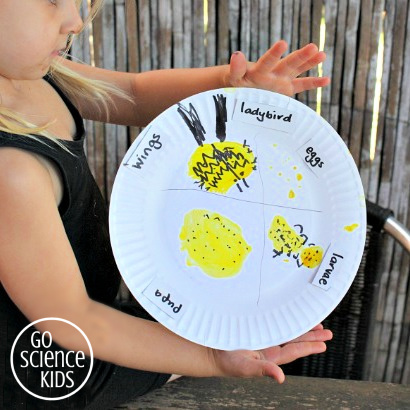
Did you see the paper plate ladybird life cycle craft that I shared last week? (If not, you can check it out here). My daughter and I made it to celebrate the loveliness of ladybirds that appear in our backyard each spring and summer. (Loveliness is the collective noun for a group of ladybirds – isn’t that the coolest thing ever!!)
(In case you’re wondering, ladybird, ladybug and lady beetle are all the same animal – they are just called different things in different countries. Technically they are called coccinellids, but I’ve never heard anyone actually call them that. We call them ladybirds here in Australia…)
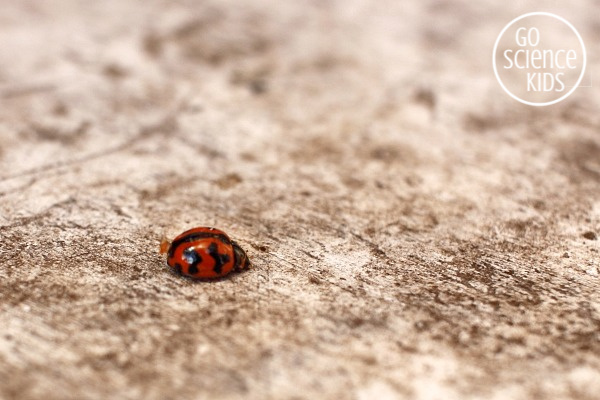
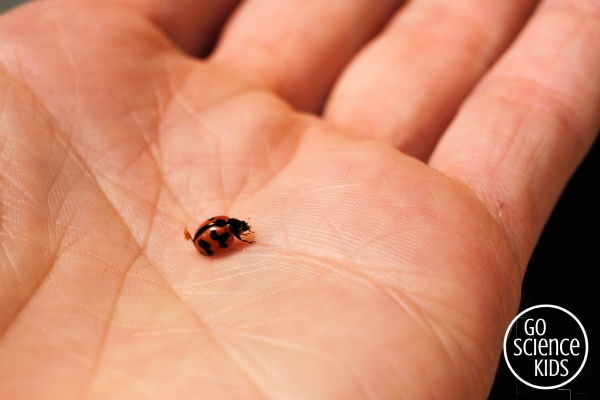
Anyway back to our story. Shortly afterwards, my daughter found another species of ladybird at a nearby park!! This one was orange and black, and had v shaped markings on it’s back (which, as we’ve since discovered, is a type of ladybird called a Transverse Ladybird). She brought it home to show me.


And so, of course, this got us thinking about different types of ladybirds, the anatomy of ladybirds, what each species eats, where they live, etc.
Here’s a fantastic website that delves into basic ladybird anatomy. Did you know that a ladybird’s ‘shell’ is actually called the elytra, and underneath the elytra, there is a hidden set of wings?
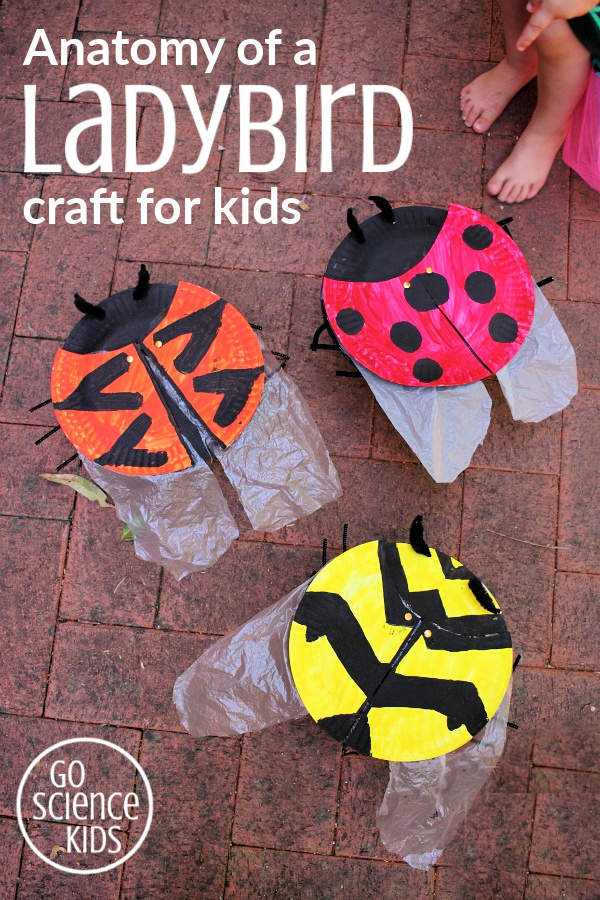
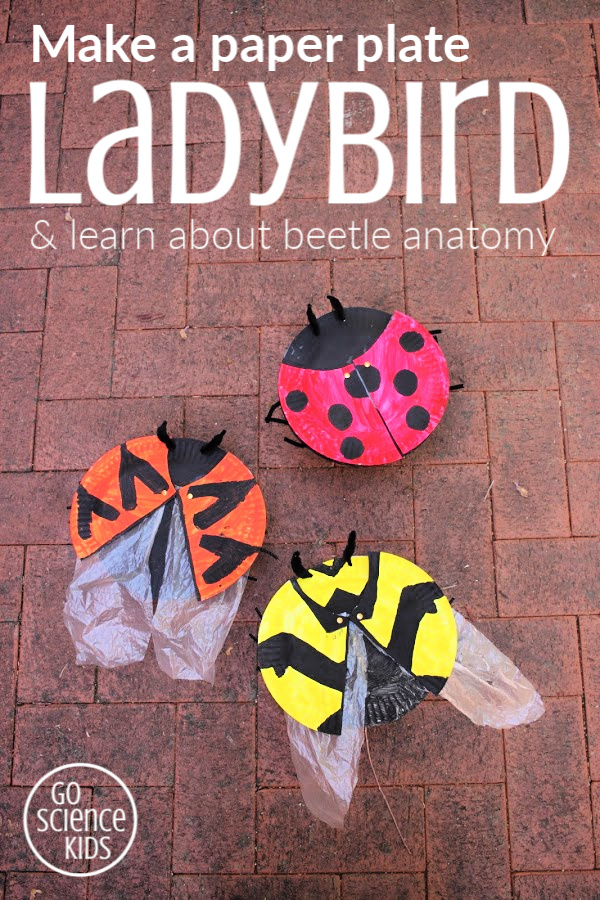
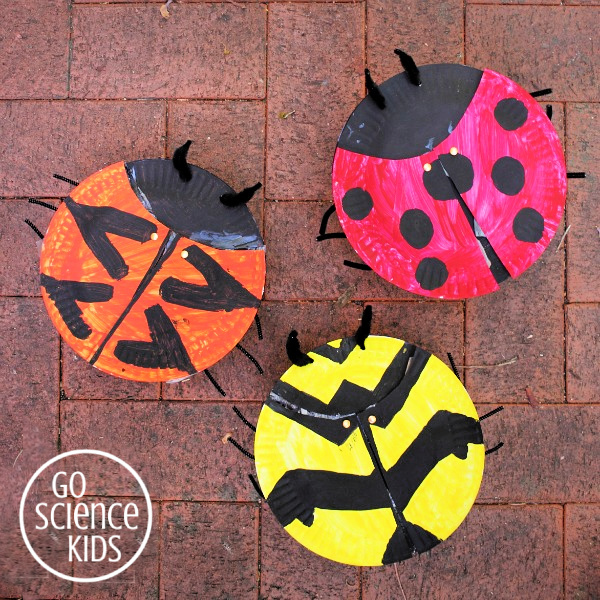
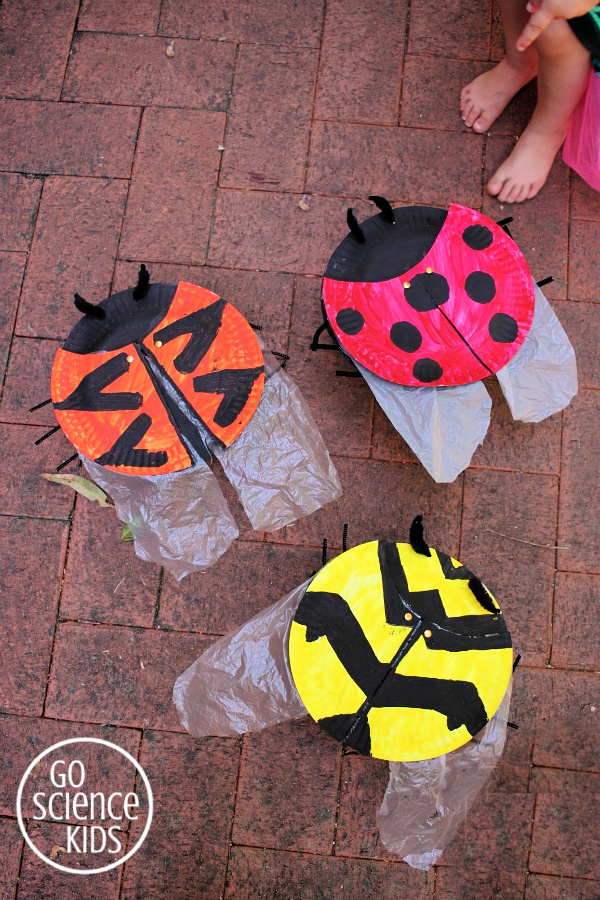
We decided to make a ladybird craft, for three different species of ladybirds:
- The orange and black Transverse Ladybird with v shaped markings is the type of ladybird my daughter Bumble Bee found in the park that morning.
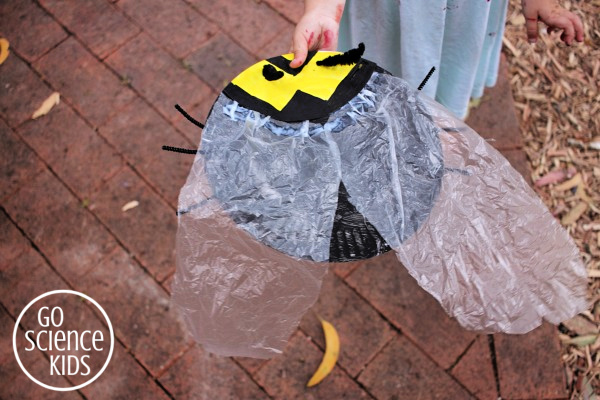
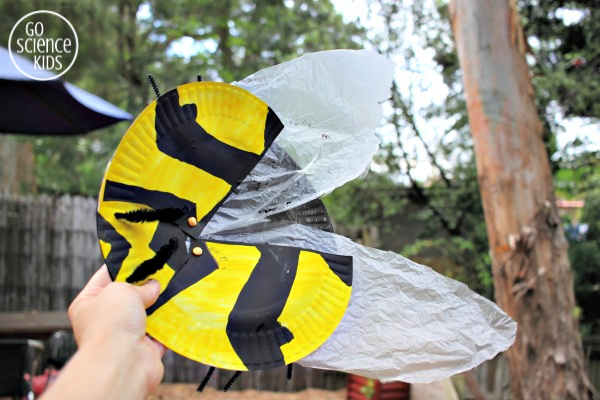
- The yellow and black Fungus-eating Ladybird has zigzag markings. These are the ladybirds we often find in our own backyard.
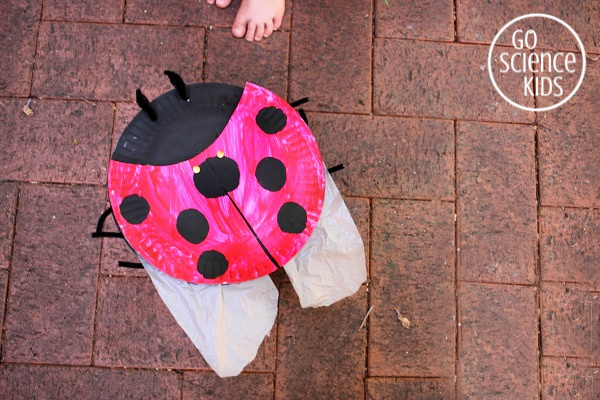
- The red and black Seven-spot Ladybird (also known as the Seven-spotted Ladybug), has three spots on each side and one spot in the middle. This is the most common ladybird in Europe, and is the ladybird we most often see in children’s picture books.
Suitable for
This is a fun craft idea that uses common craft supplies and other everyday items.
Preschoolers will enjoy learning generally about ladybirds, and should be able to help paint the paper plates (with an adult assisting with the rest of the craft). Kindergarteners may be able to do more of the craft themselves, and learn about basic insect anatomy. Older kids may enjoy researching ladybirds in more detail, including variations between different ladybird species, their markings, their habitats, their diet, etc.
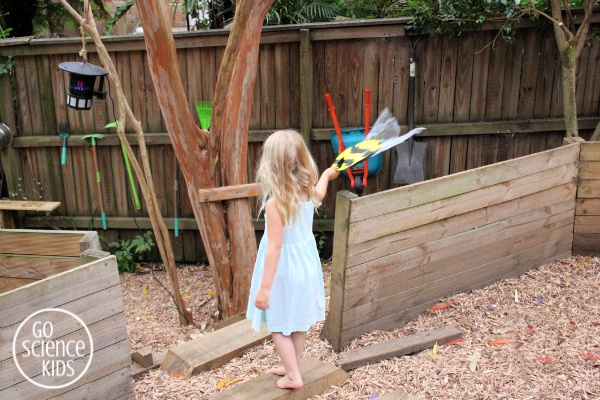
Bumble Bee had just turned 4 years old when we did this activity. She enjoyed painting the paper plates, and “helping” me with the rest of the craft. She also enjoyed learning about the various ladybirds that we’ve come across, and their basic anatomy. Plus she really enjoyed role-playing with her new ladybird toys afterwards!
How to make a paper plate ladybird
We used:
- 9″ Paper plates
- Acrylic paint & paint brushes
- 6mm pipe cleaners (aka chenille stems)
- Bump pipe cleaners (optional)
- Kids clear-drying liquid glue or double-sided tape
- Split pins (aka paper fasteners)
- Stapler
- Scissors
- Transparent plastic bag
- Skewer or a knife with a sharp point (to create holes for the antenna and split pins)
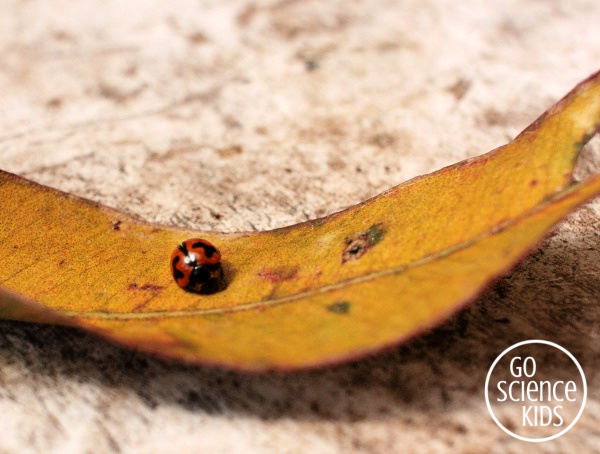
The first thing we did was to look at our real life samples of ladybirds (for the fungus-eating ladybird and the transverse ladybird), and online (for the seven-spot ladybird) to get an idea of their basic shape, colours and markings.
We noticed that each ladybird has a head with two antenna, a section just behind the head (the pronotum), a body with brightly coloured elytra, and three tiny legs on each side. We noticed that the elytra is symmetrical – with exactly the same markings appearing on each side. We also noticed that ladybirds have hidden wings, that are folded away under the elytra when a ladybird is not flying.
We used two paper plates for each ladybird craft. We painted the underside of the first paper plate black, and set aside to dry. This would become the ladybird body.
We cut the second paper plate like this below, to create a head, and the two sides of the elytra, or shell.
(If you were doing this with older kids, you might like to add more detail to the head area, adding in the eyes, the mouth and the pronotum.)

We referenced our real and online ladybirds to see what colours and patterns to paint. We painted the underside again (which creates a doming effect, making our ladybirds look slightly 3D).
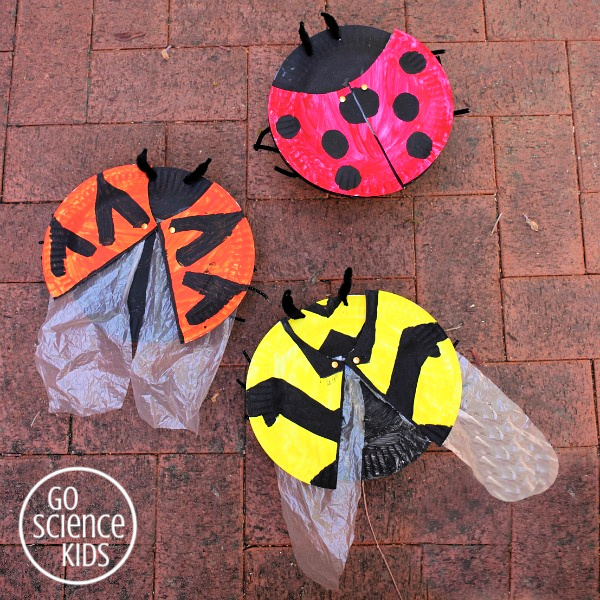
While we waited for the paper plates to dry, we cut two long wings from a plastic bag – roughly twice the length of the ladybird’s body.
We also cut one regular black pipe cleaner into six small pieces, which would become the legs, and a second black “bump” pipe cleaner into two pieces, which would become the antenna.
(We used bumpy pipe cleaners because we had them already and they look cool! But you could use regular pipe cleaners for the antenna too if you want).
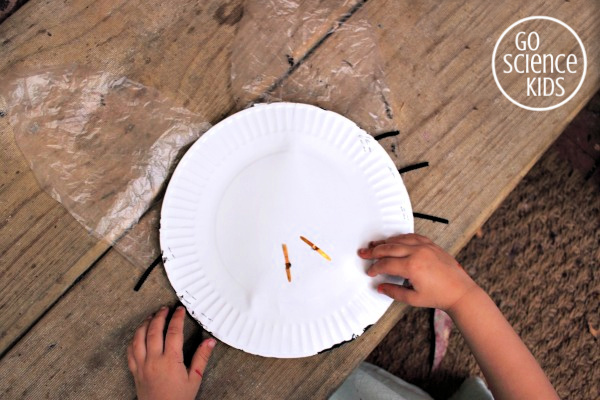
Once the paper plates were dry, we glued the head to the body. I poked two holes though, so we could add the antenna, twisting into little knots at each end to stop them slipping back out (and to make cute knobbly antenna ends!)
We stapled the six legs to the sides of the body as well. (Bumble Bee loves using the stapler, so she really enjoyed that part!)
Next we glued the plastic wings to just below the head. (You could use double sided sticky tape here instead if you prefer).
Then we attached the two elytra pieces on top, attaching with a split pin. I used a knife with a sharp point to create the holes, before pushing the split pins through and fastening underneath. Here’s how it looks on the underside.
When we flipped it back over, we could now choose whether to fold the wings neatly underneath if we were pretending our ladybird was walking, or rotate the elytra slightly and release the wings if we were pretending our ladybird was flying.

Fun Science Facts
Coccinellidae is a widespread family of tiny beetles, known as ladybugs in North America, and ladybirds in Australia, UK and other areas.
Entomologists prefer to use the term ladybird beetles or lady beetles, because technically they’re not actually classified a ‘true bugs’.
A “bug” is actually a technical term which describes insects that have sucking, beak-like mouth parts. Bugs also have an incomplete metamorphosis life cycle – meaning they go from egg to nymph to adult with no larva stage. Aphids, cicadas, bedbugs are all true bugs. Beetles are not.
Beetles are a group of insects whose front wings have hardened into wing-cases, elytra, distinguishing them from most other insects. They are the largest order of insects: roughly 400,000 species make up about 40% of all insect species described, and about 25% of all animals – wow! Most beetles undergo complete metamorphosis, passing through four main stages: egg, larva, pupa and adult.
More light reading: A Bug Is Not A Beetle (American Scholar)
If you’re looking for more fun activities like this, check out our Biology archives, including:
- Ladybird life cycle craft – learning about complete metamorphosis,
- Corroborree frog craft – learning about this critically endangered animal and the conservation efforts to save it.
- What lives in dirt? – Explorative science in the backyard.

You might also like to follow our Go Science Kids and Nature Study Activities for Kids boards on Pinterest.
And, of course, you can always subscribe to our newsletter, to receive all our latest activities straight in your Inbox. We’d love to have you join us!

* This post contains affiliate link(s) to similar products used. An affiliate link means I may earn a referral fee or commission if you make a purchase through my link, without any extra cost to you. It helps to keep this little project afloat. Thank you so much for your support.