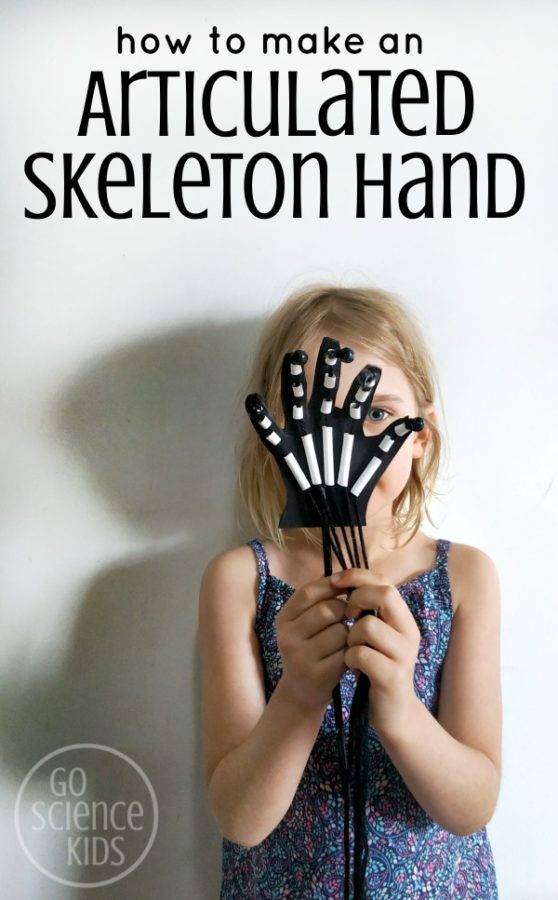
Cool science craft idea for kids – make DIY articulated skeleton’s hands, and learn about hand bone structure! (They make a great Halloween prop too!)

You might remember back when Jewel and I first made our DIY articulated hand models? They were so much fun, and a great way to explain to Jewel how tendons work.
My younger daughter Bumble Bee was too young to join in at the time, but now that she’s a big 7 year old, we decided to make another set, this time with a Halloween-twist!

Suitable for
This is a little tricky and will need adult assistance for 5-6 year olds, but 7-9 year olds might be able to do most of it themselves. Bumble Bee had just turned 7 years old here.


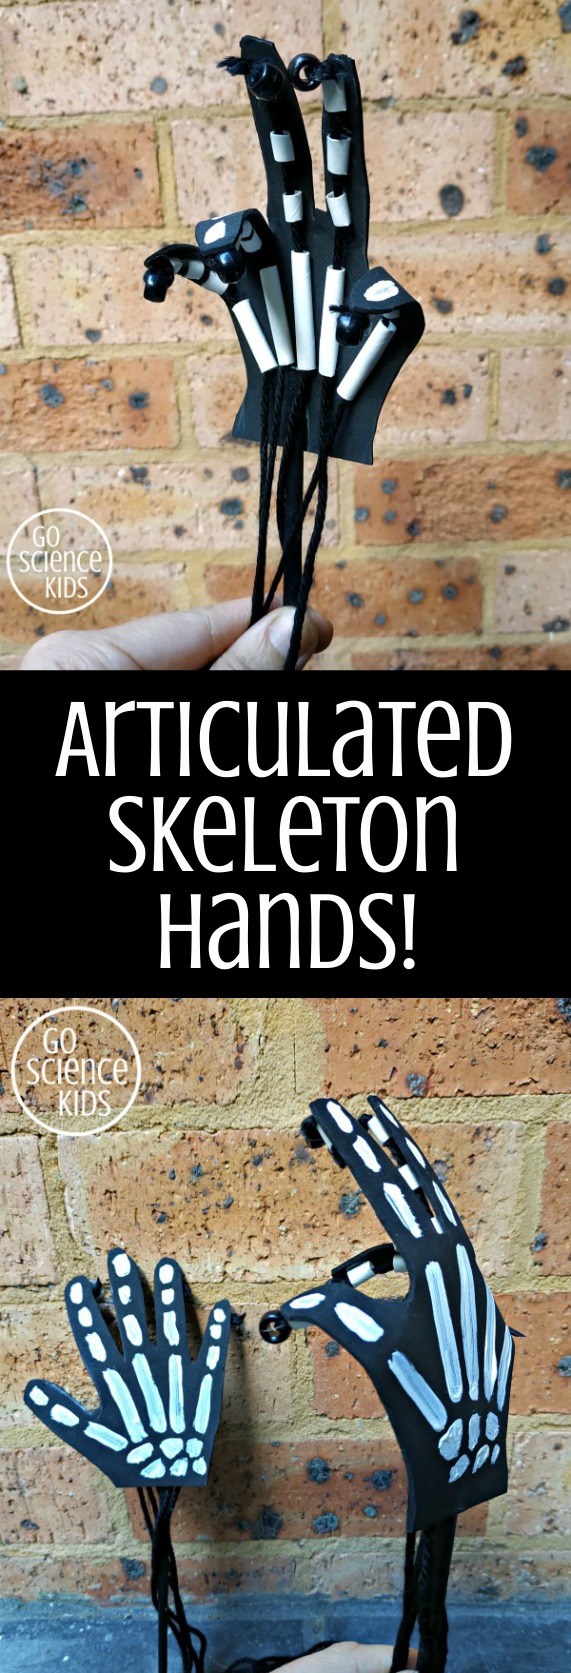
Bumble Bee was so excited to make these skeleton hands. With Halloween coming up, I thought it would be awesome to use them to wave to trick-or-treaters.
Bumble Bee tells me she wants to use them as part of her DIY Dementor costume. (She wants to go as a Dementor for Halloween, and Jewel wants to go as Bellatrix Lestrange – they’re both a bit Harry Potter obsessed at the moment!) I’m not quite sure how the rest of the Dementor costume is going to work out, but we still have another week or so to work on the idea!
Either way, I think these skeleton’s hands are pretty neat. And they’re a great way to learn what the bones in the human hand are called, and how tendons work to make them move….
Here’s how we made them…
How to make an articulated skeleton hand
We used:
- black craft foam
- lead pencil
- scissors
- white paper straws
- black marker (optional)
- clear drying liquid school glue
- black pony beads
- black yarn
- large eye blunt needle (optional)
- wooden chopsticks
- black and white acrylic paint
- thin paintbrush

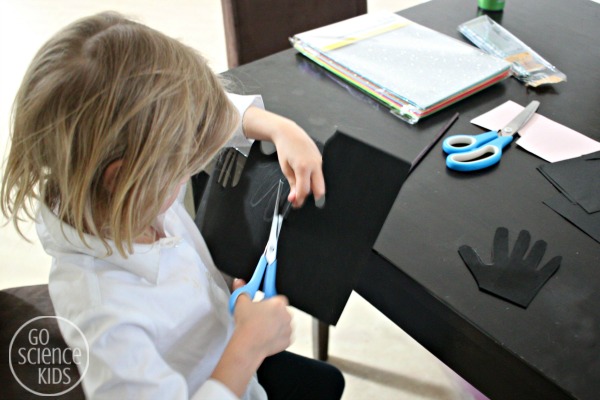
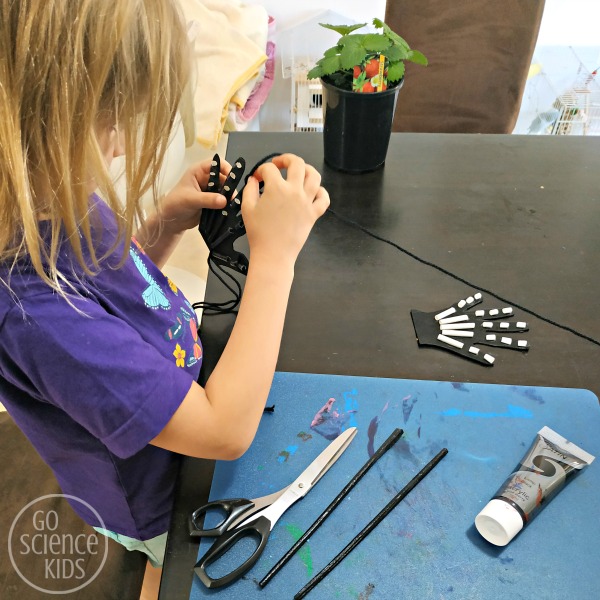
Step 1: Use a lead pencil to lightly trace your hand on craft foam and cut it out.


A few tips:
a) check which way your foam hand is facing before you glue on your straws. We accidentally made two right skeleton hands instead of one right and one left – oops!
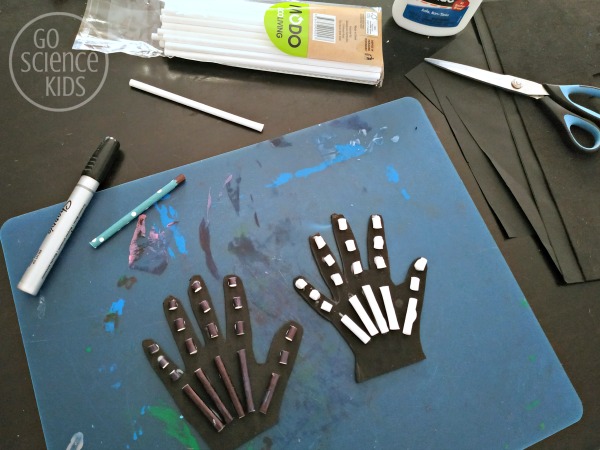
b) make sure you leave a large gap between each straw section – otherwise you won’t be able to bend your skeleton’s fingers later on.
c) leave small space for the chopstick in between the hand bones – this will be added in the next step.
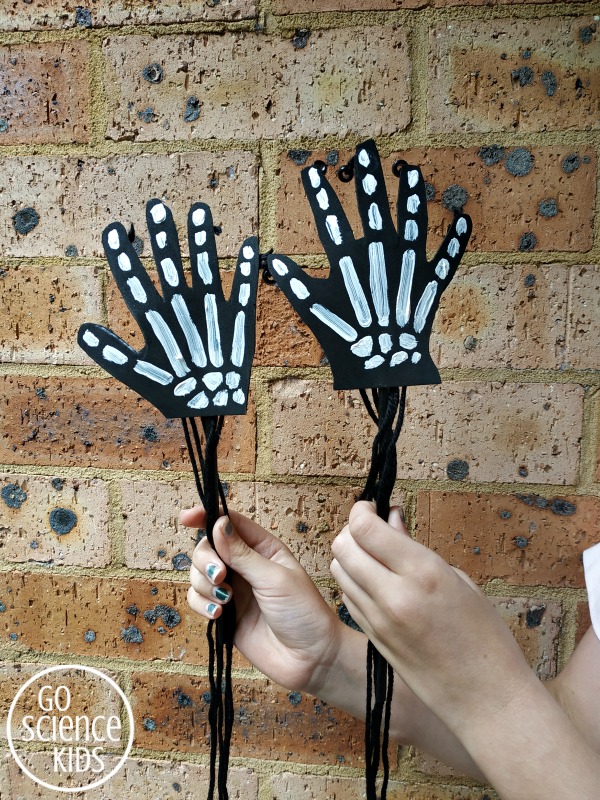
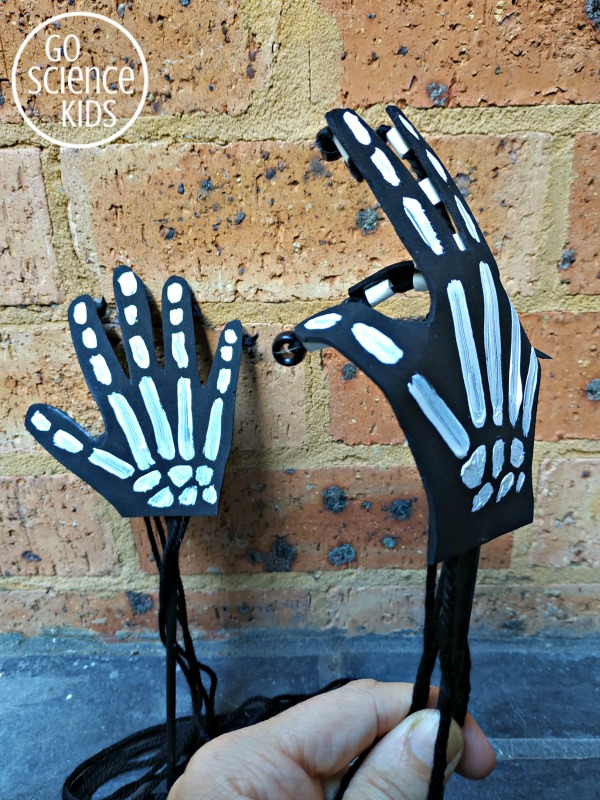
You might also notice that we tried colouring the straws black for one of the hands to see how this would look. The idea was that the black straws could hide how the fingers bent. But personally I like how the plain white straws look better. But if you prefer the ‘incognito’ black straws, you could use black marker to colour your straws first (or buy black straws).
Step 3: Paint a chopstick black, and glue this between the straws on the hands. This will act as your handle later on. Leave to dry.
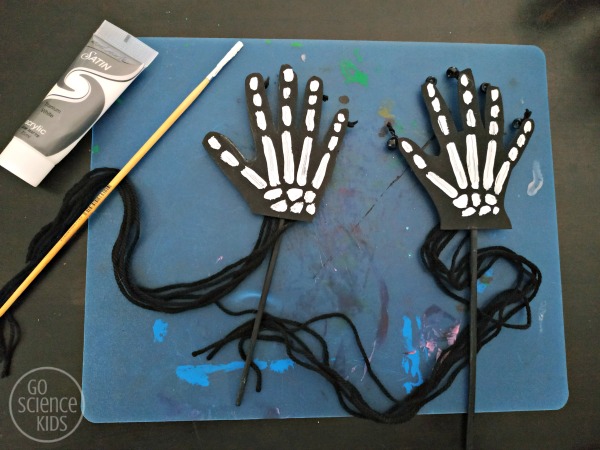
Step 5: Flip the skeleton hands over, and paint bones on the other side using white acrylic paint and a thin paintbrush.
This is, of course, a great chance to discuss what the bones in the human hand are called!
Fun Science Fact
You have three bones in your fingers, but only two bones in your thumbs! These bones are called phalanges.
The tips of your finger and thumb are called distal phalanges. The middle bone of your fingers are called middle phalanges. The lower bone in your fingers and thumb are called proximal phalanges.
The proximal phalanges connect to five longer bones in your hands, called metacarpals.
There are also 8 bones in your wrist called carpals (but we focused mainly on the hand and finger bones this time.)
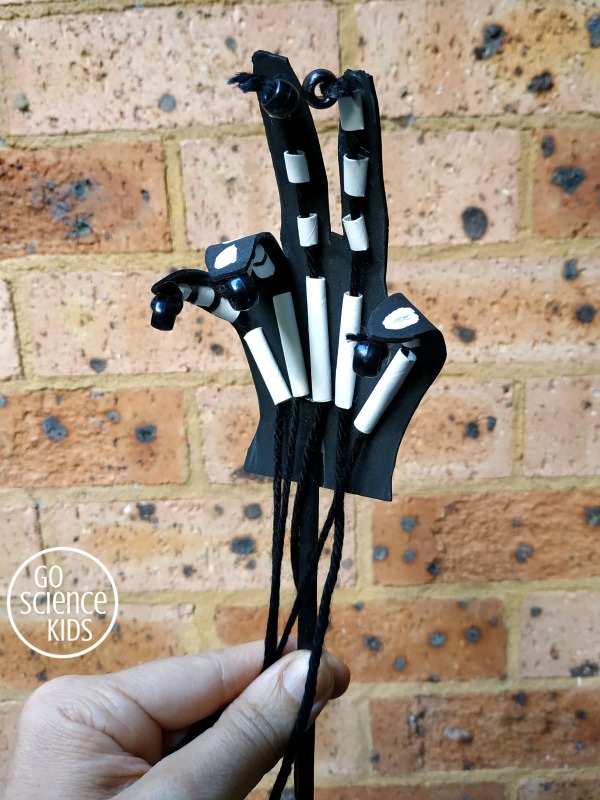
If you hold the chopstick handle, and tug on the different tails of yarn, you can make the different fingers bend over! The yarn works similarly to how the tendons work in your hand. Can you make your skeleton hand wave? Can you make it hold up just a couple of fingers?
If you’re looking for more Halloween ideas, you might also like to check out the salt crystal ghosts that we made a few weeks ago! (The kids have asked to make them again with their Girl Guide group, so hopefully they’ll work well when done on a 25 x girl scale!)
So far these are the only two Halloween ideas we’ve tried so far, but we’ll add more to our Halloween science page as we try them….

* This post contains affiliate link(s). An affiliate link means I may earn advertising / referral fees if you make a purchase through my link, without any extra cost to you. It helps to keep this blog afloat. Thank you for your support.