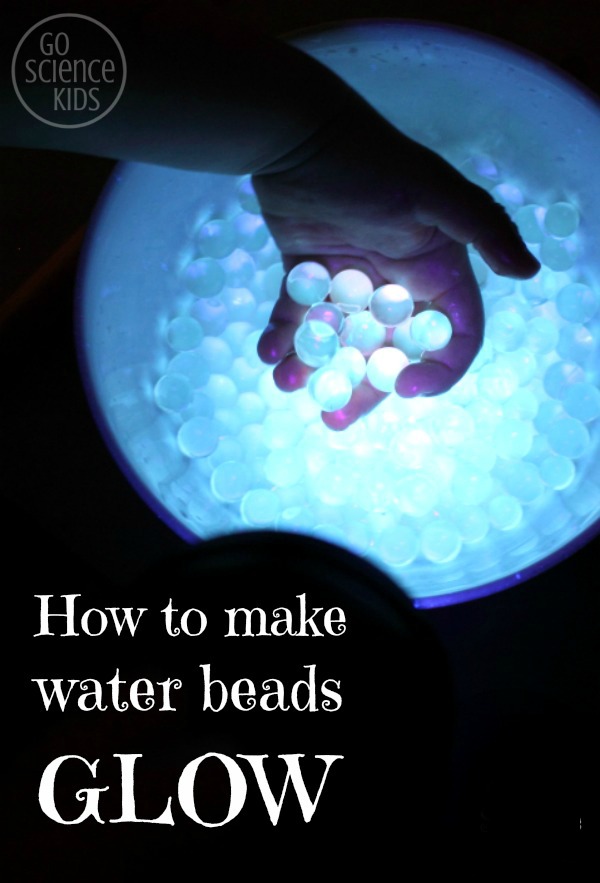
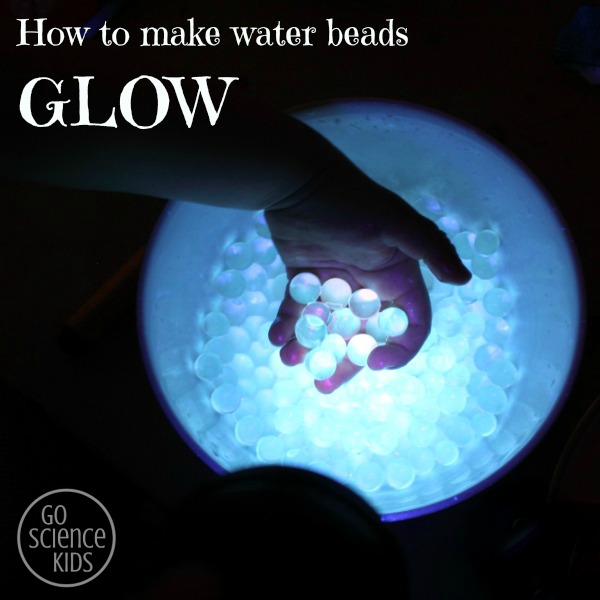
How to make water beads glow with tonic water. Simple glowing chemistry fun for kids.

The girls had so much fun playing with fluorescent slime, that I thought I would see if I could come up with more glowing ideas. After all, our black lights were sitting up on top of the fridge, taunting me!
I found out that vitamins aren’t the only common household material that fluoresce – another is something that you might find in the drinks aisle of your local grocery store; tonic water. I love how science doesn’t rely on fancy pants materials!
And then I thought about how obsessed the kids have been playing with water beads all summer long, and I wondered if I could combine the two….
And it totally worked. Yay!
Suitable for
I’m adding this activity to my suggestions for 3-4 year olds and 5-6 year olds. Please see safety recommendations below. Jewel was 4.5 and Bumble was 2.5 years old when we first tried this activity.
To make water beads glow, you will need:
- clear water beads
- tonic water (must list ‘quinine’ as an ingredient)
- a black light
Water beads are an absorbent polymer that is commonly by florists used as a vase filler. They are sometimes called water balls or crystal soil. (For this activity, look for ones that don’t contain added fertiliser). I bought ours from an Australian supplier, but they look to be the same as the ones you can buy on Amazon. (They are a handy thing to buy online as they are small and easy to ship). You might also be able to find some in the floral section of your local craft store.
Look for tonic water that has quinine listed as an ingredient. Most brands do. It doesn’t matter if quinine is only listed as a minor ingredient (5% or so) – this will still be enough to make it glow.
For the glowing effect, you also need a dark room and a black light (i.e. a long wave UV-A ultraviolet light with either LED or blb bulb). You can find them easily online – they are often marketed as dog or cat stain finders. We’ve tried this one and a few others.

What to do
1. Soak the water beads and tonic water together in a bowl.
Let sit for an hour or so until the water beads have stopped absorbing, and are a nice round shape. (If your water beads are a bumpy shape, then you need to let them soak a while longer.
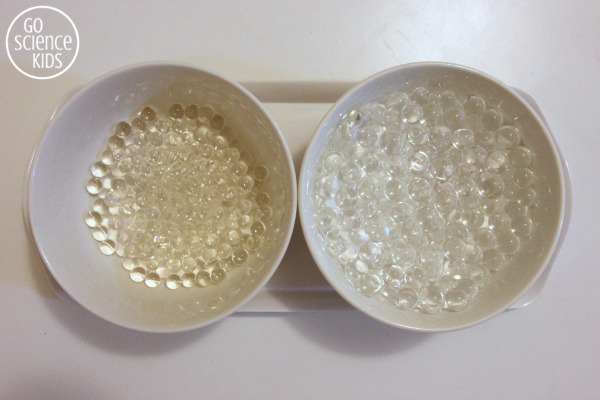
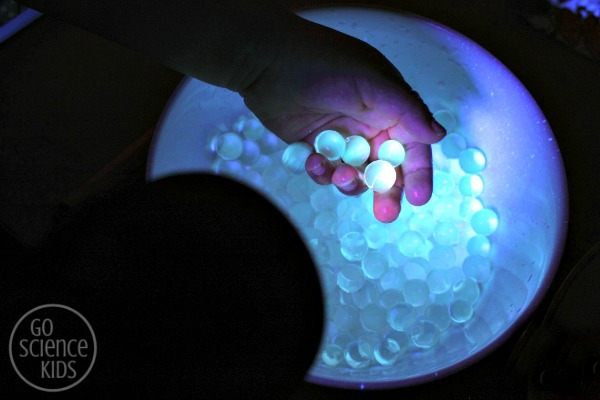
Tonic water beads (the ones on the left in the above picture) are smaller when fully expanded than regular water beads. They are also sticky to touch, because of the sugar content of the tonic water. (Diet tonic water might solve this, but we haven’t tried it ourselves yet).
2. Strain and discard any excess tonic water and regular water.
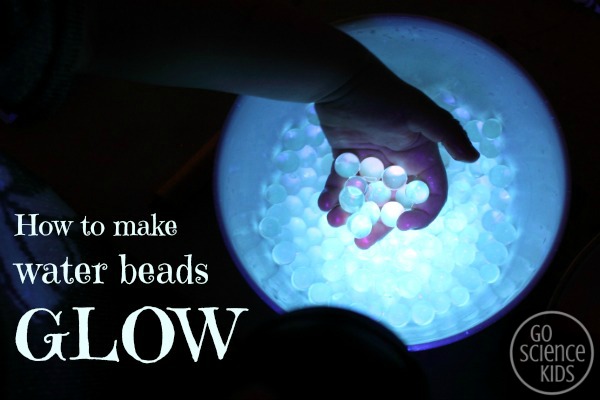
3. Close the curtains, and turn off the normal overhead lights, and turn on your black light….
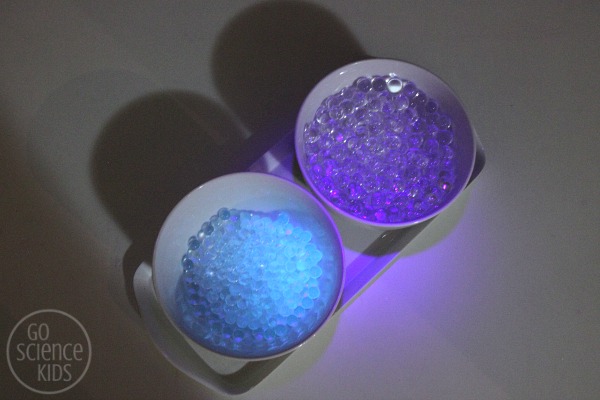
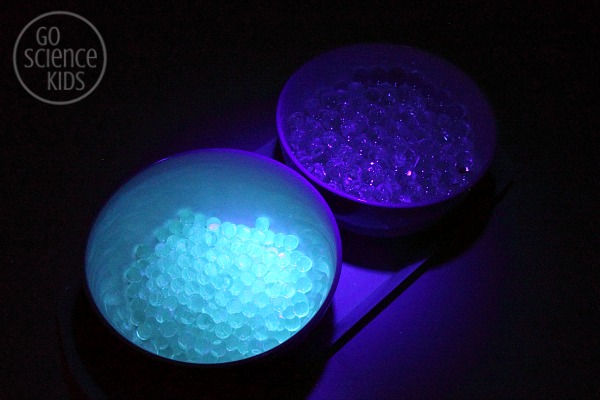
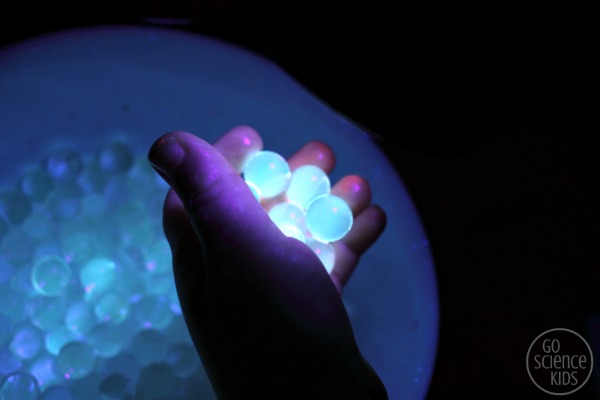
4. …and be amazed as your water beads start to glow under the UV black light!
How’s that for easy!
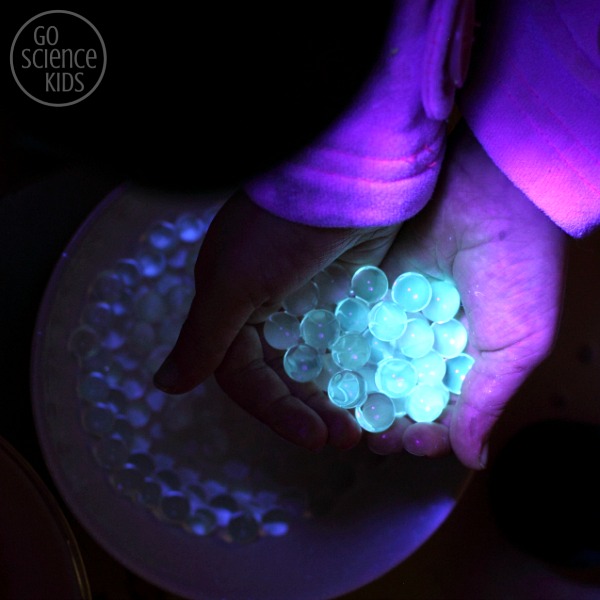
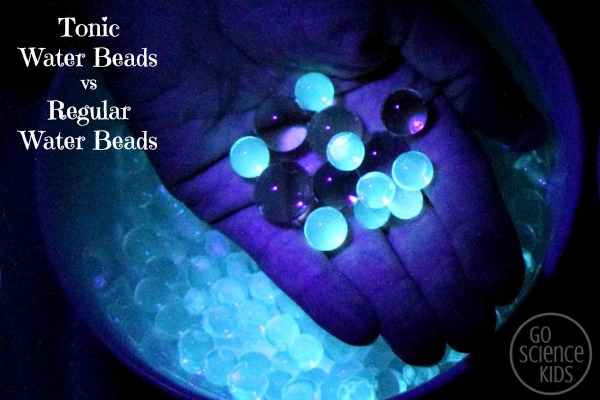
You can really see the difference if you look at the difference between tonic and regular water beads in your hand at the same time. The tonic water beads look like they are glowing from within. It’s very cool!
Fun Science Facts
Quinine is commonly used for medicinal reasons, however it is also an ingredient (in small quantities) of most brands of tonic water, to give a distinctive bitter ‘tonic’ taste. Quinine is also highly fluorescent. It is so consistently fluorescent, that it is used in photochemistry as a ‘common fluorescence standard’.
A black light shines a special type light called ultraviolet light, which has a wavelength that humans can’t see. It’s like invisible light energy. Things that fluoresce (such as quinine), absorb this invisible ultraviolet light energy, and reflect it back, except at a wavelength that humans can actually see. That’s why the tonic water beads look like they glow.
I use activities like this to introduce scientific concepts to my daughters in a fun and hands on way. It doesn’t matter if they don’t understand the theory behind it at this point: it’s enough that they can see it, and touch it, and be amazed. They are learning to associate science with fun and wonder. Using words like absorb, transparent, fluorescent, ingredient, quinine and ultraviolet light in context increases their familiarity with these words, and because I favour using scientifically accurate vocabulary in our play, they quickly grasp the meaning and start using these words themselves.
It might sound cheesy, but whenever we do activities like this, the kids and I fistbump “this is science” and chat about how important it is to ask “I wonder how that works?” when we look at the world around us. Then we proclaim ourselves “Science Girls”. (They are lapping up the science love right now, and I really hope that they can keep their sense of wonder and inquiry: it’s this that makes a true scientist, regardless of her chosen profession.)
I’ve got a few ideas of how we can play with these glowing water beads (a witches brew is one idea that comes to mind), but I’ve leave that for another post. 🙂
Safety Recommendations…
The water beads I buy are non-toxic, which means they are safe for kids to touch with their hands, but are not edible in either the expanded or unexpanded form. Unexpanded water beads could expand in the stomach and cause blockages. Expanded water beads are a choking hazard. This activity is only suitable for kids who understand not to put things in their mouth.
Low power long wave ultraviolet light (UV-A light), such as is emited by black lights, is not a hazard and can be viewed without protection. However, as with all torches, please don’t shine directly into eyes.
All kids’ activities on this blog require attentive adult supervision. Parents and carers will need to judge whether a particular activity is appropriate their child’s age and skill level. Click here for more information.