

Simulate how to make glass using in your own kitchen. Watch it shatter just like real glass! Fun edible science for kids.

The idea for this activity came about when Jewel asked how glass is made. We explained that glass is made in a factory, where they get lots of tiny little grains of the purest sand, and heat it up until it is so hot that it becomes molten, and then it turns into glass.
But the questions kept coming. The next one was “What does molten mean?” We explained that molten is when something is so hot that it turns into a liquid. Different things become molten at different temperatures. Water becomes molten at 0oC. Sand needs a much higher temperature to become molten.
“But why doesn’t glass look like sand?”
Hmm, that’s a trickier one to explain. Perhaps it’s easier to demonstrate. We’re not able to make actual glass in my own kitchen, but we can make a very close replica – edible sugar glass!

Just like real glass, sugar glass is made from tiny opaque grains (of, in this case, sugar) which when molten and allowed to cool, transform into an amorphous transparent sheet, which is solid yet brittle. What does amorphous mean? We’ll get on to that later. First, let’s try making the stuff. 🙂
Suitable for
Try this science activity with 5-6 year olds and up. Jewel was 5 years, 2 months and Bumble was 2 years, 11 months old when we made this.
To make edible sugar glass, you need:
- 1/2 cup caster sugar (also called superfine sugar)
- 40ml glucose syrup (or corn syrup)
- 60ml water
- pinch cream of tartar
- butter (or spray oil)
- baking paper
- cooking thermometer
The original recipe that we followed called for corn syrup, but that’s tricky to find in Australia, so we used glucose syrup instead. Since it’s mainly the water component which differs between these syrups, which will be boiled off anyway, I think you should be able to use either. You’ll also need some common household items like a large saucepan, spoon for stirring, baking tray, measuring spoons, etc.
What to do
1. Line a baking tray with baking paper, and grease with butter (or cooking spray).
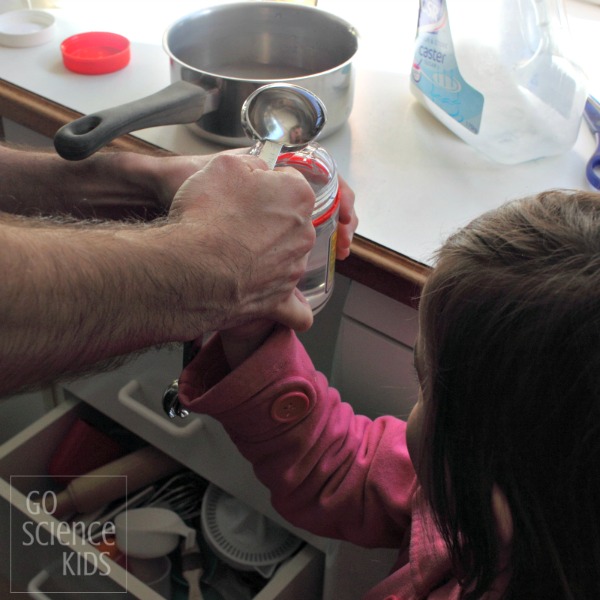
2. Measure out the sugar, glucose syrup, water and cream of tartar into a large saucepan.
The kids can help with this bit. You might want to point out how the sugar looks like fine white (opaque) grains at this point.

3. Slowly bring the mixture to the boil, until it reaches 150oC (300oF)..
This part is best done by an adult – firstly because 150oC is very hot. And secondly, because this part is not very exciting and requires a lot of patience. The key word here is to heat the mixture “slowly”. If you heat it too fast, it will start to caramelise and become yellow.
Once the water has boiled off, the temperature will start to rise. The amount of time this takes may vary – it’s more about the temperature reached than the time taken. A candy thermometer which clips onto the saucepan would be perfect, but Mr Banya used our cheap hand-held cooking thermometer, and that still worked just fine. For reference, it took 40 minutes for our batch to reach the target temperature.
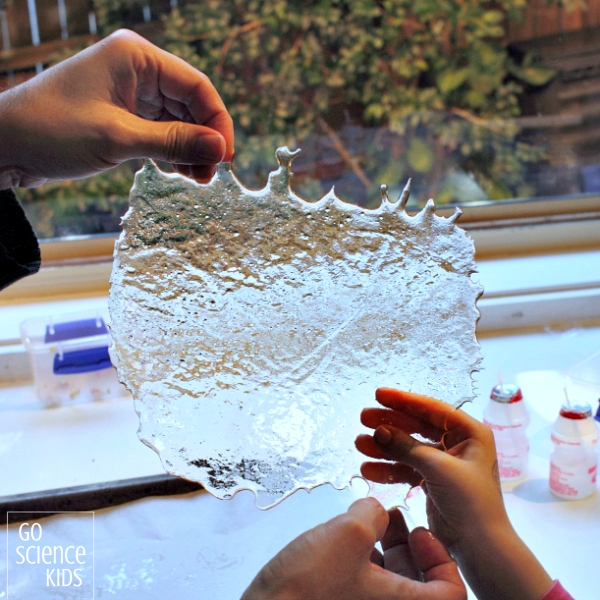
4. Take the molten sugar glass off the stove and pour onto the lined baking tray.
Try to spread it across the baking tray as much possible – the thinner the mixture, the thinner your sugar glass will be. Don’t touch it! It will still be incredibly hot. Let sit for an hour to cool.
5. Call the kids over, because this is the fun bit!
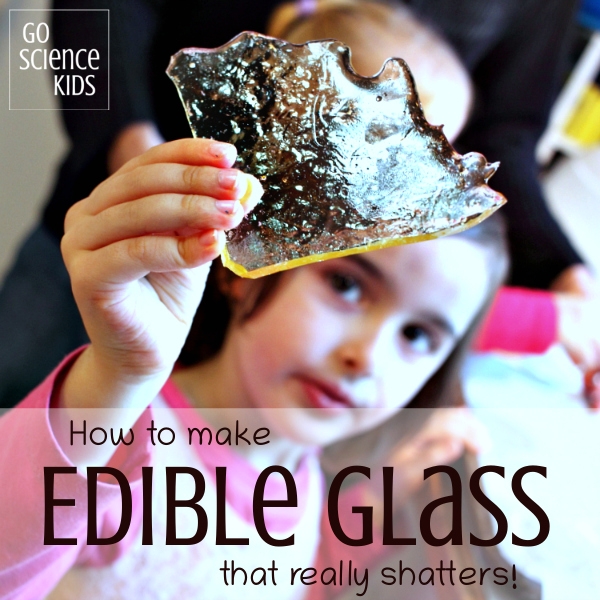
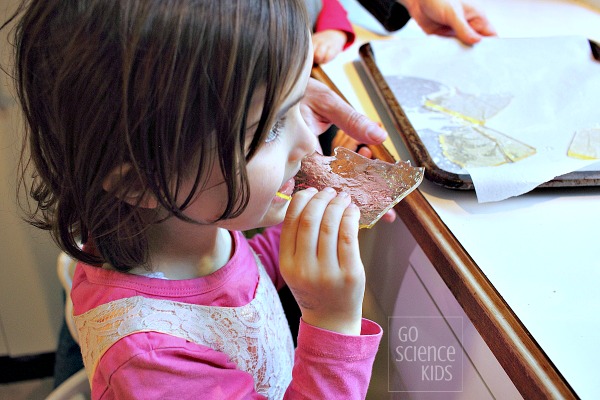
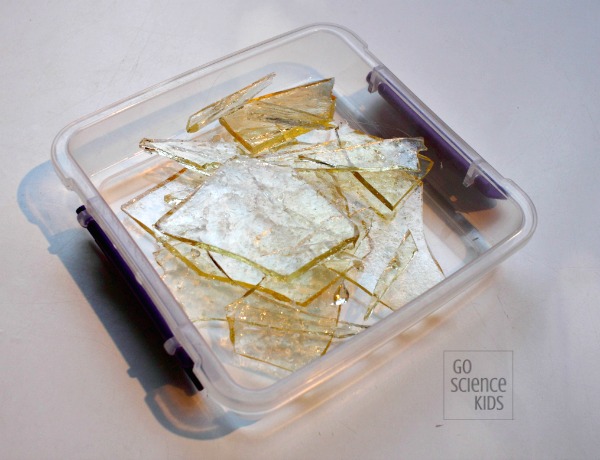
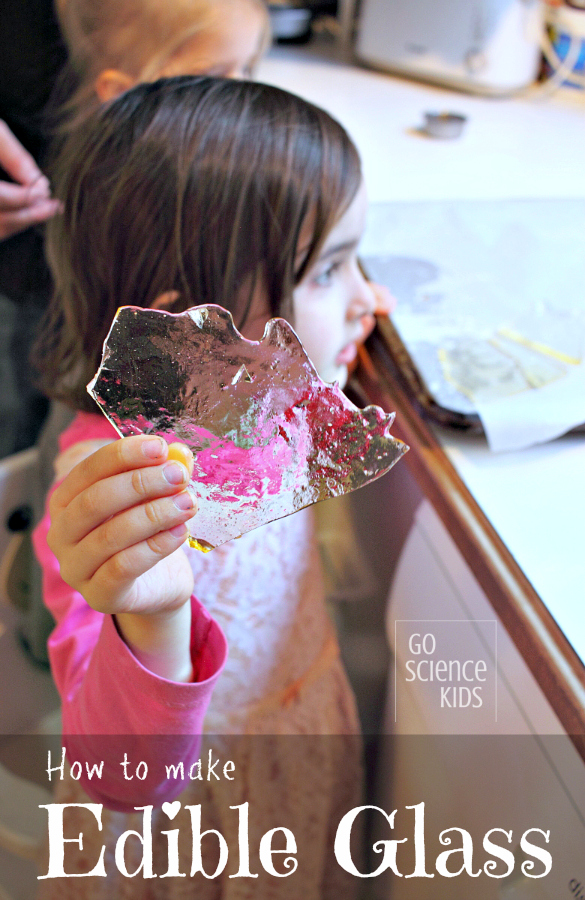
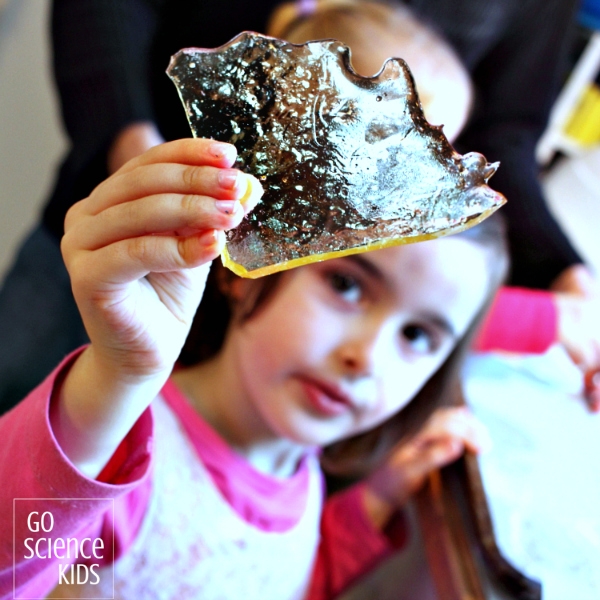
Carefully lift the sugar glass off the tray, and peel back the baking paper. Notice that the opaque sugar has turned into transparent ‘glass’.
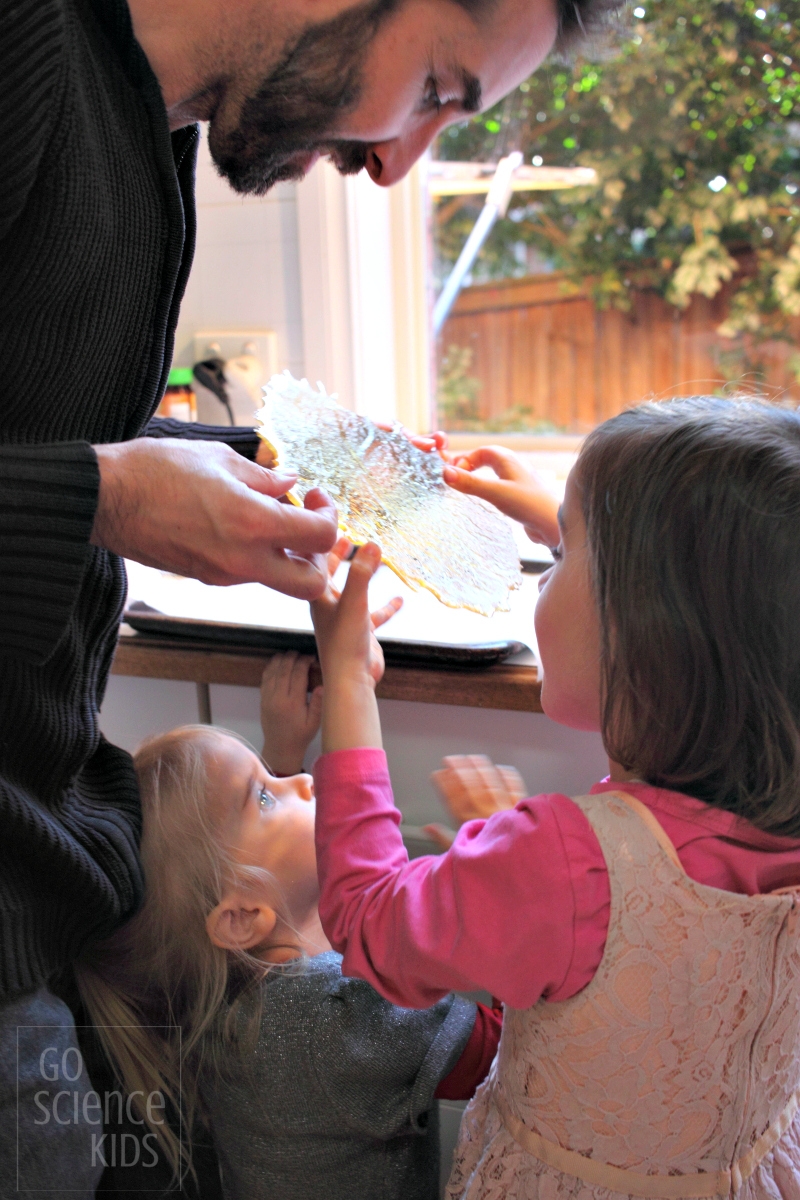

Drop the glass onto the baking paper, and watch it shatter into shards, just like real glass! (Be careful, some of those shards may be sharp enough to cut.) Taste it! It’s very sweet.

6. Store any left over sugar glass in a sealed container in the fridge.
Because sugar glass is hygroscopic (meaning it attracts water from the surrounding environment), it will quickly soften and lose it’s brittle quality if exposed to humidity.

Fun Science Facts
Real glass is created by heating sand (which is mostly silicon dioxide) to 1700°C (3090°F). Wow, that’s really, really hot! When the molten sand cools, it transforms into a special kind of substance called an amorphous solid. Usually when things are solid, their molecules and atoms are arranged in an orderly structure. With amorphous solids, the molecules are arranged in a disorganised structure, which is more like the structure you’d usually find in a liquid. It’s this disorganised structure that makes amorphous solids transparent and brittle. You can simulate creating glass in your kitchen by melting sugar instead of sand. Molten sugar turns into another amorphous solid, called edible glass or candy glass, and has a glassy, translucent appearance.

Please note…
Mixing together pantry ingredients is a fun (and often tasty) way to explore chemistry with kids in your own kitchen. This activity is only suitable for kids with the comprehension skills to understand the difference between edible sugar glass and regular glass, in that broken pieces of regular glass are not to be touched or put into their mouths. Molten sugar is VERY hot and can easily scald. I recommend adults stir and pour the molten sugar, with kids only observing this process. All kids’ activities on this blog require attentive adult supervision. Parents and carers will need to judge whether a particular activity is appropriate their child’s age and skill level. Click here for more information.

- how to make fizzy sherbet
- homemade Anzac biscuits
- how to make homemade butter
- how to make curds and whey (or homemade ricotta cheese)
Also, make sure to subscribe to receive all the latest Go Science Kids posts via email. We’d love to connect with you on Facebook, Pinterest, Instagram and Twitter too!
* This post contains affiliate link(s). An affiliate link means I may earn referral / advertising fees if you make a purchase through my link, without any extra cost to you. It helps to keep this little project afloat. Thank you for your support.
#
Oh love this – sugar and science, a winning combo!! 😉 Love the explanations you give too, kids would just love this!
#
Thank you! And yes, my girls were super happy too that their science explanation had a sweet ending. 🙂
#
This looks like so much fun. We are lucky enough to have an amazing Glassworks here in Canberra that you can do tours of. This would be such a fun activity for the kids to do after we have visited the Glassworks 🙂 Thanks for the inspiration.
#
Oh wow, really? That sounds awesome. I’ll have to check it out next time we’re in Canberra. 🙂
#
Wow! This is brilliant. My girls would love every bit of this from the cooking to the shattering to the eating. What an awesome exploration! Thank you for sharing this. We might have to give it a go this weekend!
#
Thanks! And I’d love to hear how you go!
#
This is so cool!
#
Thanks!
#
this is very cool my 5 kids will like this.
#
Awesome! My kids would go mad for this stuff. Combining sugar with science is guaranteed to make them happy.
#
🙂
#
Great craft and post. I love how you’ve incorporated how glass is made with an edible craft…the best!
#
Thank you very much!
#
This is amazing!!! Can it be colored as well?
#
Thank you! And such a great question! I believe it can, but we haven’t tried it ourselves yet. Might have to add that to our to try list. 🙂
#
Love this! Could I add just a smidgen of peppermint oil for flavored “glass”?
#
What a great idea! I haven’t tried it, but I imagine it would work. I might give it a try when I get a chance. If you give it a try beforehand, please do pop back on here and let me know how you go!
#
Good one.
#
Thanks 🙂
#
#
#
#
Awesome explanation on the steps – I’ve been hunting for a good recipe to try here in NZ for creepy Halloween cupcakes – and now have finally found yours! Can’t wait to try this on Saturday 😀
#
Thank you!
#
Wow! This is awesome – it’s really clear, and just like glass. Just a question, though. Is the glass suitable for gingerbread houses, and how long would it take for the glass to take in the moisture from the air?
Thanks.
#
Hmmm. I’m not sure. At a guess I think it would work, if you baked the walls first, and then poured the liquid sugar into the window section and let set. Let me know if you try it! As to how long it would take for the glass to absorb moisture – that all depends on how humid it is where you live…. Where I live in Australia, it gets really hot and humid around Christmas time, but if you’re in the northern hemisphere, it’s probably quite cold and dry about now??
#
when making stained glass cookies….will it cut your mouth when eating the cookie
#
No (although don’t sue me if it does!). It’d be about the same level of risk as biting a boiled candy….
#
#
#
#
#
#
#
#
#
I think you should correct, at the beginning of your explanation: “Ice (and not water) becomes molten at 0 degrees C.”
#
#
Awesome! It was a great idea to compare real glass with sugar glass. Thank you for sharing