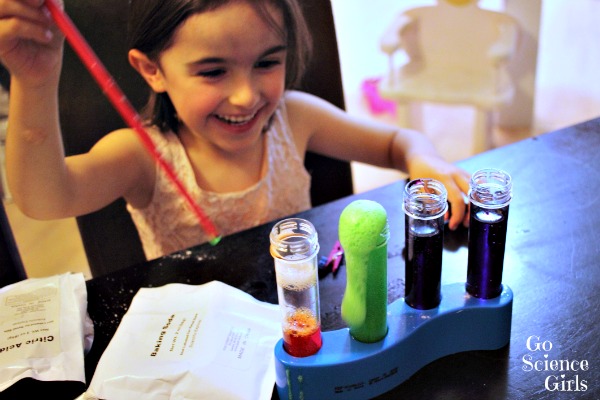
Product Reviewed: Magic Science for Wizards Only science / chemistry kit by Scientific Explorer
Age Range: labelled for 6+ year olds (however I think it could be suitable for keen 4+ year olds, with a lot of assistance).
Star Rating: 3 / 5 stars
The Good: Fun and easy introduction to some impressive fizzy and colour changing chemistry experiments that kids love. Includes enough supplies for each experiment to be repeated at least twice (and in some cases, dozens of times). Includes test tubes with lids and handy stand that can be reused for future science projects.
The Bad: Doesn’t deliver on all the ‘magic’ as promised by the packaging.
The Verdict: This would make a fun science-oriented gift for girls or boys that encourages an interest in chemistry.
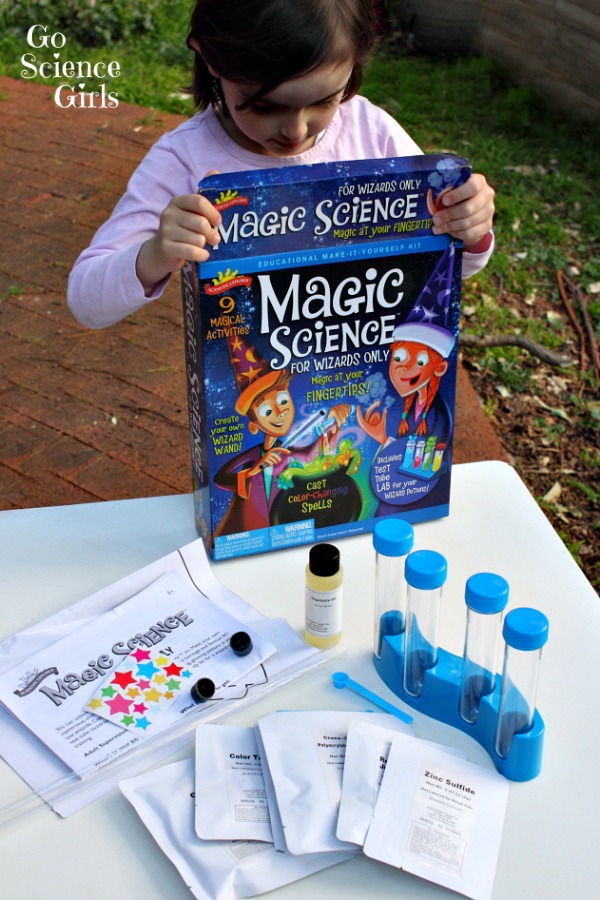
What is in Scientific Explorer’s ‘Magic Science for Wizards Only’ science kit.
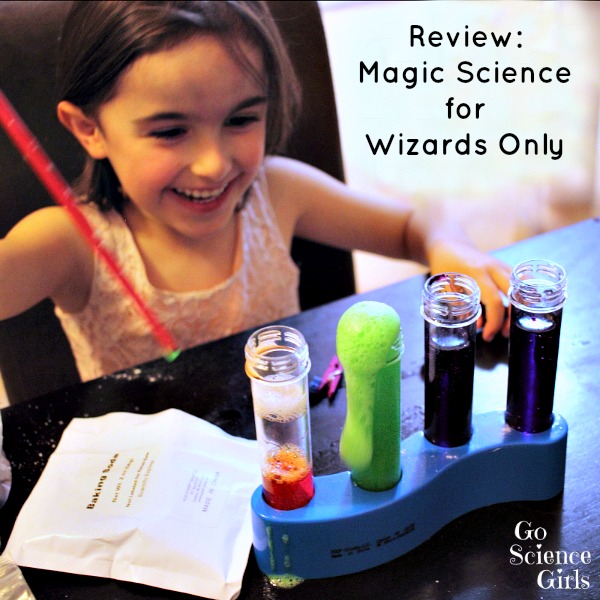
Magic Science For Wizards Only is a fun chemistry science kit that puts a wizardry slant on some classic chemical reactions that kids love. Jewel received it as a 5th birthday present from a school friend.
Magic Science for Wizards Only contains:
- 4 Plastic test tubes, each with screw top lid
- Test tube stand
- Citric acid powder
- Baking soda powder
- Red cabbage juice powder
- Zinc sulfide powder
- Cross-linked polyacrylate copolymer
- Colour tablets
- Vegetable oil
- Clear plastic tube ‘wand’ with 2 caps
- Small and medium sized scoops
- Purple paper
- Star stickers
- Activity guide (instructions) and science information
What you’ll need to provide:
- Teaspoon measuring spoon
- Scissors
- Glue or sticky tape
- Butter knife, swizzle stick or chopstick for stirring
- Regular and hot tap water
- Ice
- Paper and pen
- Elastic bands or pegs to reseal the ingredient pouches once opened
- Extra star stickers (optional)
- Chunky glitter (optional)
- Adult supervision and / or assistance
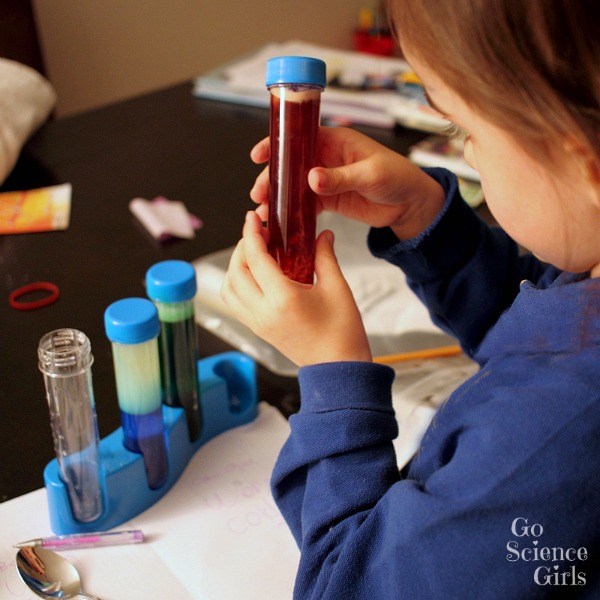
Our experience
The activity guide includes instructions for nine ‘magical’ activities:
1. Wizard wand: Create jiggly ‘crystals’ with the water-absorbent cross-linked polyacrylate copolymer, and use them to fill your plastic tube ‘wand’.
We chatted about what cross-linked polyacrylate copolymer might be used for in everyday life. We likened them to rain saver crystals (for the garden) and water beads that we’ve seen previously, which are also super absorbent.
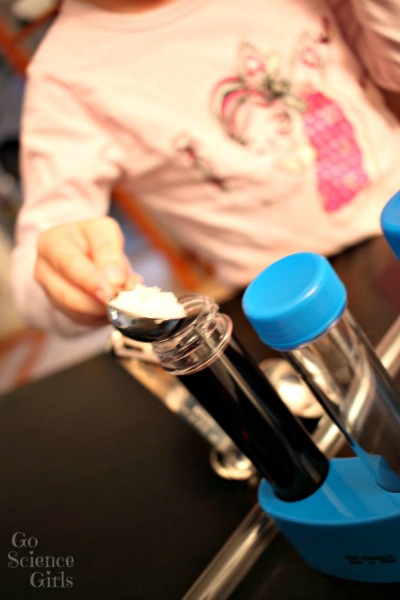
Jewel was super excited about this activity and wanted to make a purple wand, so we added a red and a blue colour tablet. The resulting purple ‘crystals’ were really quite dark however, more black than purple, and not very transparent. When we added them to the plastic tube, Jewel was disappointed that they didn’t sparkle like the wand on the box. She was also disappointed that the wand didn’t actually DO magic (so maybe her expectations were a little high!) We ended up adding some blue and silver chunky glitter from our craft collection to make her wand sparkle and appear more magical.
2. Magic hat: easy craft using paper, stickers, scissors and glue (or sticky tape) to create a wizard’s hat, with the idea being that kids can wear their hat and wave their wand to create the magic required for the test tube science experiments to come.
To be honest, this craft was a little underwhelming for us. The paper had creased inside the box, there were only a few stickers provided, and these were of low quality (tearing easily), and there weren’t any moon shaped ones like those on the hats that kids on the box were wearing. Luckily we had extra star stickers in our craft stash that we could add, which compensated (slightly). But it was all starting to feel a bit lacklustre and neither very magical or science-y. At this point, Jewel started to loose interest in the science kit altogether. But a few days later, she was persuaded to give the next activity a try.
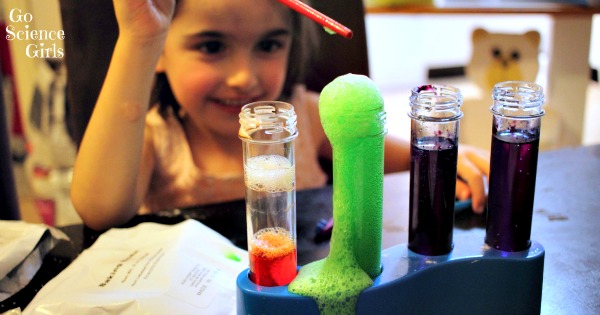
3. Fizzy frenzy: create a classic acid base chemical reaction that bubbles and fizzes.
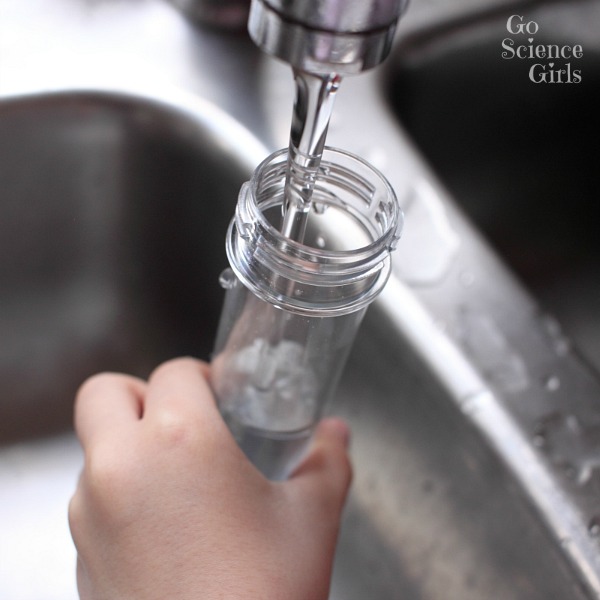
Science to the rescue! Anything that fizzes is always a hit at our place. We’ve played with acid-base reactions previously, so this activity drew and expanded on her prior knowledge.
With her interest in this science kit thus rekindled, she was keen to do the rest of the experiments (minus the wizardry focus.)
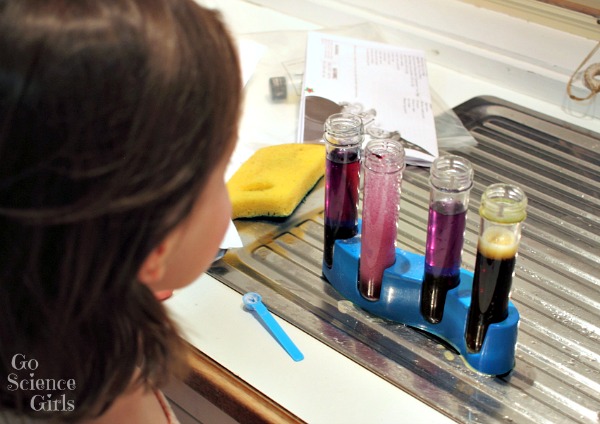
4. Hocus pocus powder: using the cabbage powder as an acidity indicator, make purple water ‘magically’ change colour to either pink or blue with the addition of an acid or a base.
We haven’t dabbled in acidity indicators before, so this activity really intrigued JJ, and elicited lots of ooohs and ahhhs.
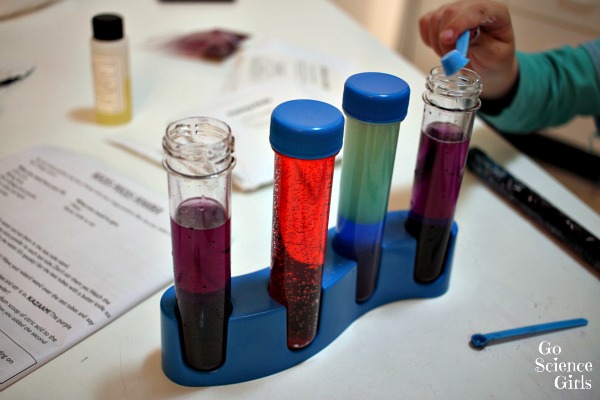
5. Frothing colour-changing potion: a follow up to the earlier hocus pocus experiment, combining the colours to see which combinations ones bubble and fizz.
OK, so this involves mixing coloured liquids from one test tube to another, to make a new ‘potion’ that fizzes up? Sold! One happy girl.
6. Test tube crystal ball: an experiment that combines oil and water densities with carbon dioxide bubbles to create swirling colours in oil.
This one was a bit too abstract for Jewel. She loved observing the interaction between the water and the oil, but she wasn’t patient enough to wait for the swirling bubbles.
7. Magic wand lava: bringing many of the elements of the earlier experiments together, this activity involves colour changes, acid-base bubbling reaction, water and oil density science in one.
Jewel was having too much fun playing around with the oil and water to worry about following the directions too closely at this point. We did try the activity, but it ended up being diverted into her own explorations – which is fine.
8. Feverish fizz: experimenting if a reaction changes depending on the temperature.
Jewel really got into this one, possibly because it involved an extra ingredient – ice! She labelled the test tubes as having either hot water or iced water, hypothesized what would happen, tested and recorded the results. Great introduction to the scientific process! We *may* have done this one a few times in a row. 🙂
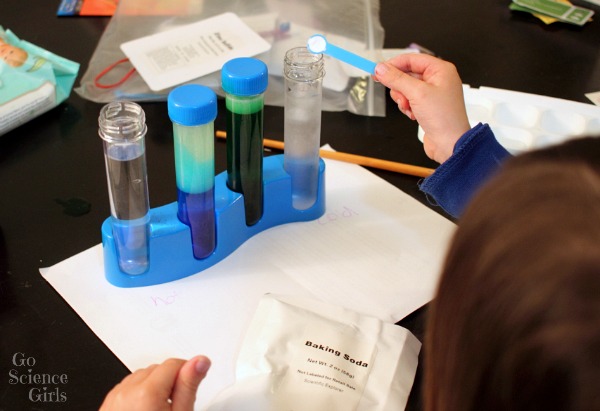
9. Glow-in-the-dark bubbling potion: combining phosphorescent (light absorbing) zinc sulfide with an acid-base reaction.
We couldn’t get this to work for us. Perhaps this was because we were doing the experiment in a fairly low lit room, so there wasn’t enough light absorbed by the zinc sulfide for it to glow properly when the lights were turned off. Either way, we had enough fun observing its hydrophobic properties that we didn’t mind that the glow-in-the-dark bit was a doozy.
Once Jewel had completed the ‘set’ of activity suggestions, she was super keen to just play around with the materials in an open-ended way, and actually has asked to do so about a dozen times since! She likes to make up stories as she plays, which she narrates out loud. I love listening to her imagination at play! Sometimes she’s a vet and she needs to make up some medicine to fix a sick dog. Sometimes she’s making a poisonous drink to kill her enemies. And yes, sometimes she’s a famous magician concocting potions.
Extension Ideas
When you’ve used up all the provided ingredients, you could go on a chemistry treasure hunt to see which ones you can find ‘in real life’. (Hint: look in the baking section for some). You should certainly be able to find a red cabbage with the vegetables, which you can blend up and dilute to act as an acidity indicator. Liquid food colouring will achieve the same results as the colour tablets. Look for cross-linked polyacrylate copolymer (or something similar) in the gardening section – it’s often used as a “rain saving” soil additive or form of water beads for vase floral displays. Zinc sulfide is a bit trickier to source at your local grocery store, but you can probably find it listed as an ingredient in glow-in-the-dark paints.
Finding the ingredients locally adds a lot of context to the experiments. It helps the kids make the jump from adding “a magic powder” to adding a real thing that you can actually use for everyday things. You could try doing the experiments again with your locally sourced ingredients. Even better would be to come up with other uses for these ingredients to broaden kids awareness of the sort of things these ingredients can be used for. (A spot of baking perhaps?)
Packaging, Size and other Details
Magic Science for Wizards Only comes in an attractive and sturdy box, making it easy to gift wrap. The dimensions are 31 x 25.5 x 7cm.
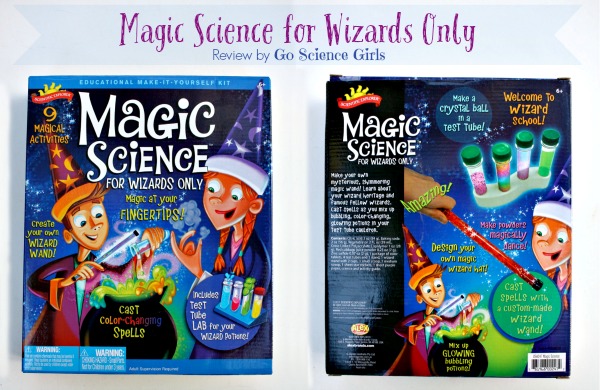
Inside the box, the instructions, paper and stickers for the wizard hat and plastic tube for the wand are loose, with the rest of the materials sealed in an extra-large zip-lock bag. The powdered ingredients are sealed in white, labelled, foil-lined pouches that you tear to open (and so are not resealable). Some of the ingredients have been packaged in further small zip-locked baggies (such as the cross-linked polyacrylate copolymer, red cabbage powder and colour tablets), but others (such as the baking soda and citric acid) are loose within the foil-lined pouches, which does makes storing them between experiments a bit tricky.
The exterior box design is super colourful and very unisex, with cartoon pictures of a boy and girl dressed up as wizards on the front and back, BUT, it oversells the magic a fair bit. There is no bubbling cauldron. Mystical smoke won’t appear from your fingers. The wand doesn’t really sparkle and shimmer. The wizards hat craft inside the box doesn’t look like the one in the pictures. These exaggerations might be obvious to an adult, but young kids don’t quite understand the difference and may be disappointed. (My daughter takes these things really literally – she didn’t even realise that the kids on the front were cartoons, and not real people, until I pointed this out to her)
I am pleased to see that the famous wizards list on the activity guide inside feature both male and female wizards. Have you ever heard of the wizard Circe (pronounced sir-see) from Greek Mythology? She used to lace feasts with magical potions, and then part way through dinner, would turn everyone into animals. (I’m fairly sure she was at a New Years Eve party a few years back, because several of my friends turned into animals that night! Haha! Sorry, couldn’t help myself…)
Pros and Cons
Positives
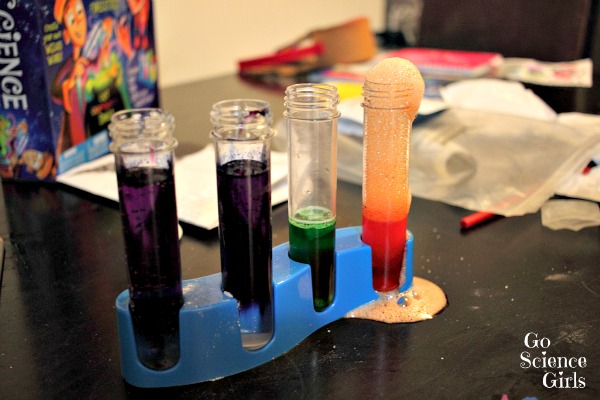
- The test tubes are awesome. They are made of durable plastic, and are easy for kids to hold. The bottom of the test tube is curved (as test tubes generally are), but there is a little plastic circle on the underside that means it can stand up (albeit precariously) on its own. The screw top lid is easy for kids to put on and take off, and at the same time provides a waterproof seal. You can also turn the test tube upside down and stand it on its lid. And of course, being reusable, they make great additions to your home science lab, where they can be used for a whole host of fun science activities.
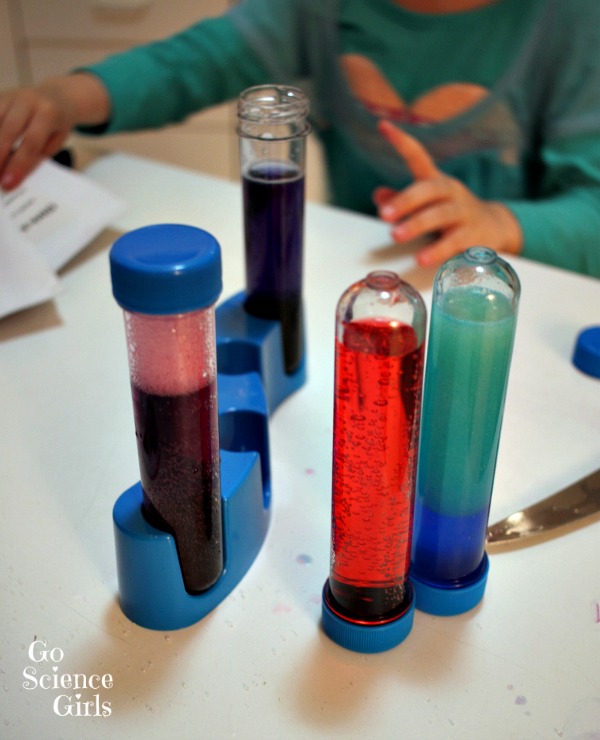
- The test tube stand is awesome too. It prevents little hands from knocking test tubes over mid-experiment, and also provides a way for kids to easily see which test tube is first, second, third and fourth if they are experimenting with several things.
- There is at least twice as much of each ingredient than what is required to follow the activity suggestions – meaning you could do the full set of science activities at least twice.
- There is also plenty of the red cabbage leaf powder, baking powder and citric acid provided – enough for dozens of experiments. Given that these ingredients create the easiest and most impressive reactions (colour changing and fizzing), there is lots of potential for child-led potion making fun afterwards.
- I’m always a fan of toys that are not marketed in a gender specific way. They’ve gone to great lengths to make this product unisex in a fun way, and I applaud their attempts.
Negatives
- Whilst I usually love combining science with imaginative play, and I love the overall idea behind the wizard potion-making theme, in this particular instance the product packaging over-promised. (Sorry, but there ain’t no cauldron inside the box!) When my daughter realised that her experience wasn’t in line with her expectations, she felt deceived.
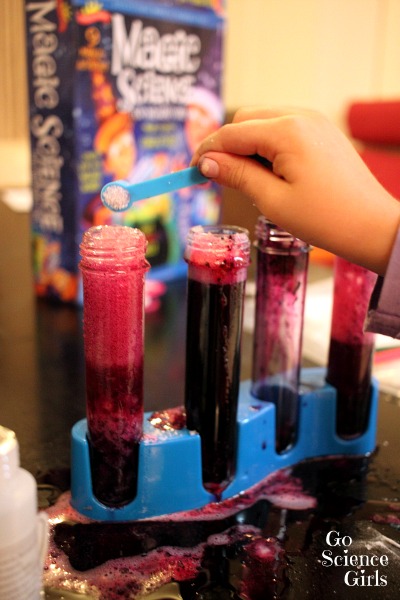
- Several of the ingredients (like the baking powder and citric acid) are loose in the foil-lined pouches, which are not resealable. Since these are multi-use ingredients, I ended up using elastic bands to close up the pouches between experiments.
- Having all the ingredients in clinical white pouches removes the context of where they may be found, or what else they may be used for in real life.
- The kit suggests you use a butter knife for stirring, but we found this too large to stir easily, and switched to a chopstick instead.
- I’m getting picky here, but the two measuring spoons provided are called small and medium in the instructions, but are not actually labelled themselves. It can be quite confusing, as they are both similar in size, especially if you are looking at them separately. Referring to them using the relative terms ‘small’ and ‘medium’ seems like an opportunity lost to refer to their actual quantities (1/4 teaspoon, 1/8 teaspoon, etc), which would add a nice little bit of maths into our play. And obscurely, why is the larger one called ‘medium’ if there is no ‘large’?
The Nitty Gritty: What do I really think? What do my kids think? Would I buy it?
Jewel got over her initial disappointment very quickly once the actual science fun began. She enjoyed following the set activity suggestions, particularly the feverish fizz one where she got to experiment with different temperatures, but her heart lies in the free play that she did (for days) afterwards: making up a story to herself while she mixed a bit of this and a bit of that, without restriction. Because she’s familiar with the names of many of the ingredients from our previous science activities, and has learnt to anticipate certain reactions (she knows for instance that baking soda + citric acid will bubble up, and that cabbage powder will add a colour changing element), she can weave this knowledge into her imaginative play.
Personally I love we now have a child-friendly test tube set to add to our home science supplies: I can see us using this in all sorts of ways!
I think the activity suggestions are well laid out, and follow a logical order. It introduces kids to easy and impressive science experiments that they can do mostly by themselves at home. I also think the child-led experimentation with the materials afterwards is invaluable, as is relating the materials back to everyday ingredients that are in your home or grocery store. I fear that many parents and carers might focus too strongly on following the prescribed activity list, and skip the fun free-play part, which is more likely to be where a love of chemistry is nurtured.
If you do all the activities once only, then this kit will provide maybe two hours of fun (or possibly two hours of frustration, depending on how well your child likes to follow set instructions). But if you keep going, using the rest of the ingredients as part of experimental science / imaginative play, then the amount of ‘play time’ that this kit can provide increases dramatically.
I’d happily buy this set as a gift for a 5-8 year old boy or girl, especially if I thought it might spark an interest in science or chemistry. But I’d also consider whether there was a parent or carer who can cope with messy play, and would have time to set aside, both to do the set activities together with the child, and also to supervise free play / experimenting time afterwards.
For a very close friend, I’d personally prefer to give a gift basket that contains all ingredients in their ‘regular supermarket’ form, rather than this boxed set. It would mean a fair bit of effort to source the ingredients, and I’d have to explain (or they’d have to look up) how to do each of the experiments, so there are many instances where I think a chemistry kit like this one would be more appropriate.
What I’d Love to See
- It would be better if the ingredients pouches came with an inbuilt zip-lock, so they are both labelled and resealable.
- I would also love it if there was information provided about the ingredients – what they are made from, where they can be found in real life, and what other uses they might have. This would provide context and meaning to otherwise just adding one white powder to another white powder.
- A stirrer and a teaspoon sized measuring spoon wouldn’t be difficult to add, and would make the kit more complete.
- I’d love it if there was science linked into the magic hat craft activity. Perhaps something to do with invisible ink?
- And a cauldron would be awesome. 🙂
Where to buy Magic Science For Wizards Only science kit
Magic Science For Wizards Only is available online on Amazon.com (US) or Amazon.co.uk
(UK). I’ve also seen it stocked in Australian Geographic stores, which is where I believe Jewel’s friend bought ours. (Free plug – we love our local Australian Geographic store! Bumble calls it the dinosaur shop (because they have huge blow up dinosaurs that roar). We pop in to say hello every time we walk past, and they don’t seem to mind if we stop and play with the kinetic sand for a few minutes, usually giving us a free balloon on our way out.)
I’m sure they’d be available in other cool science stores around the world, but alas my budget doesn’t allow me to visit them all and check! (Would you be my eyes and ears for me please? If you see it stocked somewhere really cool, would you let me know so I can add it to this section? Thank you!)
Have you tried Magic Science for Wizards Only, or another science kit like it? What did you think? I’d love to hear your thoughts (both positive and negative) in the comments below.
*Disclaimer: We received this science kit as a gift from a personal friend. I was not paid or obligated to write this post. All opinions are my (or my kids’) own. This post does contain affiliate links. An affiliate link means I may earn referral / advertising fees if you make a purchase through my link, without any extra cost to you. I am not obligated to link to any particular product. Thank you for your support, I really appreciate it.

#
I got a similar set for my 2 girls. Same ingredients, but it doesn’t tell you what to do with some of them e.g. Cross-linked powder and the zinc.
Any idea where I can get a copy of the instructions you have?
#
Hi Ian,
Sorry, my set of instructions came with the kit. I don’t know where you could find a copy online. If your cross-linked polyacrylate copolymer is the same as ours, then you just add water (or coloured water) and they grow – we thought they were similar to the rain saver crystals (that you use for the garden) and water beads (that florists use in vases). This kit came with a plastic tube that you could put it in to make a “magic wand” – see more details in the post above. Zinc sulfide powder is supposed to be phosphorescent (light absorbing) so you use it to make glow in the dark reactions. We couldn’t get ours to work though…