How to ‘magically flip’ drawings using refraction of light. Fun art meets science activity for kids.
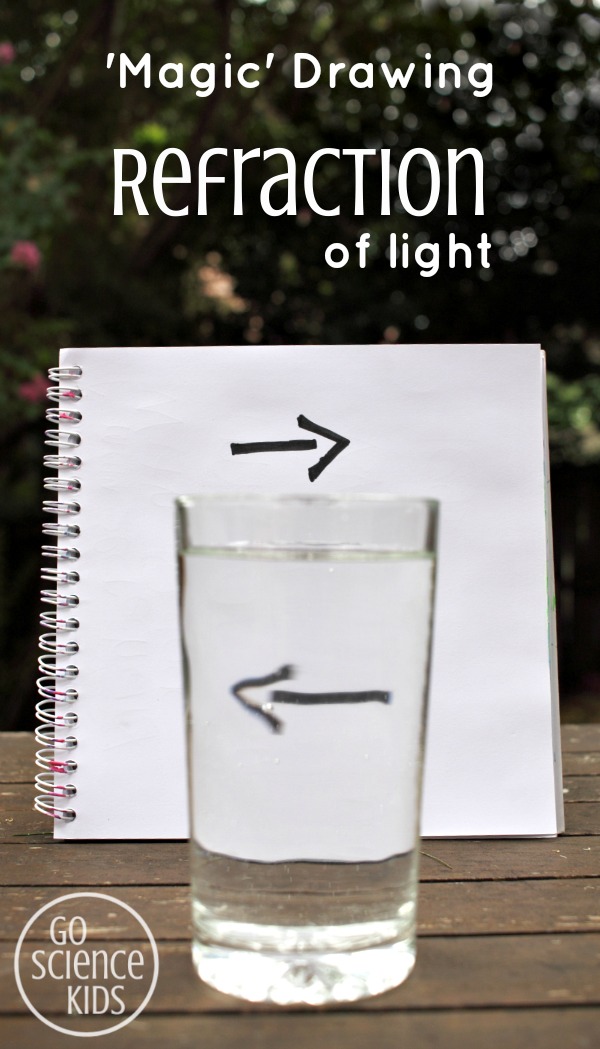
This is a fun ‘magic’ science trick that even little kids can do.
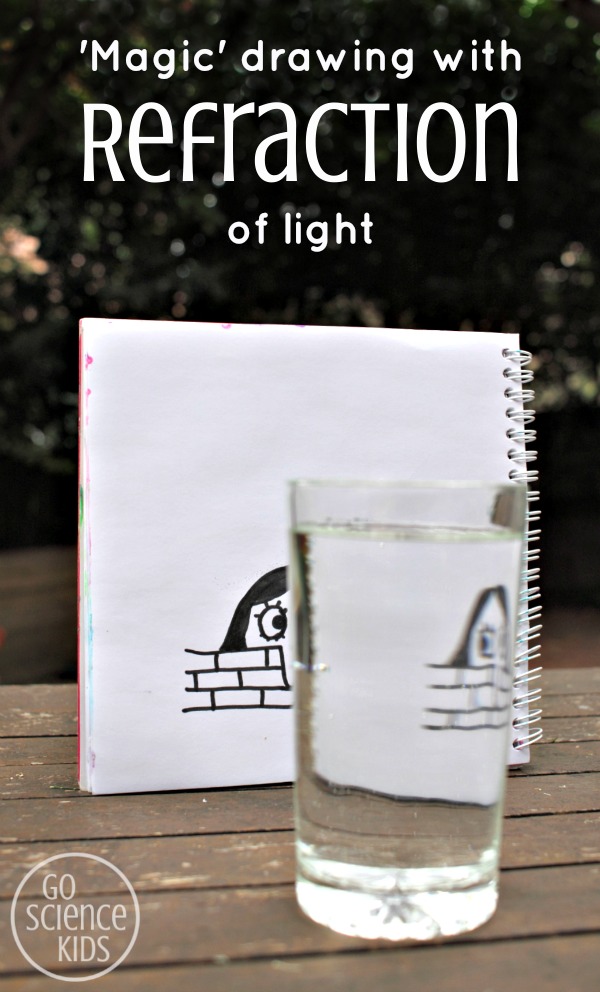
Draw two arrows, both pointing the same way, and then look at one (or both) through a glass of water. Which way are they pointing now? Does it matter how far away the glass of water is? What happens if you move your head from side to side?
Suitable for
This activity is fun for 5-6 year olds. (Younger kids can certainly have a go too, but they don’t seem to be as amazed as the school-aged crew are.)
You can do this science experiment almost anywhere. I love that it’s one of those activities that takes just a few minutes to set up and do, although you can spend more time on it if you want to. It’s also practically free as well, as it uses only common everyday items.
We’ve done this experiment a couple of times when we’re at a restaurant with the kids, as a way to keep everyone entertained while we wait for the food to arrive….
What you need:
- glass of water
- paper (or paper napkin works if you’re at a restaurant)
- pen
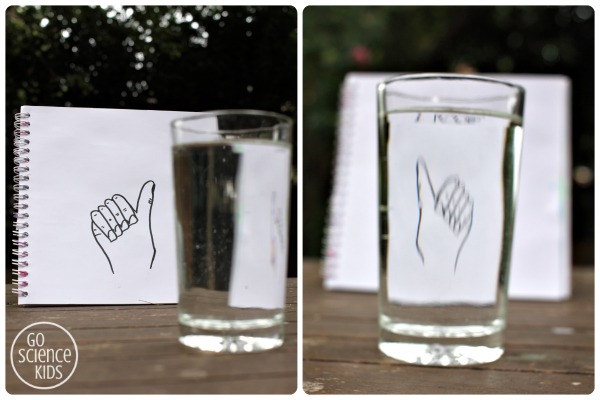
Draw something on a piece of paper, and see how it looks when you look through a glass of water. You don’t have to limit it to arrows! Be creative! You can draw anything you like and see how it looks through the glass.
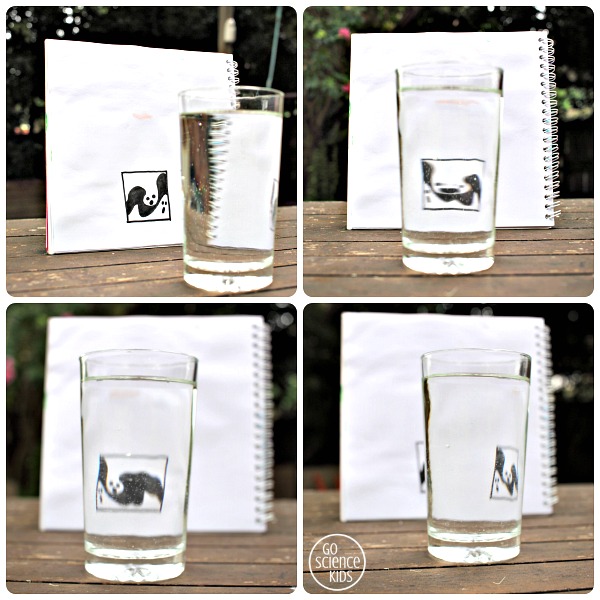
Questions to ponder: How does your picture change? What bits stay the same? Does image size matter? What happens if you try with a wider (or narrower) glass? What happens if you move the glass closer to the image? Or further away? You could use a ruler to measure the distances and record your results. Does it change if you look at it straight on or slightly from the side?
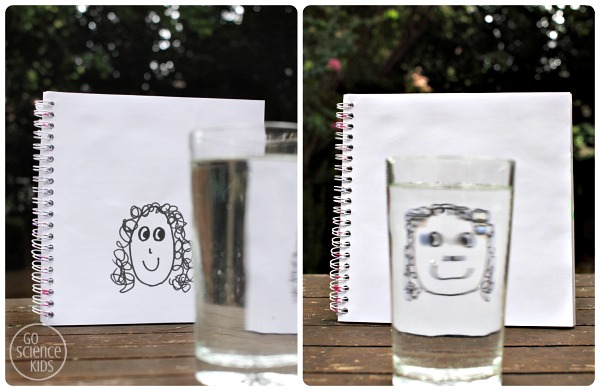
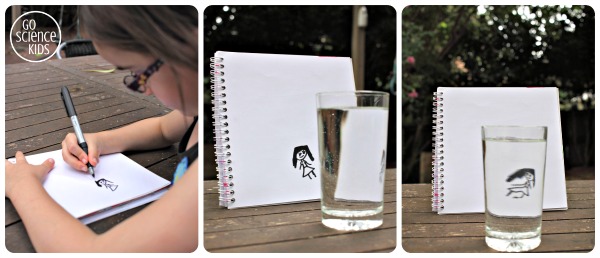
A fun idea is to draw a picture of a face, with the eyes looking one way, and see which way the eyes are looking when you look through the glass.
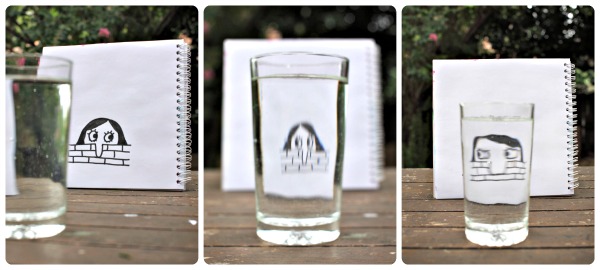
Can you change the variables around so that the girl is looking at herself?
The more creative you are, the more this activity becomes a STEM + Art, or STEAM activity. STEAM is a way to link art into STEM activities, which is a great way to make STEM subjects fun and relevant for young kids, especially those who are creatively inclined.
Once you’ve played around with it for a while, can you start to guess (hypothesise) how you think a picture might look given particular variables, and then look through the glass to check if your hypothesis was correct?
Fun Science
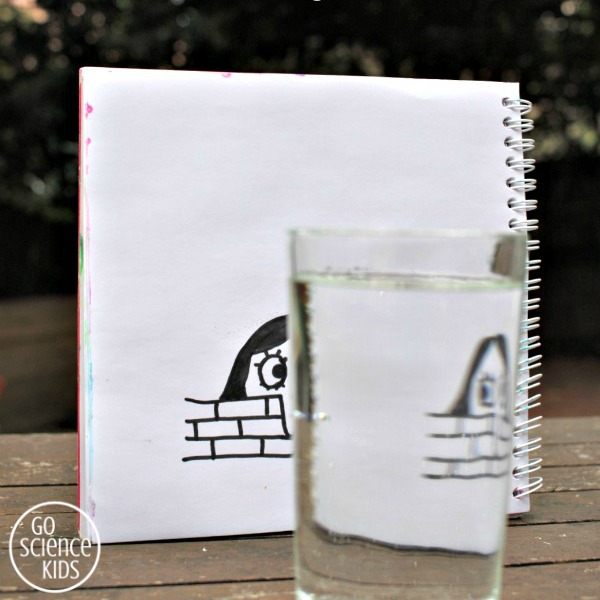
What we are seeing here is a physics concept called refraction, or the bending of light. When light passes through transparent objects (in this case, the front of the glass, the water, and the back of the glass), it refracts or bends. When the glass is full of water, it acts as a cylindrical convex lens, and produces an inverted image. The inverted image may appear larger, smaller or the same size, depending on where you position the paper, the glass, and your viewpoint. Another variable is the size (diameter) of the glass.
This is post is part of the 28 Days of Hands-On STEM Activities for Kids blog hop, hosted by Left Brain Craft Brain. This week’s theme is STEM on a Budget. Pop over to find loads more budget friendly STEM (and STEAM) ideas!

#
Thanks for this idea! We used it in our STEM preschool class on Light and Shadows. Read about all our shadow experiments at https://inventorsoftomorrow.com/2017/01/09/light-and-shadow-experiments-for-kids/
#
Wow – so many fantastic ideas! I’m so impressed! I love the mirror box that you made, and your idea of putting the light table under the water table. I’d love to try these with my girls!
#
Hi
#
I love this, thank you
#
Hello,nice share.
#
#
#
#
#
#
#
wow thats soo cool