How we made our first DIY loungeroom pulley – and learning about physics and simple machines through play.
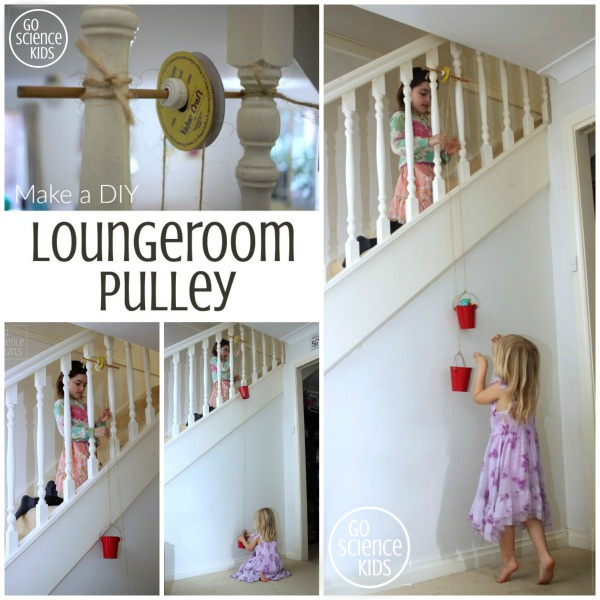
We’ve been wanting to make a pulley for a while now.
I’m not quite sure when exactly the fascination started, but it’s been going for a few months at least. Every time my daughter Jewel asked if we could make one, I couldn’t help but think “Yes, we should to get onto that. We’ll need to look up what to do, and make a trip to the hardware store to gather some supplies, including one of those fancy pulley wheel thingies. But right now we have abc and xyz going on. So we’ll look into it later. Soon…”
To be honest, I’d turned it into something that felt a bit daunting.
I’m not necessarily afraid of daunting. But with other things creating busy-ness in our lives, daunting made it easy to keep putting our pulley off until some fictional future time when we’d have plenty of time to research, plan and gather supplies.
But then I realised… it really doesn’t have to be that complicated. By definition, pulleys are a simple machine, after all!
I realised that we don’t have to make the world’s best pulley on our first attempt. In fact, coming up with an OK (but slightly flawed) pulley might actually open up discussions about pulley design, and how we could improve it. So, along those lines, designing an imperfect pulley is probably more educational than coming up with the perfect pulley in the first place… Don’t you think?
So anyway, that’s the back story behind our pulley design. We used what we had on hand, and we just gave it a go.
And, wouldn’t you know, it actually works! (Mostly…)
Suitable for
Try this for preschoolers and up. Our 6 year old daughter Jewel helped with our pulley design and construction. Our 3.75 year old daughter Bee wasn’t so much interested in the design, but she loved playing with the pulley to raise and lower her toys. Older kids could try out a few design modifications to see which works better.

* Note: affiliate links to similar products are included below.
How we made our pulley
We used:
- A chopstick
- An empty cardboard ribbon spool
- Rope
- Two pails
- Adhesive tack
It took just a few minutes to make this pulley, including gathering the materials. (So much for daunting!)
The kids and I made it together. We decided to place it on the stairs, so the kids could use it to help carry things up and down the stairs.
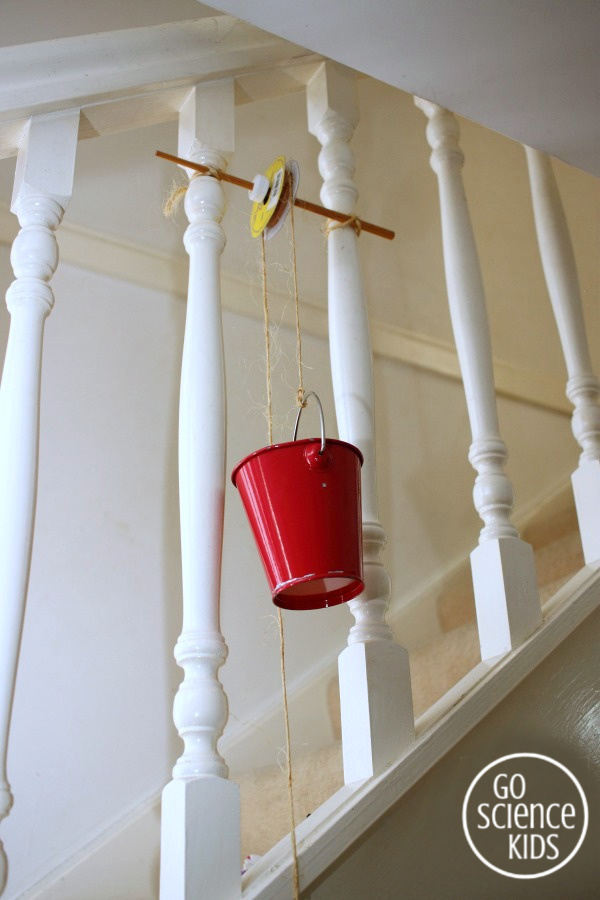
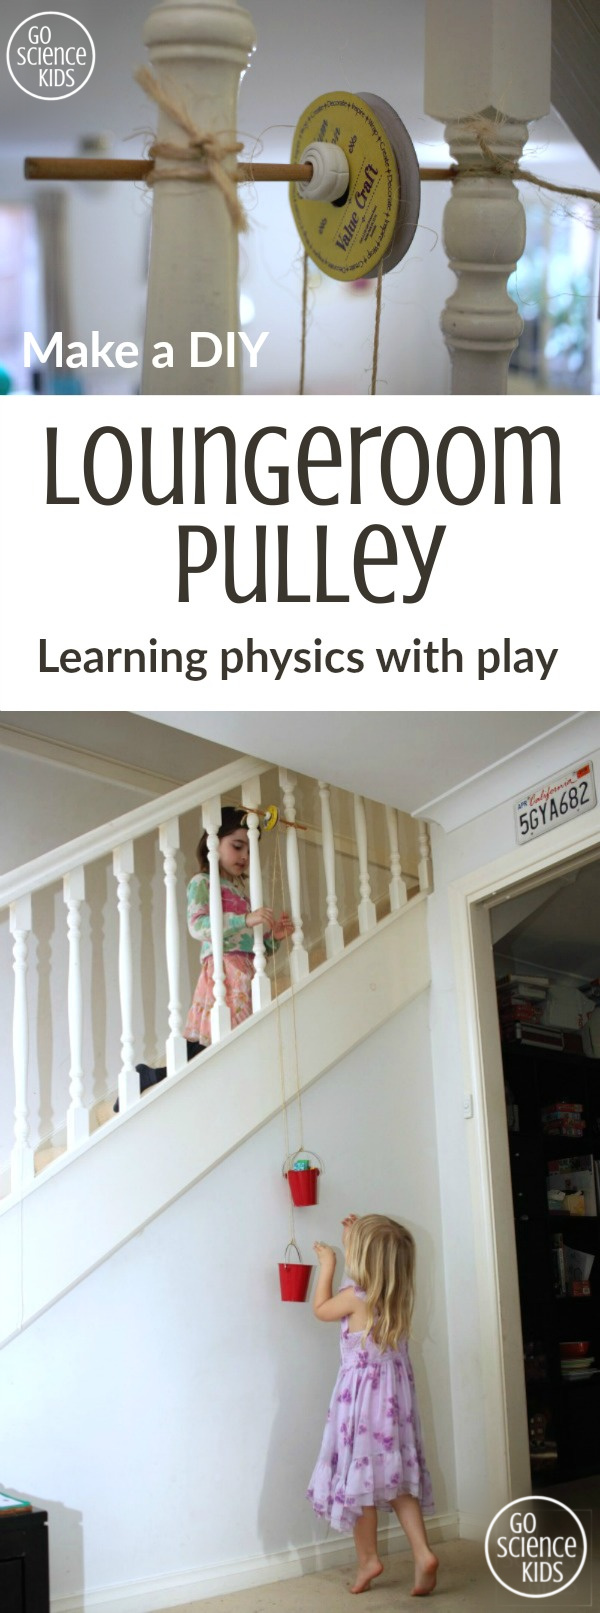
We inserted the chopstick through the hole in the middle of the ribbon spool, and then attached both ends of the chopstick to the stair railings, so that the chopstick was secured horizontally. We are lucky that our stair railings taper slightly so I could tie on the chopstick without it slipping down. (If you don’t have railings like this, you might need to use tape or another method to secure the chopsticks in place.)
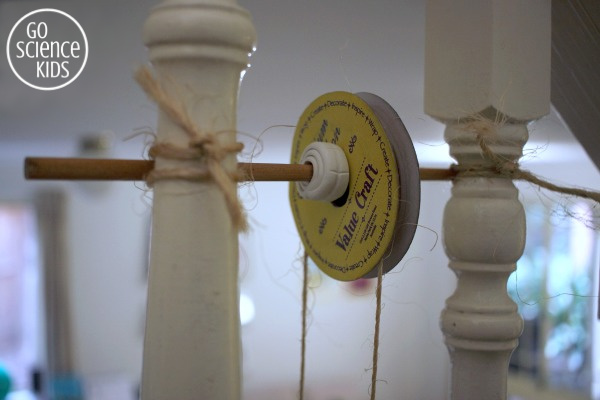
We tied the end of a piece of rope to the handle of a little pail, and threaded the other end over the ribbon spool and down the other side.
We noticed that our ribbon spool wobbled because the hole in the spool was larger than the diameter of the chopstick, so we added adhesive tack to both sides of the spool, to stop it sliding around too much.
Please note…
Just bear in mind that long ropes can be strangulation hazards. Please be mindful of babies or toddlers who may be nearby, and perhaps take the pulley down when not in use. (All kids’ activities on this blog require attentive adult supervision. Parents and carers will need to judge whether a particular activity is appropriate their child’s age and skill level.)
Learning about pulleys through play
The kids discovered they could use the pulley to raise or lower the pail by pulling on, or releasing, small sections of rope. Of course, all manner of items then had to be carried up and down the stairs! Lots of dolls travelled in the “lift”, as well as LEGO bricks, jigsaw pieces, pens and pencils, and lots of other small things.
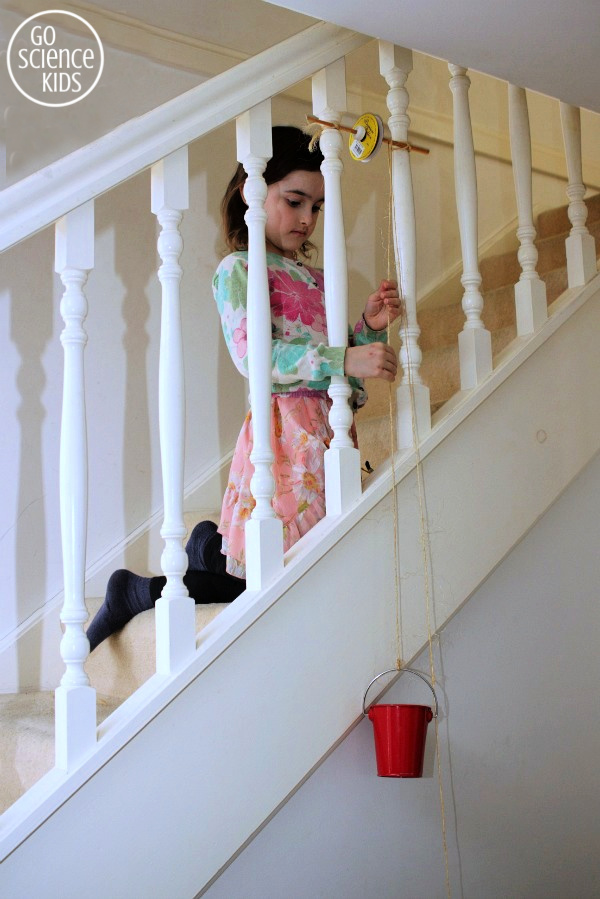
Heavier items were harder to lift, hold steady, or lower slowly. If you let go of the rope, the bucket would crash to the floor.
Fun Science
A pulley is a simple machine that uses wheels and rope to change the direction of a force. Normally if you want to lift something, you pull it up. If you attach it to a simple pulley however, you can lift the item up, by pulling down on the other end of the rope.
After a while, we added another pail to the opposite end of the rope. This doubled the efficiency – while one bucket was carrying items up, another could be carrying items back down!
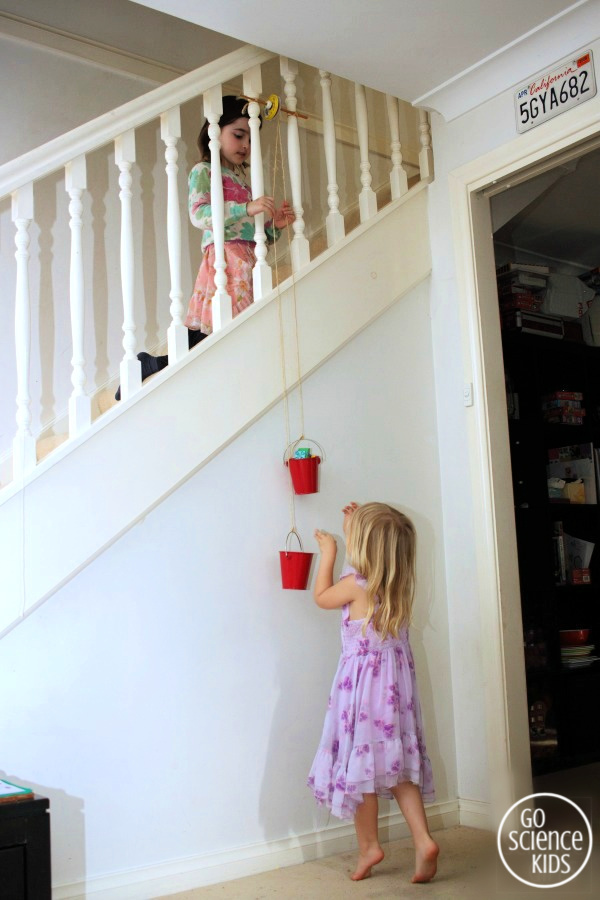
The kids noticed that with two pails, when the pails contained similar weights, the pulley balanced itself out. It only moved when someone pulled on a section of rope, and otherwise remained stationary. It was just as easy to lift light or heavy loads, provided the pails were balanced.
But when the buckets were uneven, the heavier bucket would “pull itself” towards the floor unless someone was holding the rope to stop it.
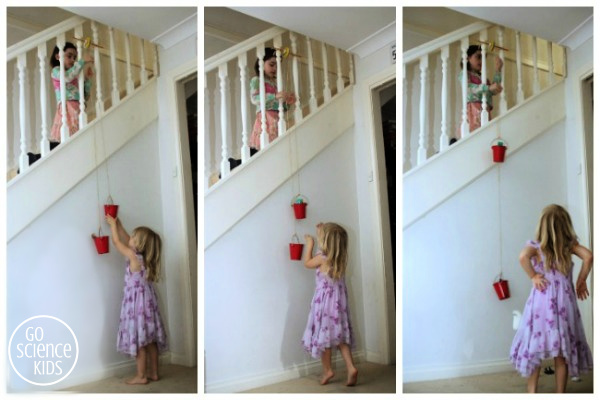
I should mention that our pulley design isn’t flawless. The adhesive tack helps steady it a little, but the ribbon spool still does wobble (especially when being played with vigorously), which can cause the rope to slip off the spool. The rope also slips off the spool if the buckets are lifted up (which creates slack in the line). But I’d say in general it works well enough for a quick DIY and a first try!
What’s next?
We’re hoping to try out a few design modifications to see if we can improve on our design. Watch this space!
For more physics fun, you might also like:
- how to make a simple balance scale
- how to make an easy upcycled catapult
- STEM Challenge – can you build a 3D structure
- here’s an easy refraction of light activity (that you can try almost anywhere)
- or find all our fun physics ideas here
* This post contains affiliate link(s). An affiliate link means I may earn referral / advertising fees if you make a purchase through my link, without any extra cost to you. These fees help keep this blog afloat. Thank you for your support!

#
I like this idea, this is so clever.
I love your facts and science tips behind it& how they noticed things on their own…
We have done one similar but out of a tree with a bucket, its always lots of fun to transport toys and things
#
Thanks Renee, I’m trying to let them discover as much on their own as they can – I think they learn much more that way! (Although sometimes I have to sit on my hands to stop me from ‘helping’ them too much!) We’re wanting to do one outside this summer too – I think a pulley, a bucket and a tree are all the toys a kid needs. 🙂
#
Great idea! I will have to show my son. He has set up a bit of a pulley system off our cubby house with a bucket and rope, but I think he might like to expand on it when he sees this.
#
Oh cool! Hope he likes it! We’ve been wanting to make one outside in our backyard too, so maybe we can borrow some of his ideas too. 🙂
#
Love this! Maybe I can convince the kids to help with the washing if they can use this to get it upstairs?
#
Lol, wouldn’t that be GOLD!
#
Such a great activity! Who knew ribbon spools could be so versatile? I love showing the kids how we can use objects in ways that they weren’t originally intended.
#
Thank you! And yes, I love using everyday objects in no-so-everyday ways too!
#
Love this!! I’m going to try this today with my daughter. I knew there was a reason I was saving empty spool rolls. HAHA I thought about trying to loop the string around once, then maybe it won’t come off the ribbon spool as much…thought I’d share! We’ll see how it works, thanks for the great ideas <3
#
Thanks! I’m keen to hear how you go!
#
This is a cool website
#
Thank you!
#
noice
#
Thanks for this great post on how to set up a fun pulley-based playtime for kids. I included a link to it in my post on how to teach simple machines science to kids: https://inventorsoftomorrow.com/2016/09/26/pulleys-2/
#
I love reading the flaws in the design! Thanks so much it makes it more real and implementable! Using my own materials on hand.
#
Thanks!=
#
#
#